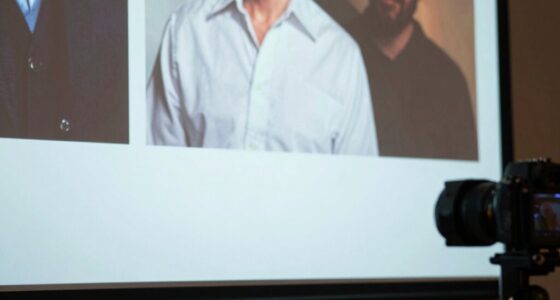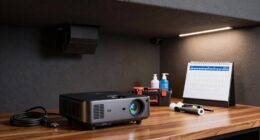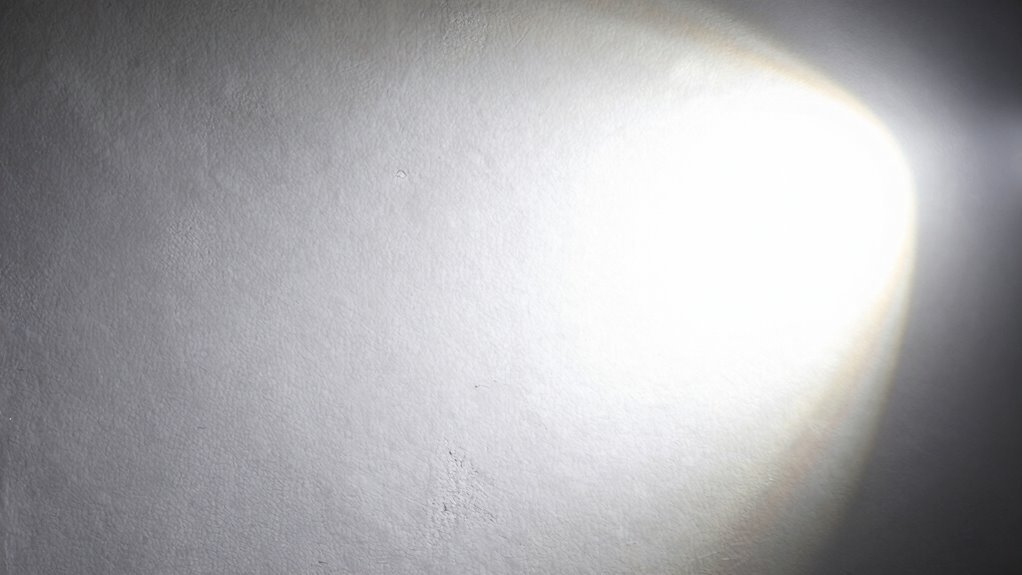
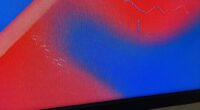
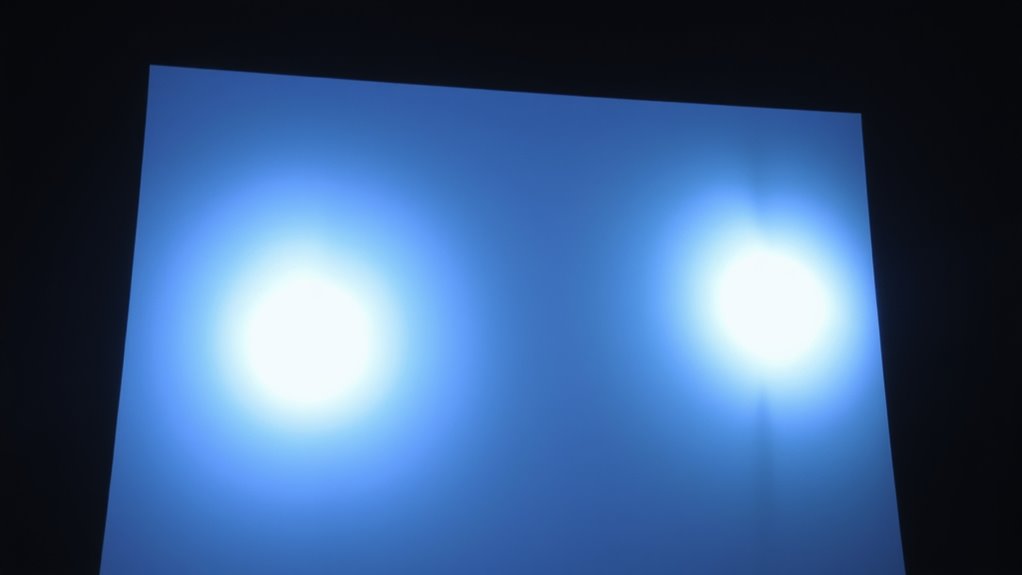
To spot highlight clipping on your projector, look for areas with flat, washed-out whites and loss of detail in bright portions of the image, especially with test patterns or content with bright highlights. Adjust your projector’s brightness setting downward to reduce overly bright highlights, and consider switching to a more suitable HDR profile if available. Proper calibration and content grading can also help prevent clipping, so exploring these options will enhance your HDR viewing experience.
Key Takeaways
- Detect highlight clipping by observing washed-out, uniform whites and loss of detail in bright areas during HDR content playback.
- Use HDR test patterns with gradients and bright patches to identify luminance range limitations and clipping signs.
- Lower projector brightness settings to reduce overexposed highlights, balancing between vibrancy and detail preservation.
- Properly calibrate the projector and select suitable HDR profiles to ensure accurate highlight reproduction without clipping.
- Adjust color grading during post-production to tone down overly bright highlights, maintaining detail and preventing clipping.
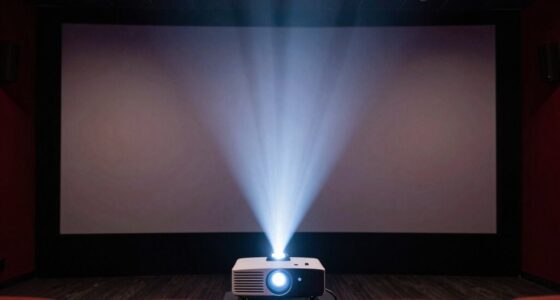
When watching HDR content on a projector, highlight clipping can notably reduce your viewing experience by losing detail in bright areas. This issue happens when the projector’s brightness surpasses what the display can handle, causing the brightest highlights to appear flat or blown out. To prevent this, understanding the role of color grading and brightness adjustment is key. Color grading involves tweaking the overall color palette and luminance levels of the content, which can help maintain detail in bright sections. When the highlights are clipped, it’s often because the content’s bright areas have been over-boosted during post-production, so adjusting the color grading to tone down excessively bright highlights can help preserve detail and improve overall image quality.
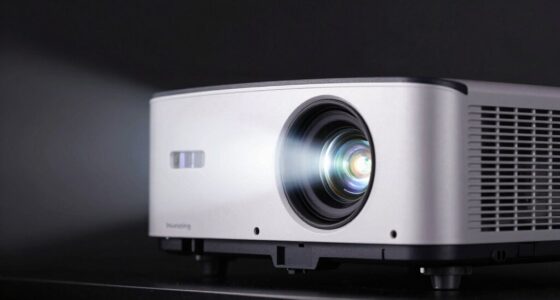
Brightness adjustment, on the other hand, is a practical step you can take directly on your projector or in your viewing environment. Lowering the brightness setting reduces the likelihood of highlight clipping by ensuring the projector doesn’t push its luminance limits. If you notice that whites look overly bright or details are missing in bright scenes, try decreasing the brightness to regain those lost details. It’s a delicate balance: too low, and the image may appear dull; too high, and highlights clip. Fine-tuning this setting based on your specific projector model and room lighting conditions will enhance your HDR experience.
Another effective method to spot highlight clipping is to pay attention to the contrast within bright areas. If you see a uniform, washed-out white instead of subtle gradations, that’s a sign highlights are clipping. You can also use test patterns designed for HDR calibration to identify clipped highlights precisely. These patterns typically include gradients and bright patches that reveal whether the projector is losing detail at the upper end of its luminance range. When you notice clipping, adjusting the projector’s brightness or switching to a more suitable HDR profile can help. Additionally, proper calibration ensures your projector reproduces the full spectrum of HDR highlights without clipping, giving you richer, more detailed images. Remember, achieving ideal HDR performance involves a combination of proper content grading, precise brightness adjustment, and careful calibration. By paying attention to these elements, you can greatly enhance your viewing experience, enjoying vivid, detailed highlights that truly bring HDR content to life.
Frequently Asked Questions
Can HDR Highlight Clipping Affect All Types of Projectors?
HDR highlight clipping can affect all types of projectors, especially those with limited dynamic range. It impacts color accuracy and contrast enhancement, making bright areas look washed out or overly bright. You might notice loss of detail in highlights, regardless of your projector’s quality. To minimize this, choose projectors with higher HDR capabilities and learn to adjust settings for better contrast and color precision, ensuring a more accurate and vibrant picture.
Is Highlight Clipping More Common in Certain HDR Content Genres?
Imagine a world where colors burst like fireworks—that’s what some HDR genres, like sci-fi or fantasy, often showcase. These genres use cinematic color grading to maximize vividness, making highlight clipping more noticeable. So yes, highlight clipping is more common in certain HDR content genres, especially when creators push for dramatic, high-contrast visuals. You’ll notice it more in films with intense brightness and rich, vibrant hues.
How Does Ambient Lighting Influence Highlight Clipping Visibility?
Ambient light substantially influences how you perceive highlight clipping. When there’s lots of ambient light, it washes out the bright details, making highlight clipping less noticeable. Conversely, in a darker room, your visual perception sharpens, and clipping becomes more evident because your eyes can better distinguish brightness levels. To minimize visibility, control ambient lighting, and keep the room dim, allowing you to enjoy HDR highlights without distraction.
Are There Specific Projector Settings That Minimize Highlight Clipping?
You can minimize highlight clipping by adjusting your projector’s settings for better color accuracy and brightness. Start by lowering the brightness to prevent overexposure of bright areas, which reduces highlight clipping. Fine-tune the color settings to maintain accurate hues without sacrificing detail in highlights. These adjustments help preserve image quality and ensure vibrant, balanced visuals, especially in high-contrast scenes, giving you a more immersive viewing experience.
Can External Devices or Calibration Tools Reduce Highlight Clipping Issues?
Yes, external calibration tools and hardware solutions can help diminish highlight clipping. You can connect external calibration devices to fine-tune your projector’s brightness, contrast, and color settings more precisely than onboard options. These tools enable you to calibrate the projector accurately, minimizing highlight clipping and improving overall picture quality. Investing in quality external calibration equipment ensures consistent results and enhances your viewing experience, especially in HDR content.
Conclusion
By spotting subtle highlight clipping and skillfully adjusting settings, you can substantially enhance your projector’s HDR performance. Don’t delay—detect, diminish, and deliver dazzling displays that dazzle the eye. With a little patience and practice, you’ll perfect your projector’s picture quality, producing pristine, punchy highlights without compromise. Elevate your viewing experience and enjoy every scene’s stunning splendor. Remember, mastering highlight handling makes your movies more magnificent and your moments more memorable.