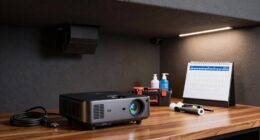
If your receiver isn’t producing sound, start by checking all cable connections for security and damage, and make certain the input source is correct. Then, verify the volume isn’t muted or too low. Confirm the receiver is set to the right input and test speaker wires for proper connection. Try different audio sources and cables. If still no sound, resetting the receiver can fix glitches. Keep going to discover more helpful tips that could resolve your issue.
Key Takeaways
- Verify all cable connections are secure, undamaged, and correctly plugged into the appropriate input and output ports.
- Ensure the receiver’s volume is up, not muted, and the correct input source is selected.
- Check that all speaker wires are properly connected, undamaged, and configured for the receiver’s impedance settings.
- Test with different audio sources and cables to identify potential faults or compatibility issues.
- Reset the receiver to factory settings, then reconfigure input/output settings and perform calibration if needed.
Verify Cable Connections and Inputs
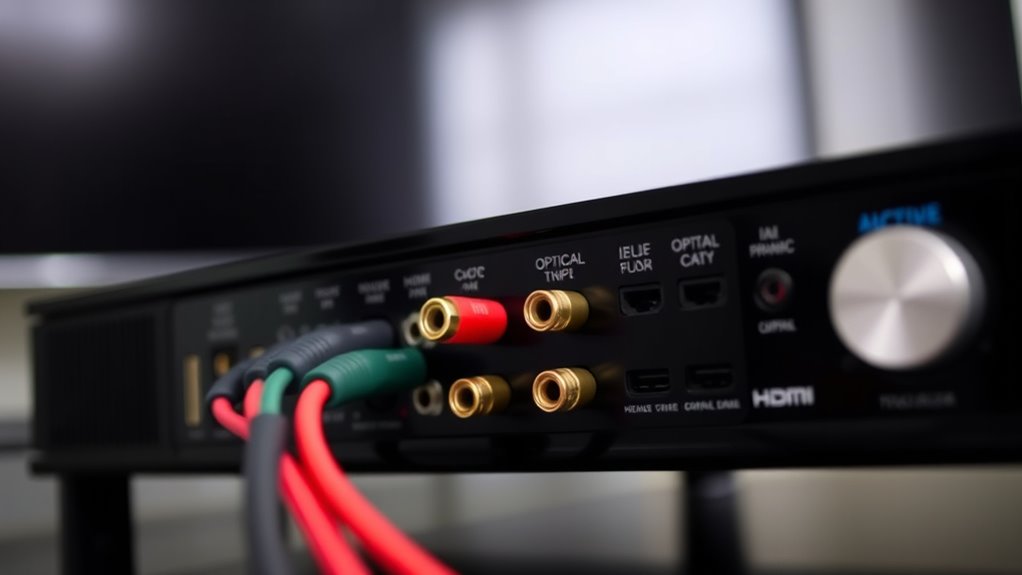
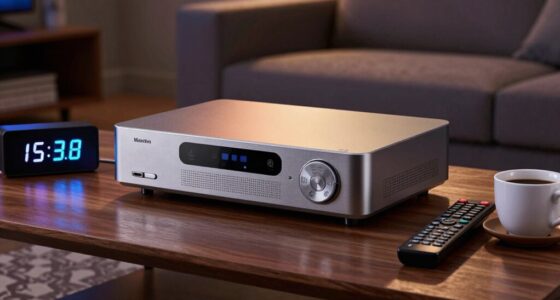
If you’re not hearing sound from your receiver, the first step is to check all cable connections and inputs. Confirm all cables are plugged in securely and not loose or damaged. Start by inspecting the HDMI, optical, or RCA cables connecting your receiver to your TV or audio sources. Look for bent pins or frayed wires that could interrupt the signal. Verify that the cables are connected to the correct ports and that no ports are loose or dirty. If you’re using multiple inputs, make sure you’re on the right one. Sometimes, simple issues like a disconnected or faulty cable can cause no sound. Making sure all connections are tight and correctly configured often resolves the problem right away. Additionally, consult your sound system safety guidelines to ensure your setup isn’t causing any issues. Checking your audio settings on the receiver can also help confirm that the correct output is selected and not muted. Also, input selection options may need to be adjusted to match your active source. To further troubleshoot, ensure that your home theater system components are powered on and functioning correctly.
Check the Receiver’s Volume and Mute Settings
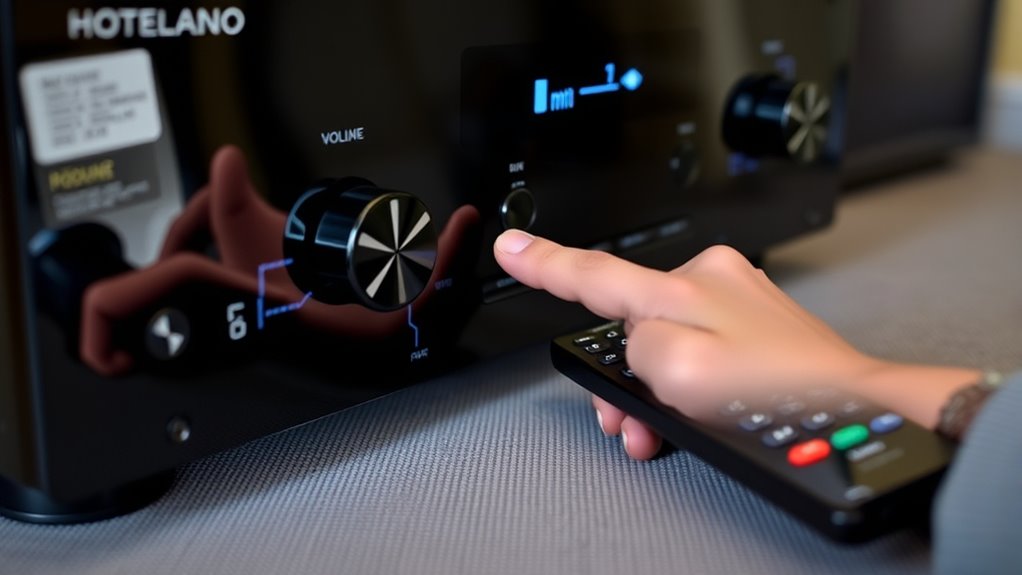
After confirming that all cables are properly connected, the next step is to check your receiver’s volume and mute settings. Make certain the volume isn’t turned all the way down or muted, which can cause no sound. Sometimes, a quick accidental press can mute the receiver or set the volume too low. Additionally, ensure that your receiver’s Free Floating setting isn’t enabled, as this can interfere with audio output. Here are key points to verify:
- The volume knob or control is turned up to an audible level.
- The mute function isn’t activated—look for a mute indicator on the display.
- The remote control hasn’t been pressed to mute or lower the volume unintentionally.
It’s also helpful to verify that the audio output settings are correctly configured for your setup, as misconfigured settings can also lead to no sound. For example, some receivers have multiple audio outputs that need to be set properly based on your connected devices. Adjust these settings accordingly, and test the sound again to see if the issue resolves.
Confirm Proper Input Selection
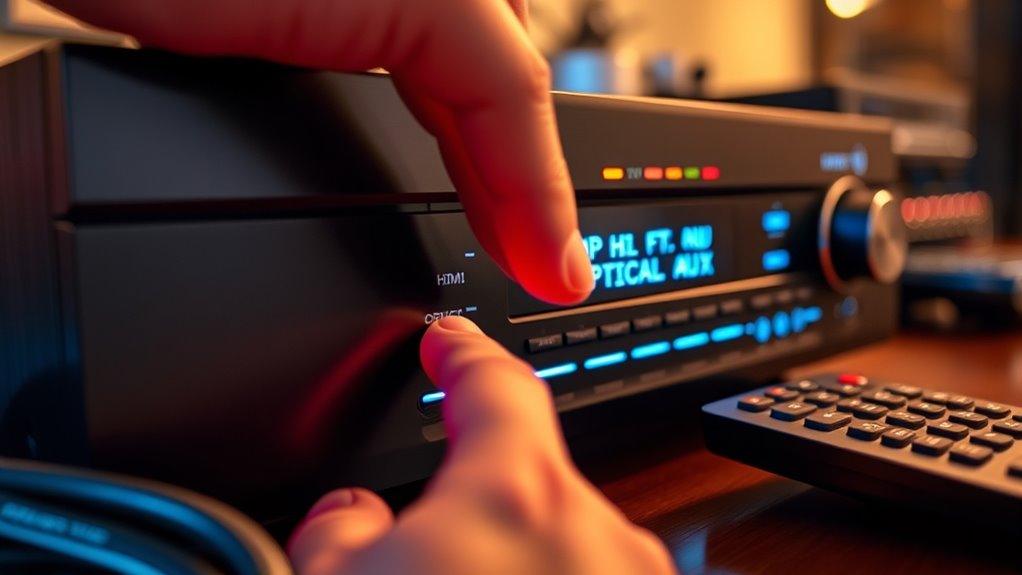
To guarantee your receiver produces sound, you need to verify that it’s set to the correct input source. Check the input menu on your receiver or remote to assure it matches the device you’re trying to use, such as a Blu-ray player, gaming console, or cable box. Sometimes, the receiver might be on a different input, like HDMI 2 instead of HDMI 1, causing no audio output. Use your remote to cycle through available inputs and confirm that the selected one corresponds to the active device. If you recently connected new gear, double-check that you’ve selected the right input. Correct input selection is essential; otherwise, your receiver won’t recognize the source and won’t produce sound. Additionally, understanding input configuration can help prevent common setup issues. Ensuring the audio output settings on your source device are correctly configured can also resolve sound problems. Familiarizing yourself with audio signal flow can further assist in troubleshooting sound issues effectively. Being aware of correct input selection is crucial because a mismatch can cause sound to not be transmitted to your speakers. Moreover, consulting your receiver’s user manual can provide specific guidance tailored to your model.
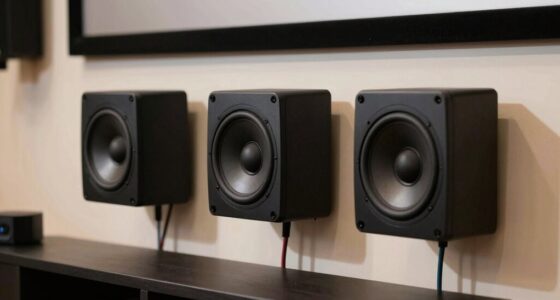
Inspect Speaker Wires and Speaker Settings
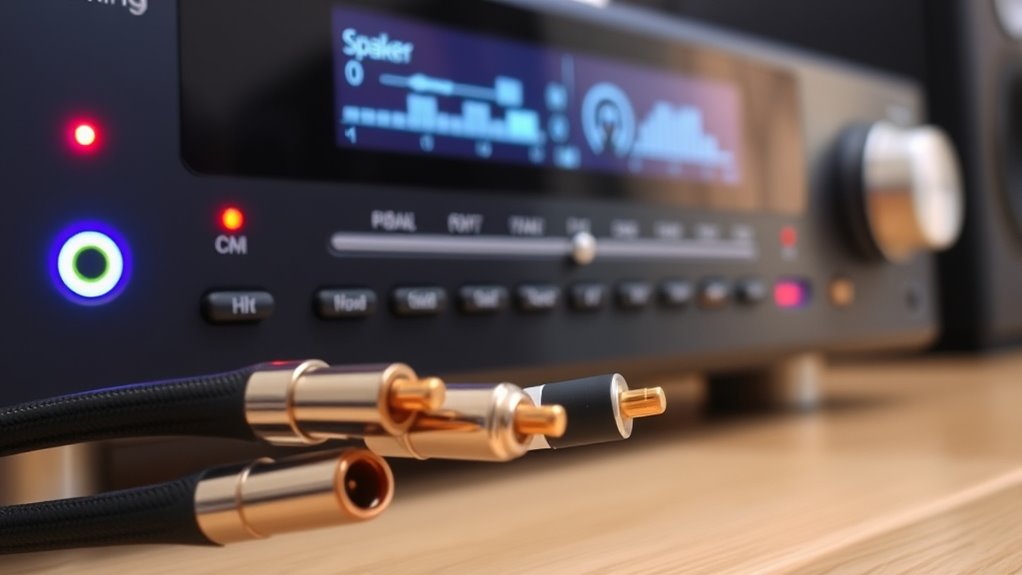
Inspecting your speaker wires and settings is essential because loose or damaged connections can prevent sound from reaching your speakers. First, check that all speaker wires are securely plugged into both the receiver and the speakers. Look for any frayed or broken wires that might cause an interruption in the signal. Next, verify that the speaker settings on your receiver are correctly configured, such as ensuring the speakers are enabled and set to the right size and distance. Additionally, ensuring proper connection integrity can help prevent signal loss and improve sound quality. Proper system calibration can also enhance audio performance and ensure balanced sound output. Confirm that the speaker impedance matches the receiver’s specifications to prevent issues. Ensuring consistent wiring and correct setup can significantly improve overall sound clarity and system performance.
Test With Different Audio Sources
Try connecting different devices like a smartphone or DVD player to see if the sound works. Make certain your cables are compatible and securely connected. Also, check and adjust the audio settings on each source to ensure they’re configured correctly. To prevent confusion, verify that your setup follows a simple, logical connection sequence to make troubleshooting easier. Confirm that your audio signal flow is correctly arranged to avoid common issues. Additionally, ensuring your cabling and connections are of good quality can prevent signal loss or interference. Incorporating proper grounding can also help reduce noise and ensure clearer sound. Being aware of ground loops can help you identify and eliminate potential noise problems.
Try Various Devices
If your receiver remains silent, testing it with different audio sources can quickly identify whether the problem lies with a particular device or the receiver itself. Try connecting various devices like a Blu-ray player, streaming device, or game console. If some sources produce sound while others don’t, the issue might be with the specific device rather than the receiver. Use different types of connections—HDMI, optical, or RCA—to see if the problem persists across all cables. This process helps isolate whether the receiver handles certain inputs poorly or if a device is faulty.
- Connect a streaming device via HDMI and test the audio.
- Use an optical cable from a different source.
- Try a different input port on the receiver.
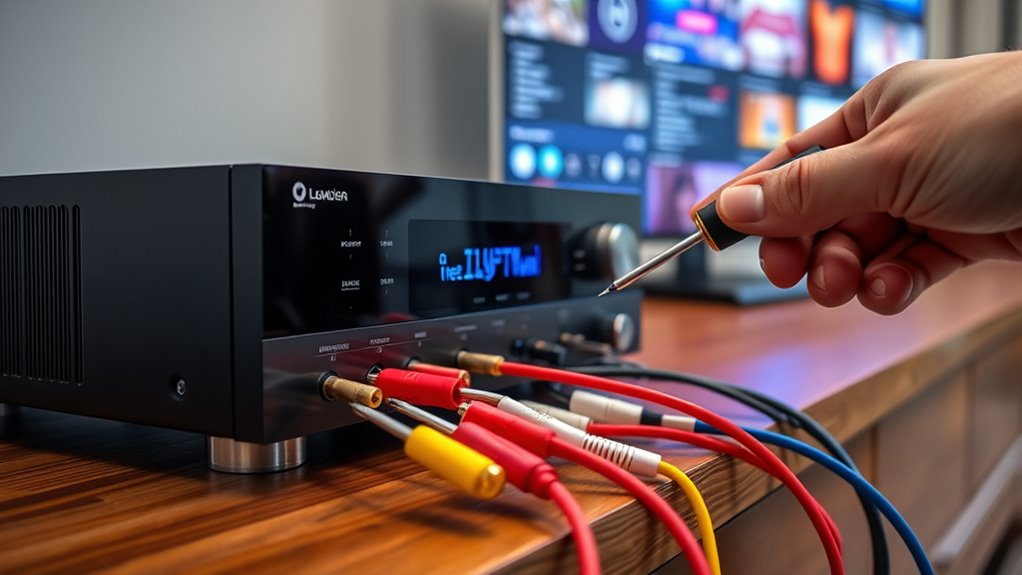
Check Cable Compatibility
After testing different devices and inputs, it’s important to confirm that your cables are compatible with your receiver and sources. Check that your HDMI, optical, or RCA cables are designed for audio transmission and aren’t damaged. If you’re using older or generic cables, they might not support the necessary audio signals. Try swapping out your current cables with known good ones, preferably high-quality, well-shielded options. Ensure that your cables are securely connected and match the input/output ports on both the device and receiver. Sometimes, incompatible or faulty cables can prevent sound from reaching your receiver, so testing with different cables helps identify if the issue is cable-related. This simple step can save you time and eliminate potential wiring problems. Additionally, verifying your cable quality and ensuring it meets the specifications for your audio setup can help prevent ongoing sound issues. Using properly shielded cables can also reduce interference that might disrupt audio signals.
Adjust Source Settings
To determine if the issue lies with a specific audio source, you should test different devices or inputs on your receiver. This helps identify whether the problem is isolated or affects all sources. Switch to another HDMI or audio cable, connect a different device, or change the input port. Make sure the source’s audio settings match your receiver’s requirements. For example:
- Confirm the device’s volume is up and not muted.
- Check if the output format (like PCM or Dolby) is compatible.
- Ensure the device’s audio settings are set to output sound through the correct connection type. Additionally, verifying the audio output settings on your device can prevent compatibility issues. It’s also helpful to review your receiver’s source configuration to ensure it’s set correctly for each input. Being aware of audio format compatibility can save troubleshooting time when issues arise.
Reset the Receiver to Factory Settings

Before resetting your receiver to factory settings, make sure to back up your custom configurations to avoid losing them. Follow the manufacturer’s factory reset tips carefully to prevent any issues during the process. After the reset, you’ll need to reconfigure your settings to restore peak audio performance.
Factory Reset Tips
If your receiver isn’t producing sound, performing a factory reset can often resolve the issue. This process restores your receiver to its original settings, clearing out any glitches or misconfigurations causing the problem. Before resetting, make certain you’ve noted any customized settings you want to reconfigure later. To perform a factory reset:
- Locate the reset button, usually on the back or front panel, and press it with a paperclip.
- Use the remote control’s menu options, navigating to “Settings” > “System” > “Reset to Factory Defaults.”
- Confirm your choice when prompted, and wait for the receiver to restart with factory settings restored.
Backup Settings First
Since resetting your receiver to factory settings can erase personalized configurations, it’s essential to back up your current settings beforehand. Check your receiver’s menu for an option to save or export your setup, including speaker configurations, input assignments, and network settings. Some devices offer a dedicated backup feature, while others require you to manually record settings. This step guarantees you can quickly restore your preferences after the reset. If your receiver is connected to a smartphone app or computer software, use those tools to save your configurations. Taking these precautions prevents the hassle of reconfiguring everything from scratch if you need to perform a reset. Once backed up, you’re ready to proceed with the factory reset confidently, knowing your settings are safe.
Reconfigure After Reset
After you’ve backed up your settings, it’s time to restore your receiver to its original configuration. Resetting to factory settings can resolve persistent sound issues caused by incorrect setup or software glitches. Once reset, your receiver will be restored to default factory defaults, wiping out any custom configurations. This process clears potential conflicts and resets the system’s internal parameters. To reconfigure efficiently:
- Reconnect your speakers and verify their placement.
- Re-enter your preferred input and output settings.
- Run any calibration or setup wizard to optimize sound quality.
Performing these steps ensures your receiver is properly reset and ready for fresh setup, which often resolves sound problems. Keep your remote handy for quick reconfiguration, and consult your user manual if you encounter any specific reset instructions.
Frequently Asked Questions
How Do I Update My Receiver’s Firmware for Better Compatibility?
To update your receiver’s firmware, start by visiting the manufacturer’s website and downloading the latest firmware file for your model. Connect a USB drive or use a network connection, depending on your receiver’s capabilities. Follow the instructions in your user manual to initiate the update process, which usually involves steering through the firmware update menu. Make sure your receiver stays powered on during the update to prevent any issues.
Why Is My Receiver Overheating and Causing No Sound?
Did you know that nearly 60% of receiver overheating issues are caused by poor ventilation? If your receiver is overheating and causing no sound, turn it off and unplug it. Check for dust buildup and make certain vents are clear. Keep it in a well-ventilated area, and avoid stacking items on top. Regularly clean vents and consider adding a cooling fan if needed. These steps help prevent overheating and restore sound.
Can Software Conflicts Prevent Audio Output From My Receiver?
Yes, software conflicts can prevent your receiver from producing audio. You might experience this if your device’s firmware is outdated or if conflicting apps or settings interfere with audio output. To fix it, update your receiver’s firmware and check your audio settings. Restart your receiver after updates, and verify no other devices or apps are causing conflicts. These steps often resolve software-related sound issues quickly.
What Are Common Signs of a Faulty Receiver Amplifier?
Think of your receiver’s amplifier as a loyal friend who suddenly stops listening. Common signs include reduced or no audio output, crackling sounds, or uneven sound levels. If you notice your sound cutting out or distortion, it’s like your friend struggling to hear you clearly. These issues often point to faulty components or overheating. Addressing these early can save you from a complete breakdown, just like helping a friend in need.
How Do I Test My Speakers Independently for Issues?
You can test your speakers independently by connecting them to a different audio source, like a smartphone or another receiver, using speaker wires. Play a familiar sound or music to check if they produce clear audio without distortion or buzzing. Also, inspect the wires and connections for damage or loose fittings. If they sound fine with another device, your original setup or receiver might be the issue, not the speakers themselves.
Conclusion
When your receiver has no sound, these checks can save you time and frustration. Verify connections first—your setup depends on it. Adjust volume and mute settings next, then confirm you’re on the right input. Inspect speaker wires and test different sources if needed. If all else fails, resetting the receiver might do the trick. It’s a simple fix, yet sometimes, the simplest solutions make the biggest difference—quiet now, but a quick fix can bring your system back to life.