
TL;DR

Get audio and creator gear delivered free with Prime
- Fast, free delivery on millions of items
- Prime Video, Amazon Music and more included
- Member-only deals all year
The best studio microphone for streaming balances clarity, noise rejection, and ease of use. Proper placement and environment are just as important as the mic itself. Invest in the right type, connectivity, and positioning for a professional sound that captures your voice perfectly.
Imagine streaming for hundreds of viewers, your voice crisp and free of background noise, every word landing with clarity. That’s not just about a fancy microphone — it’s about making smart choices for your setup. The right microphone can turn a good stream into a great one.
In this guide, you’ll learn what makes a microphone ideal for streaming, how to set it up, and which features really matter. Whether you’re gaming, podcasting, or doing interviews, getting your sound right is a game-changer. Let’s start with the core decisions that impact your audio quality every single time you hit record or go live.
Choose a dynamic microphone for untreated or noisy rooms; it focuses on your voice and rejects room echo.
Position your mic within 5–15 cm from your mouth, angled slightly away, with a pop filter to improve clarity.
Use a cardioid polar pattern for best noise rejection during solo streaming sessions.
Invest in a good interface if using XLR, or opt for a reliable USB mic if starting out or on a budget.
Room treatment and placement are often more impactful on sound quality than expensive gear alone.
Which Microphone Type Wins for Streaming? Dynamic or Condenser?
The first step is knowing the difference between dynamic and condenser microphones. Dynamic mics are the tough, go-anywhere champions. They excel in noisy environments, like bedrooms with fans or keyboards clicking. They don’t pick up distant sounds, so your voice stays front and center, even if the room isn’t perfect. This makes them highly practical for streamers who may not have a fully treated space, as they help maintain focus on your voice and reduce background distractions.
Condenser microphones, on the other hand, are more sensitive and capture every nuance of your voice. They require a quieter, more controlled environment because they pick up a broader range of sounds, including room echo and background noise. This sensitivity can be an advantage when you want rich, detailed audio, but it becomes a disadvantage in untreated spaces, where unwanted sounds can muddy your audio and make editing more difficult. The tradeoff is that condensers often provide a more natural and warm tone, which can enhance vocal presence in a controlled setting. Choosing between these mic types depends heavily on your room acoustics and the level of post-processing you are willing to do.
For example, a popular dynamic, the Shure SM58, is renowned for durability and vocal clarity on stage, but its rejection of ambient noise makes it equally suitable for streaming in less-than-ideal rooms. Conversely, condensers like the Audio-Technica AT2035 can deliver studio-quality sound in a dedicated space, but may require additional acoustic treatment and careful placement to avoid echo and background noise. The key is understanding that the right choice hinges on your environment and desired sound quality—dynamics for rougher spaces, condensers for controlled environments.
USB studio microphone for streaming
As an affiliate, we earn on qualifying purchases.
As an affiliate, we earn on qualifying purchases.
USB or XLR: Which Connection Fits Your Streaming Setup?
Choosing between USB and XLR connections isn’t just about convenience; it impacts your sound quality, scalability, and future-proofing. USB microphones are designed for simplicity—they connect directly to your computer via a single cable, often with a built-in audio interface and preamp. This ease of setup means you can start streaming quickly, making them ideal for beginners or streamers with limited space. However, because the internal components are integrated, upgrading or customizing your sound later can be limited, and the overall audio quality may be constrained by the mic’s internal circuitry.
XLR microphones require an external audio interface or mixer, which adds complexity and cost initially but offers significant advantages. An interface with high-quality preamps can dramatically improve your audio clarity, dynamic range, and noise rejection. It also allows you to upgrade components over time—swapping out mics, adding multiple channels, or integrating professional-grade equipment. For serious streamers or those planning to expand their setup, XLR provides flexibility and potentially better long-term sound quality, especially with good preamps and cabling.
Hybrid models, which support both USB and XLR, offer versatility, letting you start with simple plug-and-play and upgrade later without changing your microphone. This dual capability is a smart investment for those who want immediate results but also plan to develop a more professional studio environment. The tradeoff is that hybrid mics tend to be more expensive and slightly bulkier, so consider whether the added flexibility aligns with your goals and budget.
dynamic microphone for noisy environments
As an affiliate, we earn on qualifying purchases.
As an affiliate, we earn on qualifying purchases.
Defining Your Environment and Setup Needs
Before choosing the right microphone, it’s essential to assess your recording environment. Is your space treated with acoustic panels or soft furnishings, or is it a bare room with hard surfaces? The environment will influence whether a dynamic or condenser microphone is more suitable. Additionally, consider your available budget, future plans for expanding your setup, and your technical comfort level. Understanding these factors helps you make an informed decision that results in clear, professional audio without unnecessary expense or complexity.
For example, if your room is untreated and noisy, a dynamic microphone will help focus on your voice and reject background sounds. If you have a dedicated, soundproof studio, a condenser microphone can deliver richer sound quality, capturing subtle vocal nuances. Moreover, consider your existing equipment—do you already have an audio interface, or will you need to acquire one? Planning your setup holistically ensures you select gear that fits seamlessly into your workflow and produces the best results.
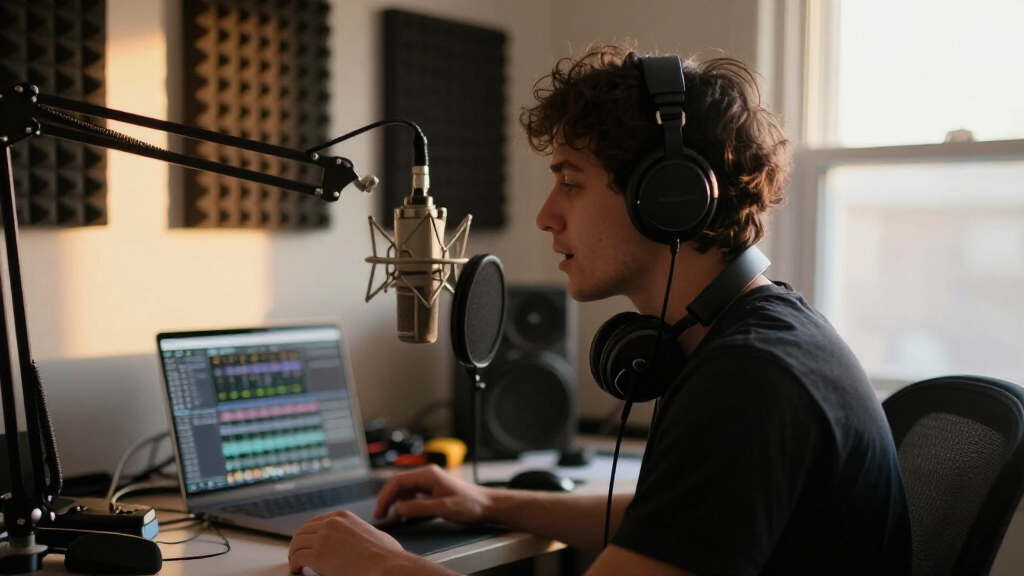
Proper placement also plays a vital role. Position your mic within 5–15 cm from your mouth, slightly off-axis to reduce plosives, and use a pop filter to improve clarity. These small adjustments can significantly impact your sound quality and listener experience.
XLR microphone interface for streaming
As an affiliate, we earn on qualifying purchases.
As an affiliate, we earn on qualifying purchases.
Conclusion
Your voice is your brand. A carefully chosen microphone, well-placed and paired with a quiet room, elevates your stream from good to unforgettable. Remember, no gear can fix a poor environment — start with the basics, then refine.
Picture your ideal sound, clear and warm, drawing viewers in. That’s within reach. Just pick the right mic, position it well, and keep your environment in check. Your audience will thank you for the crisp, professional sound.
As an affiliate, we earn on qualifying purchases.
Halloween Picks
halloween
As an affiliate, we earn on qualifying purchases.