

Color temperature is the key setting that affects how natural your skin tones appear in photos. It measures the warmth or coolness of your light source in Kelvin, shaping the overall mood and color accuracy. By adjusting this setting or white balance, you can make skin look vibrant, realistic, and true to life. If you want to learn how to master this and get perfect skin tones, there’s more to discover below.
Key Takeaways
- Adjusting the white balance to match the scene’s color temperature ensures skin tones appear natural.
- Using Kelvin settings allows precise control over warmth or coolness, affecting skin tone realism.
- Shooting in RAW enables fine-tuning of color temperature during post-processing for accurate skin colors.
- Correct white balance prevents unwanted color casts, maintaining vibrant and true-to-life skin tones.
- Understanding scene lighting helps select the right Kelvin value for authentic skin tone reproduction.
What Is Color Temperature in Photography?
Understanding what color temperature in photography means is essential for capturing well-balanced images. It describes the warmth or coolness of the light in your scene, measured in Kelvin (K). Lower Kelvin values, like 2,000-3,000K, produce warm, amber tones, mimicking sunrise or candlelight. Higher values, around 6,500-10,000K, create cooler, bluish hues, similar to overcast days or shade. Knowing this helps you choose the right white balance setting on your camera to ensure colors appear natural. When you adjust the color temperature, you influence the overall mood of your photo. It’s a powerful tool for setting the tone and atmosphere, whether you want a warm, inviting feel or a cool, clinical look. Mastering this concept is key to achieving accurate and appealing colors in your images. Understanding how light color impacts mood is also an important aspect of photography techniques, especially when considering the influence of projector color temperature on image presentation. Additionally, recognizing color temperature in photography can help you better interpret and replicate natural lighting conditions.
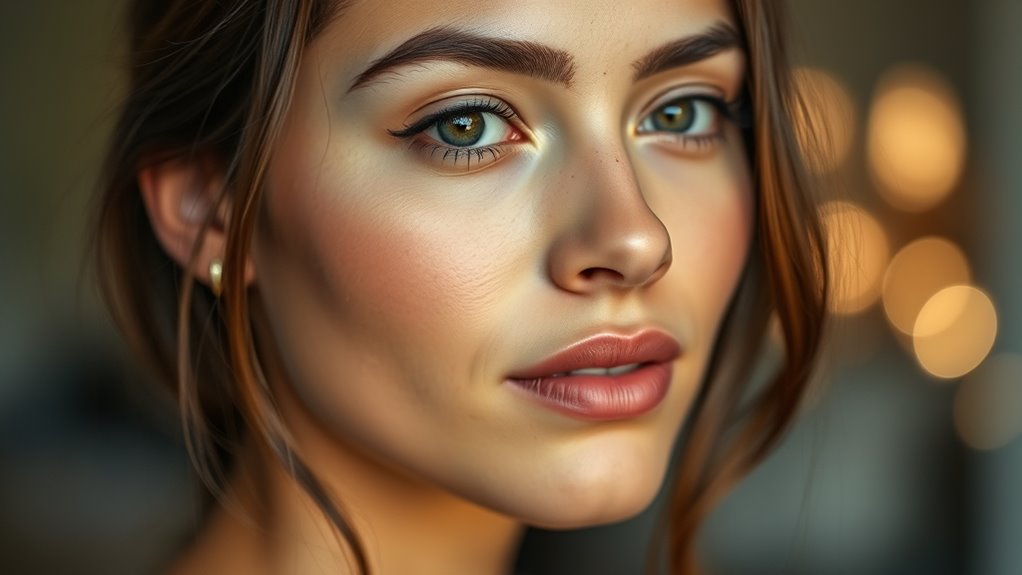
The Impact of Color Temperature on Skin Tones
The color temperature of your lighting directly influences how skin tones appear in photos, affecting their warmth and realism. If your light is too warm (lower Kelvin), skin can look overly yellow or orange, making subjects appear unnatural. Conversely, cooler (higher Kelvin) lighting can give skin a bluish tint, losing its natural glow. Properly balanced color temperature ensures skin tones look true to life, with accurate warmth and depth. When the temperature is just right, skin appears vibrant and realistic, avoiding washed-out or overly saturated effects. Controlling this setting allows photographers to highlight the natural tones and textures of skin, creating photos that feel genuine and appealing. Understanding the impact of color temperature helps you produce images that accurately represent your subject’s true skin color. Additionally, adjusting the lighting balance can enhance overall image quality and mood, especially when considering the color rendering index for more natural-looking results. Furthermore, awareness of the color temperature range ensures optimal lighting choices for different scenarios, enhancing the overall quality of your images.
Understanding Kelvin: The Measurement of Color Temperature
Understanding Kelvin is key to grasping how color temperature is measured. You’ll learn how the Kelvin scale ranges from warm to cool tones and how this affects your lighting choices. Adjusting your color balance becomes easier once you know how to interpret these measurements. Incorporating energy-efficient cloud servers can further enhance sustainable lighting solutions by reducing environmental impact. For instance, adopting advanced lighting technology ensures optimal color rendering and energy savings. Being aware of mammography guidelines helps ensure you choose appropriate screening options, which can be important when considering lighting for medical imaging environments. Additionally, understanding the ethnicity of subjects can influence color temperature choices to achieve the most natural skin tones. Recognizing bank SWIFT/BIC codes is also important for secure international transactions, which may be relevant for sourcing specialized lighting equipment globally.
Kelvin Scale Basics
The Kelvin scale measures the color temperature of light sources by assigning a numerical value that corresponds to their hue. It ranges from 1,000 to 10,000 Kelvin, with lower numbers representing warmer, more yellow-orange light, and higher numbers indicating cooler, bluish light. For example, candlelight is around 1,800K, while daylight at noon can reach 5,500K. Understanding this scale helps you select the right lighting for different situations, ensuring skin tones appear natural and true to life. When you see a light source’s Kelvin rating, it gives you a quick idea of its warmth or coolness. This knowledge allows you to adjust your camera settings or lighting setup to achieve the desired color balance, creating more realistic and flattering images. Proper lighting selection is essential for capturing true-to-life skin tones and enhancing visual quality. Additionally, knowing the impact of color temperature on image tone can help you create specific moods or effects in your photography. Recognizing how lighting conditions influence the overall ambiance can further refine your photographic results.
Warm vs. Cool Tones
Knowing the Kelvin scale helps you distinguish between warm and cool tones in lighting. Warm tones typically range from 2700K to 3500K and emit a soft, amber or yellowish glow, creating cozy and inviting atmospheres. Cool tones fall between 5000K and 6500K, producing a bluish or daylight-like appearance that feels crisp and energizing. When you see lighting with lower Kelvin values, think of the warm glow of a sunset or incandescent bulbs. Higher Kelvin values resemble midday sunlight or overcast skies, giving a cooler feel. Understanding these differences helps you select the right lighting for your scene, ensuring skin tones look natural and the overall mood aligns with your creative vision. Recognizing warm versus cool tones is essential for achieving accurate color representation.
Adjusting Color Balance
Adjusting color balance is essential to achieving the desired mood and accurate skin tones in your photos or videos. By tweaking the color balance, you can correct color casts and ensure your images look natural. Understanding Kelvin helps you make precise adjustments, matching the light source’s temperature. Cooler tones (higher Kelvin) add bluish hues, while warmer tones (lower Kelvin) introduce reddish or yellowish hues. Use your camera’s white balance settings or editing tools to fine-tune this balance. Here’s a quick guide:
| Kelvin Range | Effect on Image | Ideal Use Case |
|---|---|---|
| 2000K-3000K | Warm, yellowish | Indoor tungsten lighting |
| 4000K-5500K | Neutral, daylight | Natural daylight |
| 6000K-10000K | Cool, bluish | Overcast or shade |
Additionally, understanding the color temperature measurement helps you select the appropriate settings for different lighting environments. Recognizing the cultural significance of color can also guide you in choosing the right Kelvin setting to evoke specific moods or atmospheres. Being aware of lighting conditions allows for more accurate color correction and enhances the realism of skin tones. Moreover, knowing how different waterpark amenities are illuminated can influence your choice of Kelvin settings to accurately capture their vibrant features. Incorporating professional photography techniques can further improve your control over color accuracy and visual impact.
How Different Lighting Conditions Affect Your Camera’s Settings
Lighting conditions directly influence your camera’s settings, requiring you to adapt quickly to capture the best shot. When shooting outdoors in bright sunlight, you might need to lower your ISO and use a smaller aperture to prevent overexposure. Overcast or shaded environments often call for increasing ISO and opening your aperture to gather more light. Indoor lighting varies widely; incandescent bulbs tend to cast warm tones, so adjusting your white balance helps maintain natural skin colors. Fluorescent lighting can introduce greenish hues, prompting you to tweak your camera’s settings to compensate. In low-light situations, boost your ISO and slow your shutter speed to avoid underexposure. Understanding how different lighting impacts your camera’s settings ensures you can make quick adjustments and produce well-exposed, natural-looking images. For reliable results, being aware of lighting safety considerations and equipment adjustments can make a significant difference. Additionally, recognizing how color temperature influences image quality can help you achieve more accurate and appealing photos. Adjusting your camera’s white balance settings based on the lighting environment is essential for capturing true-to-life skin tones. Moreover, understanding how lighting color temperature affects skin appearance can help you choose the most flattering settings for different scenarios.
Adjusting White Balance for Natural-Looking Skin
To achieve natural-looking skin tones in your photos, you need to set the correct white balance for your lighting conditions. Start by evaluating the light source—sunlight, tungsten, fluorescent, or mixed lighting—and choose the appropriate preset on your camera. If your camera offers a manual white balance setting, use a gray card or a neutral-colored object to calibrate it precisely. Avoid relying solely on auto white balance, as it can sometimes shift skin tones unnaturally. Adjust the white balance until skin appears vibrant and true to life without any color cast. Remember, subtle tweaks can make a big difference, so take a moment to review your shot and ensure skin tones look natural and appealing.
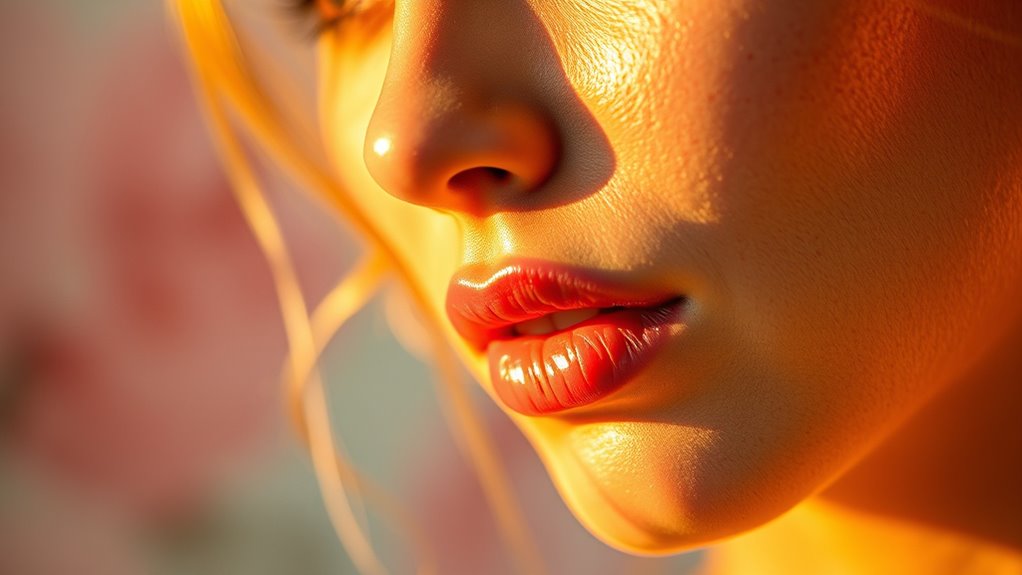
Practical Tips for Mastering Color Temperature in Various Scenarios
Mastering color temperature across different scenarios requires understanding how various lighting conditions influence your photos. When shooting outdoors during golden hour, set your camera to a warmer tone to enhance the natural glow, but avoid overdoing it to keep skin tones realistic. In cloudy or shaded environments, your images may appear cooler; adjust your white balance slightly warmer to counteract the bluish tint. Indoor settings with tungsten lighting often produce warm, yellowish hues, so use a cooler setting or manually adjust to balance skin tones. For mixed lighting, rely on custom white balance or shoot in RAW, allowing you to fine-tune color temperature during editing. Practice observing how different lights impact your shots, and don’t hesitate to experiment with manual adjustments to achieve natural-looking skin tones across various scenarios.
Common Mistakes to Avoid When Setting Color Temperature
One common mistake is relying solely on your camera’s auto white balance setting, which can produce inconsistent or unnatural colors. Auto mode often guesses the best setting, but it may struggle in tricky lighting, resulting in skin tones that look off or colors that don’t match reality. Another mistake is ignoring the importance of understanding your light source’s color temperature. For example, shooting indoors under tungsten lights without adjusting your camera can cause yellowish or orange hues. Additionally, sticking rigidly to a single setting for all shots can be problematic; different scenes may require different adjustments. finally, neglecting to review your images and adjust settings accordingly can lead to missed opportunities for better color accuracy. Always evaluate and fine-tune your camera’s white balance to achieve natural, true-to-life skin tones.
Tools and Techniques to Fine-Tune Your Camera’s Color Settings
After understanding common mistakes in setting your camera’s white balance, the next step is to learn how to refine those settings for ideal results. You can use tools like the camera’s preset modes, custom white balance, or manual adjustments to achieve accurate skin tones. Techniques such as shooting in RAW allows you to fine-tune color temperature during post-processing. Adjustments should be based on your lighting environment to prevent color casts. Remember, small changes can make a big difference. Here’s a quick guide:
| Tool/Technique | When to Use | Benefit |
|---|---|---|
| Preset White Balance | Consistent lighting conditions | Quick, reliable results |
| Custom White Balance | Unique or mixed lighting | Precise color accuracy |
| Manual Kelvin Adjustment | Creative control in variable light | Fine-tuned, natural skin tones |
Frequently Asked Questions
How Does Color Temperature Influence the Overall Mood of a Photograph?
Color temperature directly influences the mood of your photograph by creating warm or cool tones. When you set a warm temperature, it evokes feelings of coziness, intimacy, or nostalgia. Cooler settings, on the other hand, can produce a calm, detached, or even eerie atmosphere. By adjusting this setting, you control how viewers perceive the scene, making your images more emotionally resonant and aligned with your intended message.
Can Changing Color Temperature Improve the Accuracy of Skin Tone Reproduction?
Changing the color temperature can notably improve skin tone accuracy, like tuning a musical instrument until it’s perfectly in harmony. When you adjust the setting, you help your camera capture true-to-life skin colors, avoiding the dullness of too cool tones or the unnatural warmth of too warm settings. This simple tweak ensures your portraits resonate with genuine warmth and realism, making your subjects look authentic and vibrant in every shot.
What Are the Best Settings for Shooting Indoors With Mixed Lighting?
For indoor mixed lighting, set your camera’s white balance to a custom setting or use a preset like “Incandescent” or “Fluorescent” depending on predominant light sources. Adjust the Kelvin temperature between 2500K and 4000K to balance warm and cool tones. You can also use a gray card for precise calibration. This guarantees your skin tones stay natural and your photos look balanced, even with varied indoor lighting.
How Does Color Temperature Affect the Color Accuracy of Other Objects in a Photo?
Color temperature really shapes how true colors appear in your photo. When you set the right temperature, you ensure objects display their natural hues without unwanted color casts. If the temperature’s off, blues may turn yellow, or reds might look dull, distorting reality. You should always match your camera’s white balance to your lighting conditions, so every object retains its authentic color, creating a more accurate and visually pleasing image.
Is It Better to Adjust Color Temperature In-Camera or During Post-Processing?
It’s generally better to adjust color temperature in-camera for ideal results, as it helps you see the true colors directly. However, if you can’t get it perfect on the spot, you can fine-tune it during post-processing. Shooting with a correct white balance saves time and keeps editing simple, but post-processing gives you more control to perfect the tones later. Balancing both approaches often yields the best outcome.
Conclusion
Mastering color temperature can transform your photos, making skin tones appear natural and vibrant. Did you know that proper white balance can reduce skin tone errors by up to 80%? When you understand how different lighting affects your camera’s settings, you’ll capture stunning, true-to-life images every time. Keep experimenting with your tools and techniques, and you’ll consistently achieve flawless results that truly reflect the scene’s mood and atmosphere.