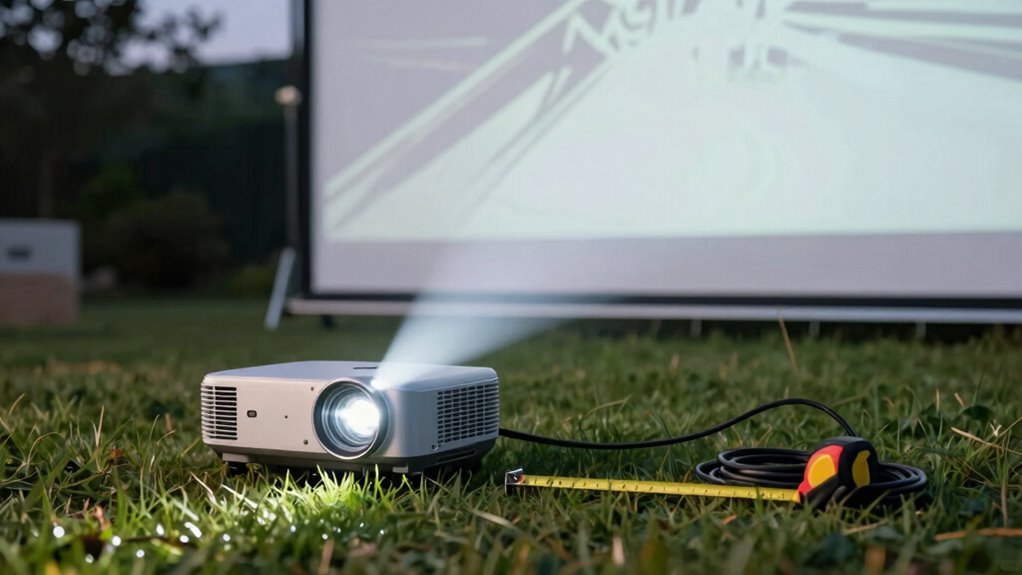

Using the correct throw distance calculation can save you hours of frustration during projector setup. By knowing your projector’s throw ratio and measuring your screen width, you can quickly determine the best distance for placement. This avoids trial-and-error positioning and minimizes adjustments later. Proper calibration and planning help guarantee a sharp, properly scaled image right from the start. Keep these tips in mind, and you’ll discover more ways to make setup faster and easier.
Key Takeaways
- Using the projector’s specified throw ratio allows quick calculation of optimal distance for accurate image size.
- Measure your screen width and apply the throw ratio to determine the exact projector placement.
- Proper calibration and initial setup prevent frequent repositioning and reduce setup time.
- Lens shift and zoom features enable fine-tuning without moving the projector, saving time.
- Understanding and applying throw ratio shortcuts streamline the entire installation process.
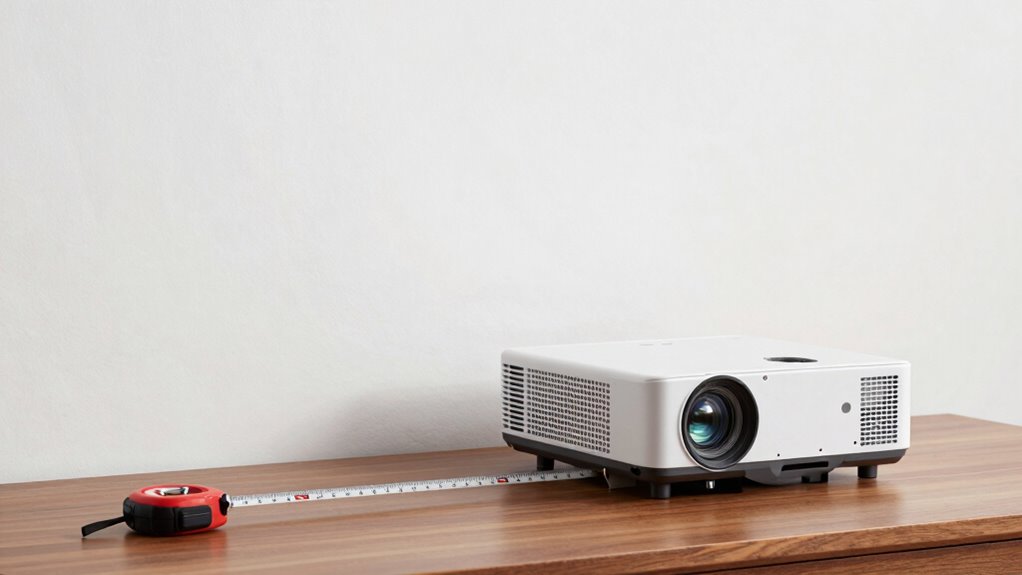
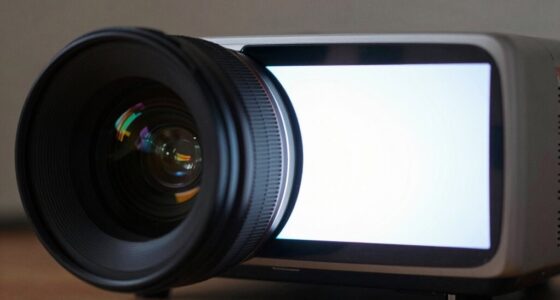
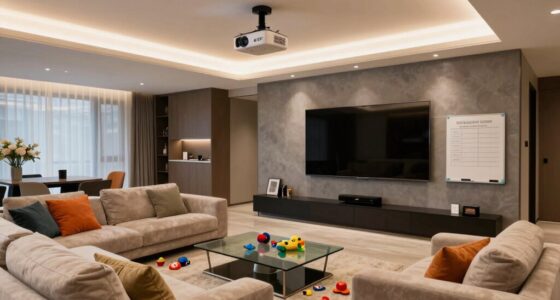
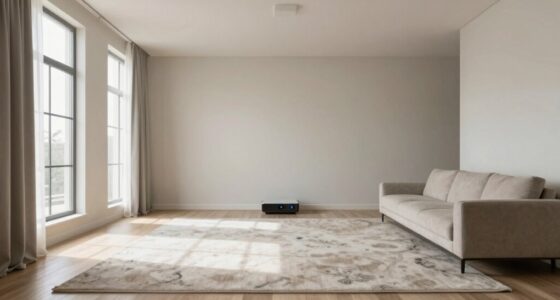
Ever wondered how to quickly determine the perfect throw distance for your setup? It’s a common challenge that can turn into hours of frustration if you’re not cautious. The key to streamlining your installation lies in understanding projector calibration and screen placement, which directly influence the ideal throw distance. When you start with a clear plan for these, you can avoid guesswork and save yourself a ton of time. Proper calibration isn’t just about image quality; it’s about ensuring that your projector is aligned to produce a sharp, correctly sized picture at the right distance. Most projectors have a throw ratio, which is the ratio of the distance from the projector to the screen to the width of the image projected. By knowing this, you can easily calculate the perfect placement without trial and error. Many projectors come with lens shift and zoom features that allow fine-tuning, but these are most effective when you’ve already identified the right starting point based on your screen size and room layout. When you calibrate correctly, your projector’s lens settings and image adjustments work in harmony, reducing the need for constant repositioning. Additionally, understanding the throw ratio helps you quickly determine the optimal distance for your setup, saving you time and effort. Next, consider your screen placement. The placement of your screen isn’t just about aesthetics; it’s about function. A well-placed screen allows you to set the projector at the right distance, matching its throw ratio for a crisp, properly scaled image. To do this efficiently, measure your available space and match it with the projector’s throw ratio. For example, if your projector’s throw ratio is 1.5:1 and your screen width is 100 inches, your projector should be approximately 150 inches away from the screen. This calculation gives you a solid starting point. Once you’ve established where the projector should go, you can make minor adjustments during calibration to perfect the image size and clarity. Proper screen placement also minimizes keystone distortion and ensures a comfortable viewing experience.

Hitachi 3.0 Throw Ratio Video Projector (CP-WU8440)
4200 Lumens Brightness
As an affiliate, we earn on qualifying purchases.
As an affiliate, we earn on qualifying purchases.
Frequently Asked Questions
Can This Shortcut Be Used With All Types of Projectors?
No, this shortcut isn’t compatible with all projector types. You need to check your projector’s compatibility because setup flexibility varies between models. Some projectors may not support this shortcut due to differing throw distances or connection options. Always verify your projector’s specifications before relying on this shortcut, so you can save time and avoid frustration during setup. It’s best suited for compatible projectors that support easy adjustments.
Does Room Size Affect the Shortcut’s Accuracy?
Yes, room size can affect the shortcut’s accuracy. When considering room dimensions and lighting conditions, larger rooms or those with bright lighting may require adjustments for precise throw distance calculations. You should measure your space accurately and account for ambient light, as these factors influence projection clarity. By doing so, you guarantee the shortcut provides reliable results, making your setup faster and more accurate regardless of room size or lighting conditions.
Is There a Risk of Damaging the Projector Using This Method?
Using the throw distance shortcut doesn’t pose a significant risk of damaging your projector if you follow proper projector safety and maintenance tips. Make certain you handle the projector carefully, avoid placing it in unstable positions, and keep it clean. Regularly check for overheating or loose connections. By maintaining your projector properly and following safety guidelines, you minimize risks and keep your device functioning well without damage.
How Often Should I Recalibrate the Throw Distance?
You should recalibrate your throw distance regularly to keep your projector performing at its best, enhance image quality, and extend its lifespan. Calibration frequency depends on usage and environmental changes—consider doing it monthly or after moving the projector. Consistent recalibration prevents blurriness and misalignment, ensuring your projector stays efficient and lasts longer. By staying proactive and attentive, you maximize your investment and enjoy the best viewing experience possible.
Can This Shortcut Be Applied in Outdoor Projection Setups?
Yes, you can apply this shortcut in outdoor projection setups, but you should consider outdoor lighting and weather conditions. Bright ambient light can affect the throw distance, so adjustments might be necessary. Also, weather considerations like wind or rain could impact your setup, making recalibration important after weather changes. Using the shortcut helps quickly adapt your projection, ensuring clear visuals despite outdoor challenges.

XGIMI HORIZON 20 4K RGB Triple Laser Home Projector, 3200 ISO Lumens, Google TV with Licensed Netflix, Optical Zoom & Lens Shift, IMAX Enhanced, Dolby Vision, 300" Display, 240Hz, 1ms Input Lag
Powered by RGB Triple Laser: The X-Master RGB triple laser engine delivers 3200 ISO lumens and a 100,000:1…
As an affiliate, we earn on qualifying purchases.
As an affiliate, we earn on qualifying purchases.
Conclusion
By using this throw distance shortcut, you’ll open a secret passage through setup frustration, saving hours that feel like wasted years. Think of it as your trusty map in a sea of confusion, guiding you swiftly to success. With this simple trick, you’ll turn chaos into clarity, making your gaming experience smoother and more enjoyable. Don’t let the hassle hold you back—embrace this shortcut and watch your frustration melt away like snow in the sun.

Red Cross Line Light Cross Hair Module Generator Projector Placement Position Guide for Wood Stone Screen Printing Heat Press Cloth Fabric Cutting Alignment (+AC-DC adpter+Holder, Red Cross)
line light for woodworks
As an affiliate, we earn on qualifying purchases.
As an affiliate, we earn on qualifying purchases.

Seesii 6Pcs SMA Calibration Kits for NanoVNA H H4 F V2 V3 SAA Mini1300 PS100 Vector Network Analyzer & Antenna Analyzer Calibrate RF Coaxial Test Connector Short/Load/Open/Thru/Jumper/F2F M2M Set
✅【High Frequency Coverage】: Frequency range covers DC to 6GHz, suitable for various high-frequency applications, ensuring measurement accuracy and…
As an affiliate, we earn on qualifying purchases.
As an affiliate, we earn on qualifying purchases.