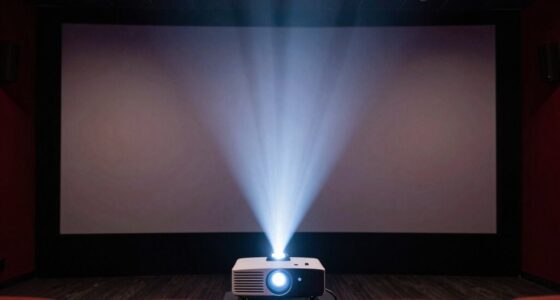
If parts of your projected image are missing or distorted, it’s likely due to overscan or improper zoom settings. Overscan happens when the projector displays beyond the screen edges, causing parts of the image to be cut off. Adjusting the overscan or zoom features in your projector’s menu can help restore the full image. Fine-tuning these settings guarantees your picture fits perfectly without distortion—discover how to calibrate them for the best results.
Key Takeaways
- Overscan settings may crop the edges of your image if enabled, causing parts of the picture to be lost.
- Factory default or signal source differences can trigger overscan, requiring adjustment in menu options.
- Incorrect zoom or aspect ratio settings can distort the image, leading to part of it appearing cut off or stretched.
- Proper calibration using test patterns and adjusting zoom levels ensures the entire picture fits the screen without cropping.
- Digital correction methods like keystone correction can cause image quality loss and may contribute to parts of the picture being omitted.
When setting up a projector, understanding overscan and zoom features is crucial to achieve a perfect image. These adjustments directly influence how your picture appears on the screen, and improper setup can lead to parts of the image being cut off or distorted. To get the best results, you need to familiarize yourself with calibration techniques that help fine-tune your projector’s display. Calibration involves more than just adjusting focus or keystone; it requires precise tweaks to ensure the image fits perfectly without unwanted cropping or distortion.
Overscan is a common issue that occurs when the projector displays more than what the screen can show, causing the edges to be cut off. This can happen due to factory settings or differences in signal sources. To correct this, you should access your projector’s menu and look for overscan settings, often labeled as “image scaling” or “overscan compensation.” Turning this off or adjusting the setting ensures the entire image is visible. Similarly, zoom features allow you to resize the image, either enlarging or shrinking it to fit the screen perfectly. However, misuse of zoom can lead to image distortion, where the picture appears stretched or squished. This is why calibration techniques are essential—by carefully adjusting zoom levels, you maintain the aspect ratio and preserve image integrity.
Proper calibration also involves checking for and minimizing image distortion. Distortion can manifest as skewed shapes or uneven proportions, detracting from viewing quality. Many projectors offer automatic or manual correction tools for this; for example, keystone correction adjusts the image for a trapezoidal shape caused by projector angle. While convenient, relying solely on digital correction can sometimes degrade image clarity, so manual calibration is preferable when possible. Using test patterns or calibration discs can help you identify how the image is distorted and guide your adjustments. These tools allow you to fine-tune zoom and positioning, ensuring that the picture remains proportionate and sharp. Additionally, understanding Paint Sprayer Zone concepts like proper maintenance and calibration can help ensure your projector’s internal components function optimally, reducing issues like image distortion or poor focus over time.

Golf Simulator Projector Cover - Floor Mounted Enclosure with Cooling Fan for Optimal Protection of Outdoor Golf Simulation Projectors - Compatible with Leading Golf Simulators and Projectors
✅【Economical Solution】The Golf Simulator Projector Cover offers a budget-friendly alternative to ceiling installations, allowing you to easily position...
As an affiliate, we earn on qualifying purchases.
Frequently Asked Questions
Can Overscan Affect Image Quality or Resolution?
Yes, overscan can influence image quality and resolution. When overscan occurs, the projector scales the image to fit the aspect ratio, which can lead to parts of the picture being cut off or blurred. This improper image scaling reduces clarity and detail, making the picture appear less sharp. To avoid this, you should adjust the overscan settings and ensure your projector correctly matches the aspect ratio of your content.
How Do I Disable Overscan on My Projector?
To disable overscan on your projector, start by accessing the screen calibration settings through your projector’s menu. Look for options related to aspect ratio or display size, and select a setting like “Just Scan” or “1:1 Pixel” to eliminate overscan. Adjust the aspect ratio to match your source device, ensuring the entire picture displays correctly without cropping, giving you a clear, properly framed image.
What Is the Difference Between Overscan and Zoom?
Overscan adjusts the image to fit the screen, often cropping the edges, while zoom enlarges the picture, cutting off parts to match a specific aspect ratio. When you change zoom, you’re effectively resizing the image, which can affect screen calibration. Overscan, however, is a setting that crops the edges intentionally. Understanding these differences helps you maintain proper aspect ratio and ensure your entire picture displays correctly without losing any content.
Why Does My Projector Cut off Parts of the Image?
Your projector cuts off parts of the image because of improper screen calibration or a mismatched aspect ratio. When the aspect ratio isn’t set correctly, the projector may overscan or zoom in, causing edges to be cut off. To fix this, adjust your projector’s settings to match your screen’s aspect ratio and perform a proper screen calibration. This guarantees the entire picture fits your display without losing any parts.
Are There Specific Settings for Different Input Devices?
You’ll find that certain input devices require specific settings for ideal display. Input device compatibility varies, so check your source device settings to match your projector’s requirements. Coincidentally, adjusting these settings can resolve overscan issues and prevent parts of your image from being cut off. By customizing source device options—like resolution and aspect ratio—you ensure a seamless picture, no matter which device you connect.

Projector Dust Cover for Ceiling Video Projector at Home or Outdoor Installation, Waterproof Dustproof Protection Case, 14"x14"x 9"
Ultimate Protection: waterproof cover protects your video projector from dust, scratches, and water damage or other possible factors...
As an affiliate, we earn on qualifying purchases.
Conclusion
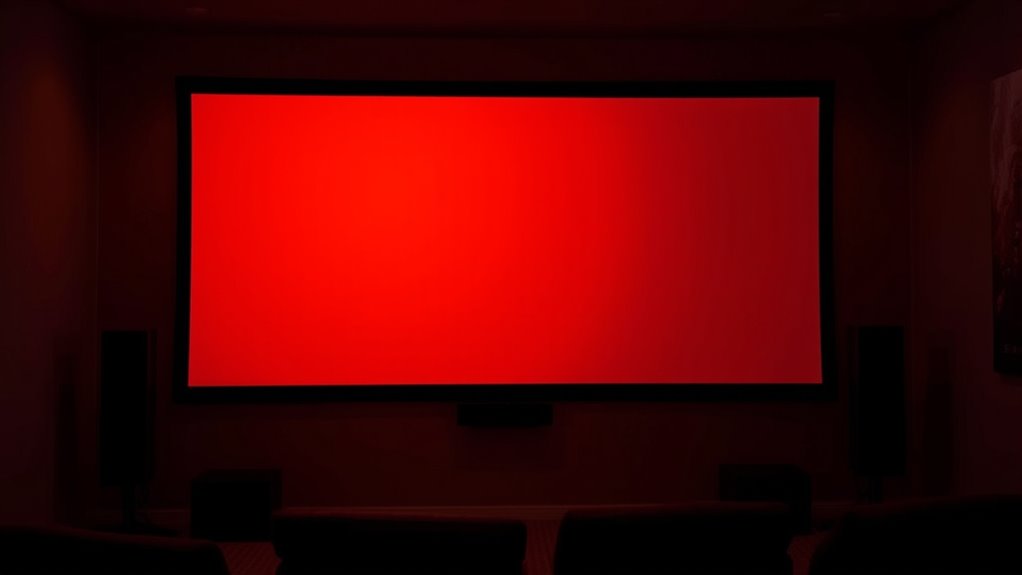
Think of your projector as a window into a world. Overscan and zoom are like curtains that hide parts of the view, leaving you missing details. Just as drawing back the curtains reveals the full landscape, adjusting your settings uncovers the complete picture. Don’t settle for a partial view—tweak your projector’s settings to see everything clearly. After all, a true window should show the whole scene, not just a fragment.

Projector Dust Cover,Projector Cover Outdoor Case Protective,Dust-Proof,UV-Resistant,Moisture-Proof,Fit for Ceiling Video Mounted Equipment Enclosure Oxford,Cloth Drawstring(13.7" X 13.7" X 8.6")
【Projector Dust Cover Material and Design】: Mainly made of waterproof elastic Oxford cloth, with a sturdy and durable...
As an affiliate, we earn on qualifying purchases.

Projector Dust Cover,Fit for Ceiling Mounted Projector and Universa Projector Waterproof,Dust-Proof, UV-Resistant Cover Oxford Cloth,Dimensions13.7" x 13.7" X 8.6"
Projector dust cover: Protect the projector surface from damage. Keep the projector clean and prevent it from being...
As an affiliate, we earn on qualifying purchases.