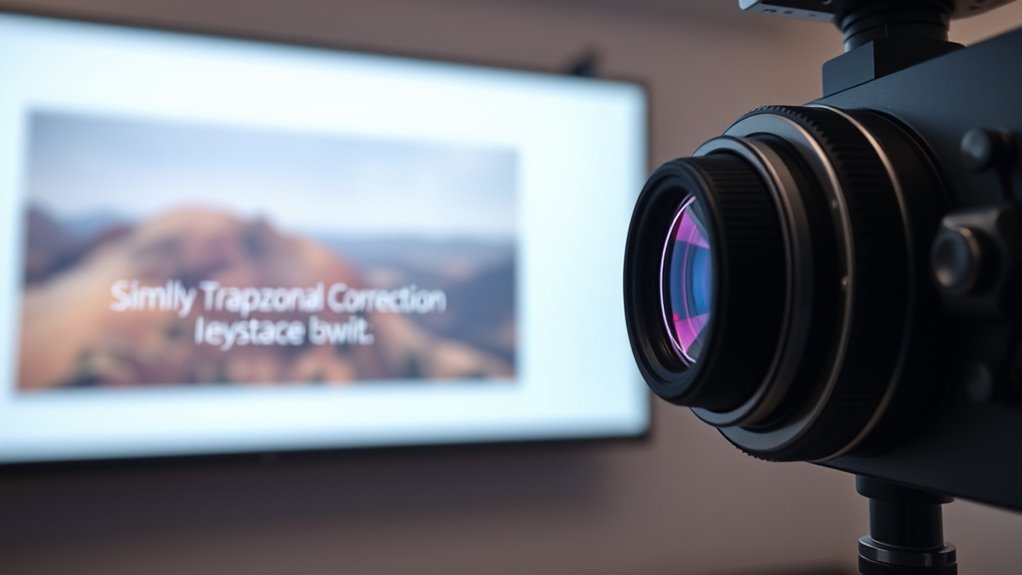
Keystone correction helps you fix distorted images caused by off-center projector placement, making your picture appear rectangular. However, this digital adjustment often softens the image and reduces sharpness because it reshapes pixels through interpolation. The more correction you apply, the more details and edges can blur, impacting overall clarity. If you want to understand how to balance correction and image quality, there’s more to discover ahead.
Key Takeaways
- Digital keystone correction reshapes images, often causing softening and reduced sharpness due to pixel interpolation.
- Correcting distortion can amplify noise and artifacts, further degrading image clarity.
- Excessive correction increases softness, blurring fine details and making images appear less crisp.
- Maintaining image quality requires balancing correction levels and using high-resolution content.
- Small, incremental adjustments and advanced algorithms help minimize softness during correction.
Understanding Keystone Correction and Its Purpose
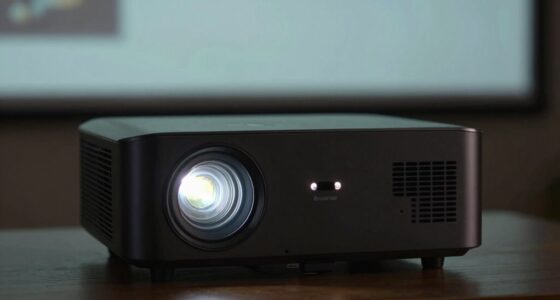
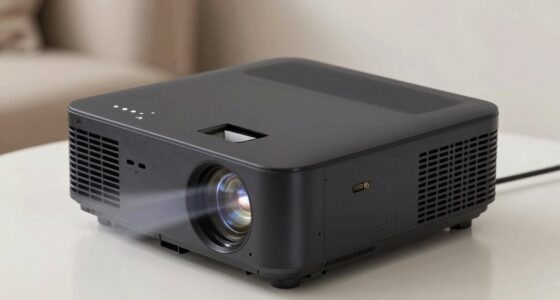
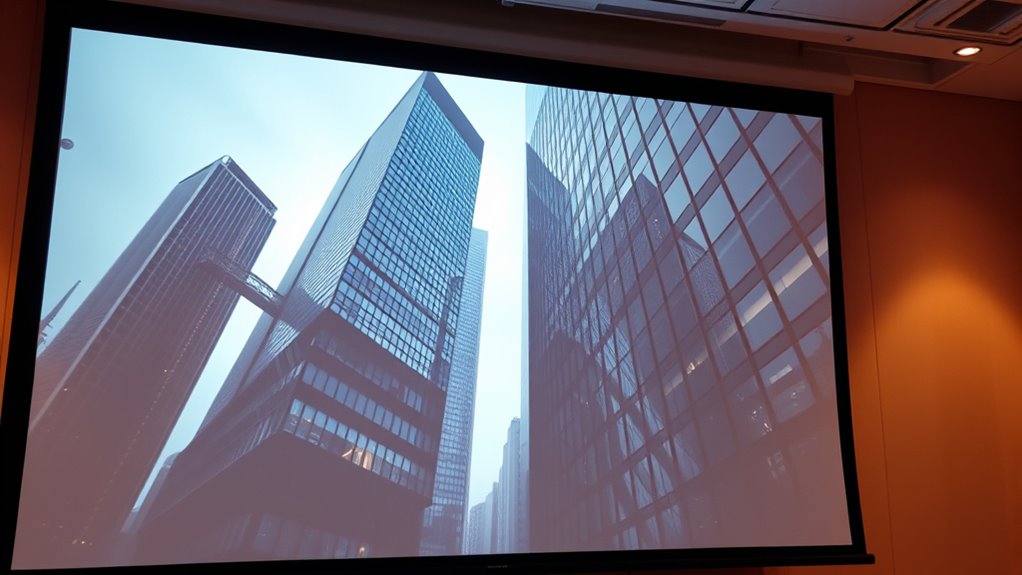
Have you ever noticed how a projector’s image appears distorted or trapezoidal when it’s not perfectly aligned with the screen? That’s where keystone correction comes in. It’s a feature built into many projectors to fix this shape distortion, allowing you to adjust the image so it appears rectangular, even if the projector isn’t perfectly centered. This function is especially useful when you can’t place your projector directly in front of the screen, such as in tight spaces or uneven surfaces. By digitally altering the shape of the image, keystone correction helps you achieve a clearer, more professional look without physically repositioning your projector. Its purpose is to guarantee your visuals are straight and proportionate, saving you time and effort in setup. Additionally, understanding features like projector accessories can further enhance your viewing experience. For example, some projectors offer software-based keystone correction, which provides more precise adjustments through digital processing. It’s worth noting that wave and wind conditions can influence the stability of outdoor projectors, making correction features even more valuable in such environments. Furthermore, some projectors offer automatic keystone correction, which simplifies the process by adjusting the image automatically for optimal display. Knowing about calibration techniques can also help maintain image quality over time.
How Projector Angles Affect Image Distortion
When you change the projector’s vertical angle, it can cause the image to appear trapezoidal, making keystone correction necessary. Horizontal misalignment also leads to distortion, especially if the projector isn’t perfectly centered. Understanding these angle impacts helps you position your projector more accurately for a clear, rectangular image. Additionally, proper temperature control and understanding the thermal behavior of your projector setup can help maintain image quality during extended use. Proper placement and load calculations ensure your projector operates within safe limits, preventing overheating and performance issues. Using the right electric bike conversion kit can also enhance mobility and reduce environmental impact, reflecting a broader trend in sustainable transportation. Moreover, considering ventilation considerations can help dissipate heat effectively and preserve projector longevity.
Vertical Angle Impact
Ever wondered how the angle at which your projector is placed can distort the image? When you tilt the projector vertically—either higher or lower than the screen—you introduce keystone distortion, making the image appear trapezoidal instead of rectangular. This vertical misalignment causes the top or bottom of the image to stretch or squeeze, reducing clarity and proportionality. The more extreme the vertical angle, the more pronounced the distortion becomes. Adjusting the projector to a more level position is ideal, but if that’s not possible, keystone correction can help, though it may soften the image quality. Understanding this impact helps you position your projector accurately, minimizing distortion and maintaining a crisp, proportionate picture. Proper placement ensures the best viewing experience without sacrificing image sharpness.
Horizontal Alignment Challenges
Adjusting your projector vertically affects the shape of the image, but horizontal angles can also introduce significant distortion. When you position the projector off-center or at an angle, the image may appear skewed or stretched horizontally. This distortion is especially common if you aim the projector toward the side of the screen rather than directly at it. The result is a trapezoidal image that can be distracting or hard to view. To minimize this, you need to align the projector as level and centered as possible. Using keystone correction can help, but excessive adjustments may degrade image quality. Always aim for a straight, perpendicular setup to preserve image integrity and reduce the need for digital correction later. Proper horizontal alignment ensures a clear, undistorted viewing experience. Additionally, understanding projector placement can greatly improve image accuracy and reduce the need for correction, and paying attention to setup guidance can ensure optimal results. Being mindful of lens shift options can also provide more flexibility in achieving perfect alignment without compromising image quality.
The Mechanics Behind Keystone Adjustment
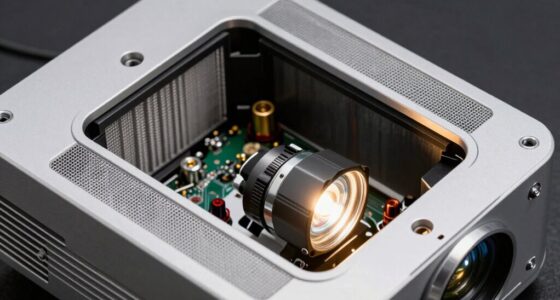
At its core, keystone correction works by digitally reshaping the projected image to counteract distortion caused by the projector’s angle. When you project at an angle, the image appears trapezoidal instead of rectangular. The correction process adjusts the image’s geometric properties to make it appear straight and proportional. Modern projectors use built-in software to modify the pixel arrangement, stretching or compressing parts of the image as needed. This involves mapping the original image onto a new grid that compensates for the tilt, effectively “warping” the picture into a more natural shape. The adjustment happens in real-time, allowing you to correct skewed images quickly. However, this digital reshaping is what leads to the softer image quality often noticed after correction. Additionally, the process of pixel manipulation can sometimes introduce image degradation, reducing the overall clarity and detail. Understanding digital image processing helps explain why these quality issues occur after keystone correction. Furthermore, computational algorithms employed during correction can sometimes amplify these effects, impacting overall image sharpness.
Why Image Softening Occurs During Correction

When you correct keystone distortion, the process often involves changing the image’s shape, which can lead to pixel interpolation. This interpolation can make your image appear softer and less sharp, especially around edges. Additionally, it can amplify noise, making the overall image quality worse. To minimize these effects, understanding image correction techniques can help maintain clarity during post-processing. Being aware of digital image processing methods can further assist in preserving detail while correcting distortions. Incorporating filtering algorithms can also help reduce unwanted artifacts that occur during correction. Recognizing the impact of net worth fluctuations can guide you in choosing optimal correction settings to balance quality and processing time. Moreover, understanding cryptid sightings can provide insights into how folklore and media influence perceptions of anomalies during image analysis.
Interpolation of Pixels
Have you ever wondered why images often soften or lose sharpness during keystone correction? It’s mainly due to pixel interpolation. When you adjust the image to correct the keystone distortion, the projector or software calculates new pixel values to fill in gaps created by the correction. This process involves estimating what the missing or altered pixels should look like, which often results in a smoothing effect. The software uses algorithms to generate these pixels based on surrounding data, but this can blur fine details and edges. As a result, the image appears softer because the sharp boundaries are averaged out during interpolation. Although interpolation restores the overall shape, it unintentionally reduces image crispness, which is the core reason softening happens during keystone correction. Additionally, these interpolation algorithms are similar to those used in connected home fitness technology, where data estimation can sometimes lead to a loss of detail or clarity.
Loss of Sharpness
Pixel interpolation during keystone correction involves estimating new pixel values to reshape the distorted image. This process often requires averaging or blending neighboring pixels to fill in gaps created by the correction. As a result, fine details and sharp edges can become blurred or softened because the algorithm smooths over abrupt progressions. You might notice that text appears less crisp, and intricate patterns lose definition. This loss occurs because the interpolation can’t perfectly recreate the original pixel data, especially where the image was originally sharp. The goal of correction is to straighten the image, but in doing so, it inherently reduces the clarity of high-frequency details. Consequently, your corrected image can look softer, sacrificing sharpness for a more geometrically accurate display.
Noise Amplification
During keystone correction, the process of adjusting the image geometry often amplifies existing noise, making it more noticeable. When you stretch or compress parts of the image to fix distortion, it increases the visibility of grainy textures and digital artifacts. This happens because the correction involves resampling pixels, which can enhance the contrast between noise and actual details. As a result, the image appears softer and less clean, especially in darker or uniform areas. The more aggressive the correction, the more pronounced the noise becomes. You might notice this when brightening a skewed photo or projecting a wide-angle image. To minimize noise amplification, you may need to apply noise reduction tools, but that can sometimes soften the overall image further. Understanding digital image processing can help in choosing the right techniques to improve your image quality after correction.
The Impact of Softened Images on Viewing Experience
Softened images can considerably influence your viewing experience by altering the clarity and sharpness of the picture. When images become softer, details blur, making it harder to see fine textures and subtle features. This can diminish the impact of high-resolution content, reducing immersion and visual enjoyment. If you’re watching a movie or presenting detailed visuals, softened images may cause you to miss important cues or nuances. On the other hand, some find that slight softness creates a more pleasing, less harsh image, especially for long viewing sessions. However, excessive softness can strain your eyes or make images look dull and washed out. Additionally, adaptive lighting and other smart display features can either enhance or inadvertently contribute to this softness, affecting overall picture quality. Ultimately, softened images affect how engaged or comfortable you feel while watching, influencing your overall satisfaction with the viewing experience. Additionally, understanding the underlying Greek sceptic approach encourages questioning whether the softness is a deliberate setting or an unintended tradeoff affecting image quality.
Tips for Minimizing Quality Loss While Correcting Images
Are you looking to correct image quality without sacrificing too much detail? Start by adjusting the keystone correction gradually. Making small, incremental changes helps prevent excessive softening. Use the highest resolution settings available, as higher resolution images retain more detail after correction. Whenever possible, perform corrections before cropping or resizing, since cropping can amplify softness. Consider using software with advanced algorithms that intelligently preserve edges and textures. Avoid overcorrecting; aim for the minimal adjustment needed to straighten your image. If your projector or software offers manual controls, fine-tune contrast and sharpness afterward to restore clarity. Finally, keep your lens clean and well-maintained, as dirt and smudges can worsen perceived softness during correction. These tips help maintain image quality while achieving the desired correction.
Alternatives to Digital Keystone Correction

Instead of relying solely on digital keystone correction, consider physical adjustments to your projector’s placement and setup. Proper positioning minimizes the need for digital tweaks, preserving image quality. Use the following strategies:
| Adjustment Method | Description |
|---|---|
| Mounting Height | Align the projector directly perpendicular to the screen. |
| Distance from Screen | Place the projector at an appropriate distance for a square image. |
| Angle of Projection | Tilt the projector minimally, avoiding extreme angles. |
Ensuring the correct setup from the start can significantly reduce the need for digital corrections later. Additionally, understanding the initial projector alignment and making precise physical adjustments can help maintain optimal image clarity.
Choosing the Right Settings for Optimal Image Clarity
To achieve the sharpest and most vibrant image, you need to carefully select the right projector settings. Begin by adjusting the focus to ensure clarity across the entire screen. Set the keystone correction to minimize distortion without overcompensating, as excessive correction can soften the image. Brightness and contrast should be balanced for your environment—too high washes out details, too low makes the image dull. Color settings should be calibrated to match the room’s lighting and your content, enhancing realism without oversaturation. Keep resolution settings at the projector’s native resolution for maximum sharpness. Ultimately, test different configurations, viewing your image from various angles, to find the perfect combination that maintains clarity while reducing distortion.
Frequently Asked Questions
Can Keystone Correction Cause Long-Term Damage to My Projector?
Yes, keystone correction can potentially cause long-term damage to your projector if used excessively. When you repeatedly adjust the image digitally, it strains the projector’s internal components, especially the lens and image processing parts. Over time, this stress might lead to wear or misalignment, reducing overall performance. To avoid damage, use keystone correction sparingly and consider physically adjusting your projector’s placement whenever possible.
Does Manual Keystone Correction Have Fewer Image Quality Issues?
Manual keystone correction is like fine-tuning a painting—you generally preserve more of the original clarity. You have better control, so the image remains sharper compared to digital correction, which can soften details. While manual adjustment might require a steady hand, it typically introduces fewer quality issues, letting your projector produce a clearer, more vibrant picture. Just be careful with extreme angles to avoid distortion that’s harder to fix.
Are There Specific Projector Models With Better Correction Features?
Yes, some projector models offer better correction features. Look for models like the Epson Home Cinema series or Sony’s VPL series, which provide advanced auto-keystone correction and lens shift options. These features allow you to adjust the image precisely without sacrificing much quality. You’ll find that these projectors make it easier to achieve a clear, square image, especially in tricky installation spaces, with minimal softening or distortion.
How Does Ambient Lighting Influence the Effectiveness of Correction?
Ambient lighting profoundly impacts how well keystone correction works. When your room is too bright, the projected image appears washed out, and correction may not fully fix distortion or clarity issues. You’ll notice softer images or reduced contrast. To get the best results, dim the lights or use blackout curtains. That way, your projector can adjust more effectively, and your image stays sharp and vibrant, even with correction applied.
Is Software-Based Correction Preferable Over Hardware Adjustments?
They say, “A chain is only as strong as its weakest link,” and that’s true for keystone correction. Software-based correction is more convenient and cost-effective, letting you fine-tune the image quickly. However, it often softens the picture, reducing sharpness. Hardware adjustments are more reliable for crisp images but can be less flexible. Choose based on your needs: convenience or quality.
Conclusion
Remember, all that glitters is not gold. While keystone correction helps you straighten distorted images, it often softens the picture, sacrificing sharpness. To get the best quality, avoid extreme angles and explore alternative adjustments. Stay mindful of these tradeoffs to maintain clarity and enjoy a crisp, vibrant projection. With patience and proper settings, you can strike a balance between correction and image quality, ensuring your visuals shine without compromise.