
If your subwoofer isn’t working, the most common culprit is a misconfigured setting. First, check that the power cord is plugged in and powered on, with indicator lights showing. Make certain your sound system’s output is correctly set to include the subwoofer, and verify the level and crossover frequency are properly adjusted. Placement matters, too—position it near a wall or corner for better bass. If these steps don’t help, exploring the detailed troubleshooting tips can reveal the precise setting that’s causing the issue.
Key Takeaways
- Check that the audio output device is correctly set to include the subwoofer in sound settings.
- Ensure the receiver’s speaker configuration includes a subwoofer and is properly calibrated.
- Verify the subwoofer’s crossover frequency is set between 80-120 Hz for optimal integration.
- Confirm the subwoofer is powered on, connected firmly, and within wireless range if applicable.
- Adjust the subwoofer volume to a balanced level, avoiding settings that mute or overpower the bass.
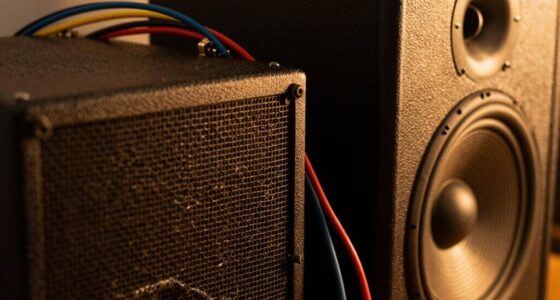
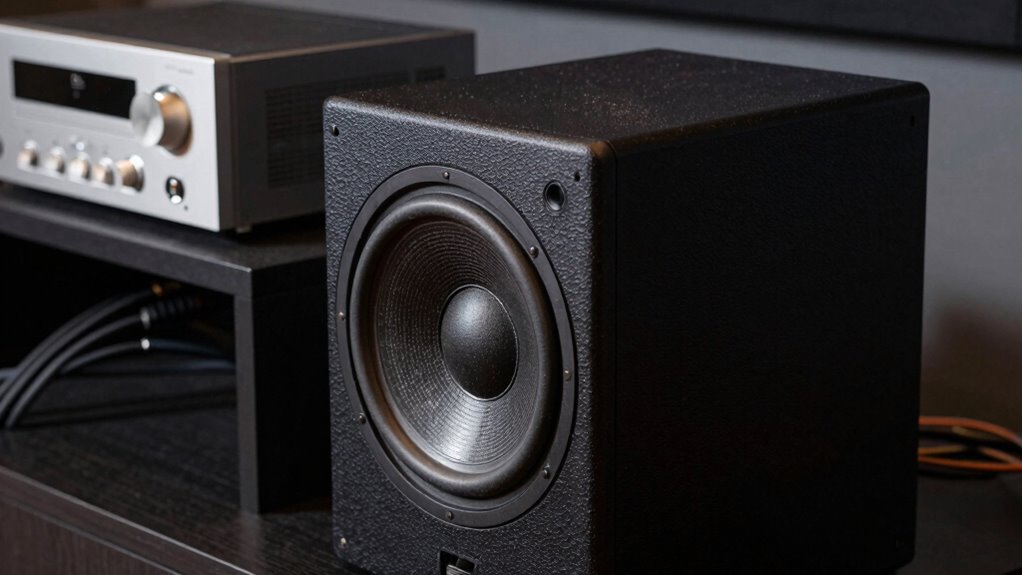
Checking the Power and Connection Settings

Before troubleshooting further, you should verify that your subwoofer is properly powered and connected. First, check that the power cord is securely plugged into an outlet and the subwoofer’s power switch is turned on. Look for indicator lights to confirm it’s receiving power. Next, ensure the connection cable from your receiver or amplifier is firmly attached to the subwoofer’s input port. Avoid loose or damaged cables, as these can interrupt the signal. If your subwoofer has a separate power switch or settings, double-check they’re correctly set. Sometimes, a simple power cycle—turning the subwoofer off, unplugging it for a few seconds, then plugging it back in—can resolve minor connection issues. Ensuring proper power and connection is the first step toward restoring your subwoofer’s sound. Additionally, consulting your subwoofer’s technical specifications can help identify compatibility or setup issues. It’s also helpful to verify that your receiver’s audio settings are configured correctly for subwoofer use. Checking the connection quality and ensuring that all components are compatible can prevent common setup problems, especially when considering component compatibility in your audio system. Being aware of proper wiring techniques can also enhance overall sound performance and reduce connection issues.
Verifying the Audio Output Configuration

After confirming that your subwoofer is properly powered and connected, the next step is to verify your audio output configuration. Check your device’s sound settings to guarantee the correct output device is selected, whether it’s your TV, receiver, or computer. If you’re using a home theater system, access the receiver’s setup menu and confirm that the speaker configuration includes a dedicated subwoofer or bass management. On computers, go to sound settings and verify that the audio output is set to the correct device and that the audio format supports subwoofer output. If your device has multiple audio output options, make sure you’re not accidentally routing sound to a different device that doesn’t support a subwoofer. Proper configuration assures your subwoofer receives the bass signals it needs. Additionally, understanding security system effectiveness can help ensure your home audio and security devices are properly integrated for optimal performance. Ensuring proper audio calibration can also improve overall sound quality and subwoofer responsiveness, especially when calibrating with professional audio tools to achieve the best sound balance. Regularly reviewing your audio output settings helps maintain consistent performance and prevents issues caused by inadvertent changes. Being familiar with your device’s audio configuration options can further streamline troubleshooting and setup.
Adjusting the Subwoofer Level and Crossover Frequency
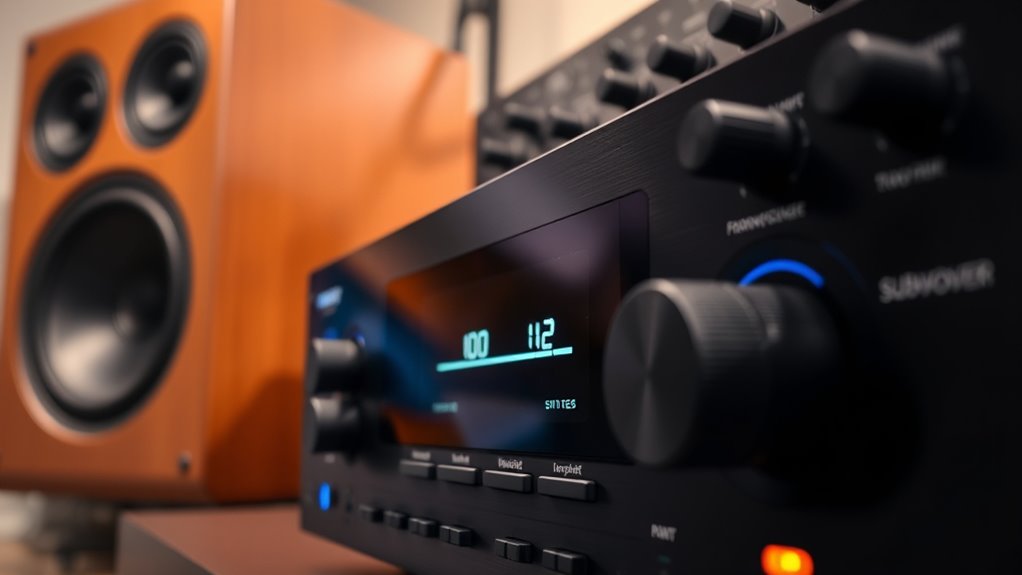
To guarantee your subwoofer delivers peak bass, you need to adjust its level and crossover frequency appropriately. Start by setting the volume so it complements your main speakers without overpowering them. Next, tweak the crossover frequency, which determines the highest bass note sent to the subwoofer. A lower setting focuses on deep bass, while a higher setting blends more with your other speakers. Use this table as a guide:
| Adjustment | Recommended Range | Purpose |
|---|---|---|
| Subwoofer Level | 50-75% of max volume | Balance bass with main speakers |
| Crossover Frequency | 80-120 Hz | Match sub to speaker’s range |
| Test Sound | Bass-heavy music or tone | Fine-tune for optimal sound |
Experiment to find the perfect balance for your system. Remember, adjusting the crossover frequency is crucial for achieving seamless integration between your subwoofer and main speakers. Additionally, consider the personal preferences of your audio setup to tailor the sound to your liking. To further optimize your setup, ensure that your subwoofer placement supports even bass distribution throughout your space. Proper placement can significantly affect bass response and clarity, so take the time to experiment with different locations.
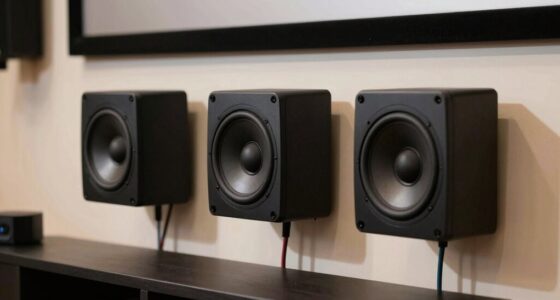
Ensuring Proper Placement and Room Calibration
Proper placement of your subwoofer is essential for achieving balanced, powerful bass. Position it near a wall or corner to enhance low-frequency output, but avoid placing it directly against a wall or in a corner if the bass sounds boomy or boisterous. Experiment with different locations to find the spot that delivers smooth, even bass across your room. Use a mirror to identify ideal placement—if you can see the subwoofer from your listening position, it’s probably a good spot. Additionally, calibrate your room using your receiver’s setup microphone or calibration tool. This process measures the sound at your listening position and adjusts the subwoofer’s output to match your space, ensuring consistent, clear bass that fills the room without overwhelming it. Incorporating AI-driven room calibration tools can further optimize subwoofer placement and sound quality for your specific environment. Proper subwoofer placement and calibration are key to achieving the best sound performance for your setup. To enhance your calibration process, consider automatic room correction features that adapt to your unique space. Utilizing smart calibration technologies can help ensure your subwoofer sounds optimal in any environment. Additionally, understanding the sound reflection characteristics of your room can significantly impact how the bass sounds and how you should position your subwoofer.
Troubleshooting Wireless and Remote Control Settings
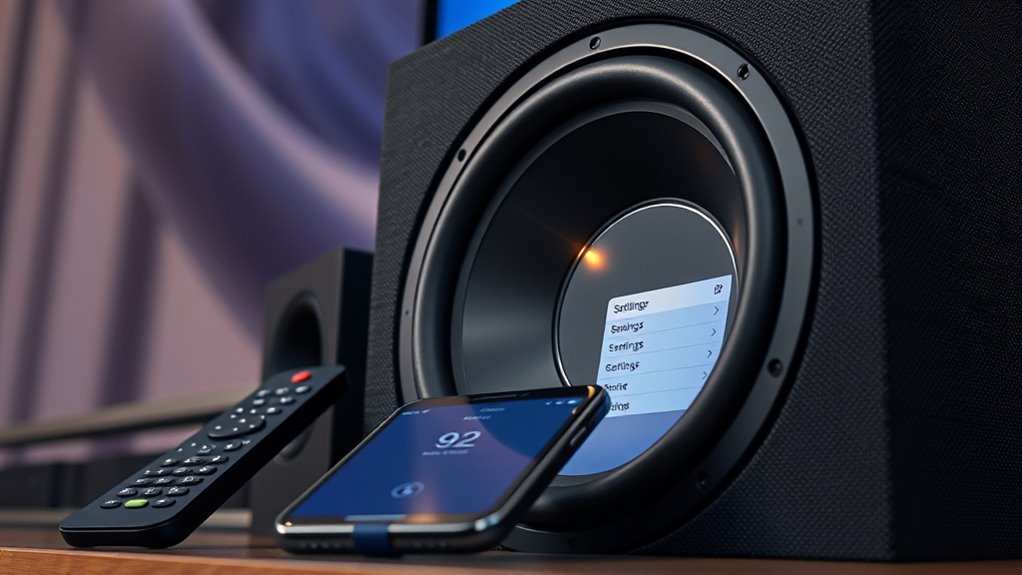
Wireless and remote control issues can often be the cause of a subwoofer not functioning properly. First, check the remote’s batteries and make certain they’re fresh. If you’re using a wireless connection, verify that the subwoofer is powered on and within range of your receiver or transmitter. Many wireless subwoofers have a pairing mode—consult your manual to reset or re-pair the device. Also, make sure the remote control is aimed properly and that no objects block its signal. If your subwoofer has a manual control panel, try adjusting settings directly there to rule out remote issues. In conclusion, confirm that your device’s firmware or software is up to date, as outdated software can interfere with wireless communication.
Frequently Asked Questions
Can a Faulty Amplifier Cause Subwoofer Issues?
Yes, a faulty amplifier can cause subwoofer issues. When the amplifier isn’t functioning properly, it might not send enough power or any signal to your subwoofer, resulting in no sound or distorted audio. You should check the amplifier’s connections, settings, and power source first. If everything seems fine, consider testing the amplifier with a different speaker or replacing it to see if the problem persists.
How Do I Reset My Subwoofer to Factory Settings?
Imagine your subwoofer as a sleeping giant, waiting to roar again. To reset it to factory settings, first turn it off and unplug it. Press and hold the reset button (usually small and hidden) for 10-15 seconds, then release. Plug it back in, power it up, and your subwoofer should wake up refreshed, ready to fill your space with deep, thunderous bass once more.
Are There Specific Speaker Cables Recommended for Subwoofers?
Yes, you should use speaker cables that are specifically rated for subwoofers, typically thick gauge wires like 12 or 14 gauge, to guarantee good current flow and minimal signal loss. Look for cables with sturdy connectors and low capacitance for the best sound quality. Avoid thin, cheap wires that can cause poor connectivity or signal degradation. Properly connecting high-quality cables helps your subwoofer perform at its best.
What Is the Typical Lifespan of a Subwoofer?
A typical subwoofer lasts around 5 to 10 years, depending on usage and build quality. You can extend its lifespan by keeping it well-ventilated, avoiding excessive volume levels, and performing regular maintenance like cleaning and checking connections. If you notice distorted sound or reduced bass, it might be time to replace or upgrade. Proper care guarantees you get the most out of your subwoofer over the years.
How Does Room Acoustics Affect Subwoofer Performance?
Room acoustics considerably impact your subwoofer’s performance by influencing sound waves, reflections, and bass response. When you position your subwoofer incorrectly, sound waves may bounce or cancel out, reducing bass clarity. Hard surfaces like walls and floors reflect sound, while soft materials absorb it. To optimize, you should experiment with placement, add acoustic treatments, and adjust your settings to guarantee smooth, deep bass that fills your space evenly.
Conclusion
If your subwoofer isn’t working, don’t panic—you’re not alone in this epic quest. By double-checking power, connections, and settings, you can banish the silence and bring your bass back to life. Think of it as revealing a secret level in audio perfection! With a little patience and these tips, you’ll have thunderous lows filling your room faster than you can say “boom.” Your perfect sound awaits—go conquer it!