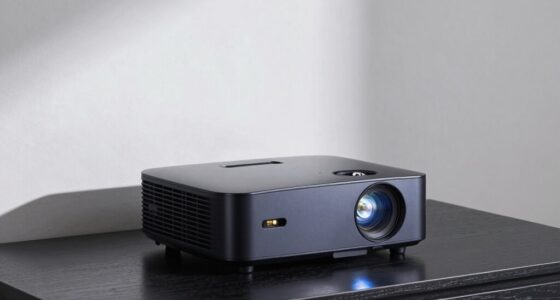
To stop guessing your throw distance, start by checking your projector’s specs, especially the throw ratio. Measure your desired screen size and multiply it by the throw ratio to find the perfect placement distance. Mark this spot on the floor or wall before setting up. Ensuring your projector is positioned correctly prevents distortion and sharpens your image. Stick with these simple steps, and you’ll soon master accurate placement—more tips await to make setup even easier.
Key Takeaways
- Measure your desired image width and multiply by the projector’s throw ratio to determine the precise distance needed.
- Mark the optimal placement spot on the floor or wall based on calculated distance for accurate setup.
- Use a level and measuring tape to ensure your projector is positioned parallel to the screen and at the correct height.
- Adjust the projector’s zoom and keystone settings to fine-tune image size and eliminate distortion.
- Regularly verify and maintain the projector’s position to keep the image sharp, centered, and correctly scaled without guesswork.

Herdio 6.5 Inch 800W Outdoor Bluetooth Speakers Wired Waterproof with Multifunctional Amplifier, Wall Mount Speaker System for Patio Home Poolside Deck Backyard(2 Pairs,Black)
【Full-Range Speakers】The high powered full range indoor outdoor speakers wired waterproof has a maximum power output of 800...
As an affiliate, we earn on qualifying purchases.
Understanding Throw Distance and Why It Matters

Understanding throw distance is vital because it directly impacts your accuracy and overall performance. When you know the correct distance between your projector and the screen, you guarantee a clear, sharp image without distortion or blurriness. If you place your projector too close or too far, the picture may become stretched or compressed, making it hard to see details. This can also cause keystone distortion, where the image appears trapezoidal instead of rectangular. By understanding the appropriate throw distance, you avoid wasting time adjusting the projector repeatedly or experiencing frustration with blurry images. It’s a key factor in setting up your space efficiently, giving you the best viewing experience without guesswork. Knowing this distance helps you achieve a professional, seamless setup every time. Additionally, utilizing AI-powered tools can assist in calculating the optimal throw distance for your specific projector and space. Recognizing the role of projector specifications ensures you select the right equipment for your environment, further simplifying the setup process. Properly calculating throw distance also helps in space planning, allowing you to maximize your viewing area and ensure optimal image quality. Incorporating accurate measurements into your setup process can prevent common mistakes and improve your overall viewing experience. Being aware of installation guidelines can further ensure your projector is mounted securely and correctly aligned for the best results.

STUDIOFINIX 6.5 Inch Outdoor Speakers Wall-Mounted 800W - Waterproof and High-Performance Audio Solution for Indoor/Outdoor,Home,Patio,Garden,Backyard(4 Passive Speakers Bundle/Black)
〖Powerful Performance〗: Boasting a peak power handling of 800 watts, it delivers a full range of dynamic sound...
As an affiliate, we earn on qualifying purchases.
Gathering Your Projector’s Specifications

To choose the right projector, you need to gather its key projection metrics, like brightness and resolution. Understanding the throw ratio is essential because it tells you how much space the projector needs based on your screen size. By knowing these specifications, you can accurately determine the ideal distance for your setup without guesswork. Additionally, familiarizing yourself with smartphone accessories can help ensure seamless connectivity and optimal performance of your projector setup. Knowing the contrast ratio helps you assess image quality, especially in darker viewing environments.
Key Projection Metrics
Knowing your projector’s key specifications is essential for accurate throw distance calculations. These metrics include the projector’s brightness (lumens), resolution, and especially its lens type. Brightness affects image clarity in different lighting conditions, while resolution determines image sharpness. Lens specifications, such as the throw ratio and zoom capabilities, directly influence how far your projector needs to be from the screen to produce a clear image. Make sure to review the manufacturer’s datasheet or user manual for these details. Gathering accurate measurements ensures your setup is precise, preventing blurry images or incorrect placement. Understanding these key metrics helps you plan your space effectively and avoid guesswork. Modern home automation can also assist in controlling your projector’s placement and setup through smart routines. With this information, you’ll be better equipped to position your projector for ideal viewing without trial and error.
Understanding Throw Ratio
Before you can accurately determine how far your projector should be from the screen, it’s essential to gather its specifications, especially the throw ratio. The throw ratio tells you how wide your image will be based on the distance from the screen. For example, a throw ratio of 2:1 means the projector is twice as far from the screen as the width of the image. To help clarify, here’s a quick comparison:
| Throw Ratio | Image Width at 10 ft Distance | Suitable Room Size |
|---|---|---|
| 1.5:1 | About 6.7 ft | Small room |
| 2:1 | About 5 ft | Medium room |
| 3:1 | About 3.3 ft | Very small space |
| 1.2:1 | About 8.3 ft | Large room |
| 2.5:1 | About 4 ft | Compact space |
Knowing this helps you position your projector accurately, avoiding guesswork.

Polk Audio Atrium 4 Weatherproof Outdoor Speakers with Powerful Bass (Pair, Black), All-Weather Durability, Broad Sound Coverage, Speed-Lock Mounting System
EASY INSTALLATION - One-click speed-lock mounting bracket offers anti-slip, one-handed installation. Mount these outdoor speakers wired vertically or...
As an affiliate, we earn on qualifying purchases.
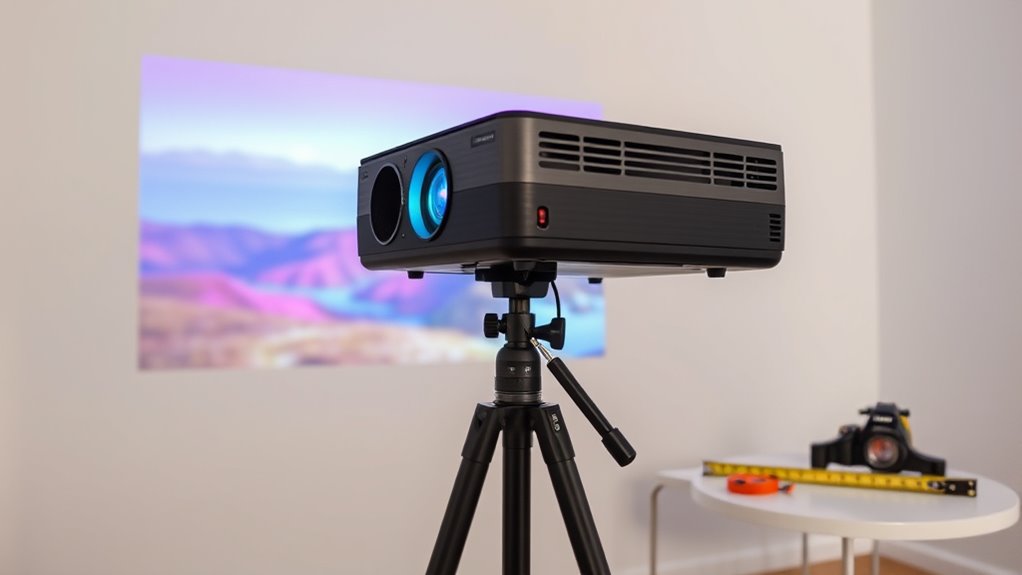
Using a Simple Measuring Method to Find the Optimal Spot
Finding the most suitable spot for your throw doesn’t have to be complicated. The simplest way is to measure your projector’s desired image width and then locate a spot where the projector’s throw distance matches that measurement. Use a tape measure to determine how far back the projector should be from the screen based on its throw ratio. For example, if your projector’s throw ratio is 1.5:1 and you want a 120-inch image, multiply 120 inches by 1.5 to find the ideal distance—180 inches. Mark that spot on the floor or wall. This straightforward measurement guarantees your projector is correctly positioned without guesswork. It’s quick, accurate, and saves you from trial and error, giving you a perfect setup every time.

6.5 Inch Max 800W Outdoor Bluetooth Speakers Waterproof Wired with Multifunctional Amplifier Wall Mount Outdoor Speaker System for Patio Garden Poolside Home(4 Speakers,Black)
Powerful Acoustics: Unmatched Sound Output,Each speaker pumps out an impressive 200 watts, with a pair delivering a combined...
As an affiliate, we earn on qualifying purchases.
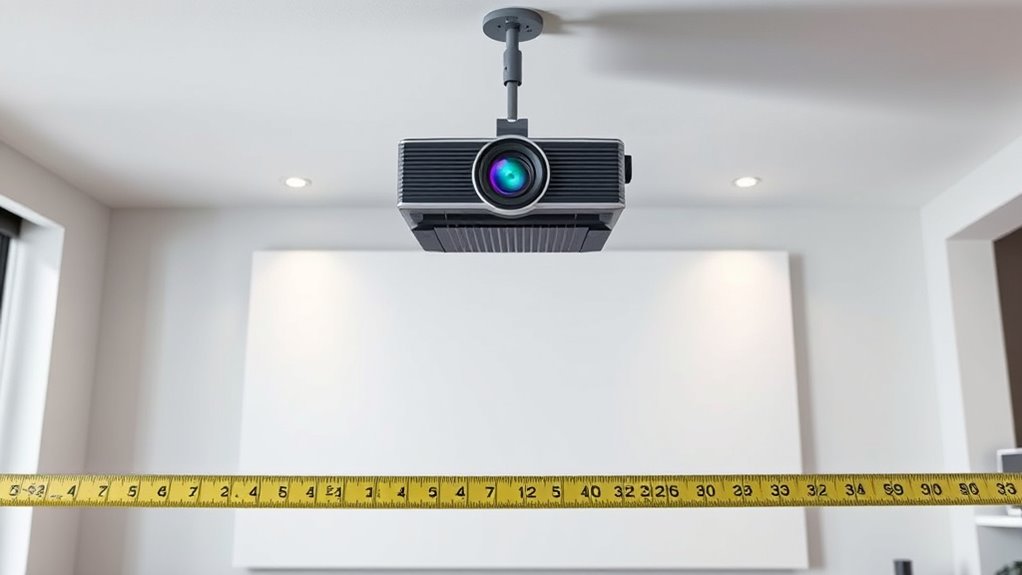
Setting Up Your Space for Accurate Placement

Start by measuring the distance from your wall to guarantee your setup is accurate. Use a level tool to keep everything straight and aligned. Then, mark the ideal spot so you can consistently hit your target without guesswork.
Measure Wall Distance
Accurately measuring the wall distance is essential for setting up your space and ensuring your throw distance is precise. Knowing the exact distance between your projector and the wall helps you select the right model and position it correctly. To measure effectively, use a tape measure or laser distance meter, keeping it straight and taut. Take multiple measurements at different points to account for uneven walls. Mark the spot where the projector will sit, ensuring it’s aligned with your desired image size. This clear measurement prevents guesswork and helps you avoid unnecessary adjustments later. Paying attention to room dimensions can further optimize your setup. Additionally, understanding projector throw ratios can help you choose the best projector for your specific space. Using a measuring tool properly can significantly improve your setup accuracy and save you time during adjustments. Remember that accurate measurements are fundamental to achieving a sharp, well-proportioned image.
Use a Level Tool
Using a level tool is essential to guarantee your projector is perfectly aligned and positioned correctly. It helps ensure the lens is parallel to the wall or screen, preventing distorted images. Place the level on top of your projector or along the mounting bracket to check horizontal alignment. If it’s off, adjust the projector’s position until the bubble centers. This simple step avoids skewed or keystone-shaped images that require correction later. A level tool is quick, inexpensive, and highly effective for achieving a straight, professional look. Remember, proper alignment before marking or securing your projector saves time and effort. It’s a small step that can substantially improve your viewing experience by ensuring a crisp, evenly projected image. Hydraulics and positioning are crucial components to consider for optimal projector setup and image quality.
Mark Optimal Spot
Once you’ve confirmed your projector is level and properly aligned, it’s time to mark the ideal spot for placement. This step guarantees you won’t have to guess later or make adjustments. Find the spot on your wall or screen where the projected image looks sharp and correctly scaled. Use painter’s tape or a pencil to mark the projector’s position on the floor or ceiling. To ensure accuracy:
- Measure the distance from the projector to the screen and mark that spot
- Mark the projector’s height to keep the image level
- Note any angles needed for corner or ceiling mounting
- Understanding throw distance helps you choose the correct placement for optimal image size and clarity
These marks serve as a guide, helping you position the projector precisely and avoid guesswork during setup. Proper marking guarantees a perfect fit and maximum viewing experience.
Testing and Adjusting for the Best Image Quality
To achieve the best image quality, you need to test and adjust your projector carefully. Start by turning it on and projecting onto your chosen screen or wall. Use the focus ring or lens adjustment to sharpen the picture, ensuring edges are clear and details are crisp. Next, tweak the keystone correction if your projector has it, to eliminate distortion and achieve a rectangular image. Check the brightness and contrast settings, adjusting them to enhance clarity and color accuracy without washing out the image. Use test patterns or calibration images if available to fine-tune color balance and uniformity. Make small adjustments, then step back to evaluate the overall picture. Repeat these steps until the image looks sharp, balanced, and visually pleasing, guaranteeing ideal viewing quality.
Tips for Maintaining the Correct Distance Over Time

After you’ve fine-tuned your projector for ideal image quality, maintaining the correct distance becomes key to preserving that clarity over time. Regularly check your projector’s placement to confirm it hasn’t shifted. Keep the mounting hardware tight and stable, especially if you use a ceiling mount or adjustable stand. Clean the lens and air vents periodically to prevent dust buildup that can affect image sharpness. Mark the optimal distance on the wall or ceiling for quick reference, so you can easily verify placement. Consistent positioning prevents image distortion and focus issues. Additionally, understanding the importance of proper placement and regular maintenance can help you maintain optimal image quality over time. Being aware of distance calibration ensures that your projector stays aligned with your display surface. Conducting periodic alignment checks can further ensure the projected image remains crisp and properly positioned. Incorporating monitoring tools can also assist in tracking any shifts in projector positioning over time.
Troubleshooting Common Placement Problems

Placement issues are among the most common reasons for image problems with your projector. If your picture is blurry, distorted, or off-center, check your setup first. Make sure the projector is aligned with the screen and placed at the correct height. Sometimes, obstacles or uneven surfaces cause misalignment and keystone issues. Use the following table to identify typical problems:
| Problem | Solution |
|---|---|
| Image too small or large | Adjust zoom or move closer/farther from screen |
| Keystone distortion | Use keystone correction or reposition projector |
| Off-center image | Re-align projector to center of screen |
Proper placement not only improves image quality but also enhances home safety by reducing risks associated with improper electrical setup and equipment positioning. Ensuring correct placement also helps prevent image distortion, which can occur from improper alignment or surface irregularities. Paying attention to surface flatness can make a significant difference in achieving a clear projection. Additionally, understanding projector navigation and how to fine-tune settings can further optimize your viewing experience. Being familiar with projector adjustments allows for quick troubleshooting and better overall image quality.
Frequently Asked Questions
Can Adjustable Mounts Help Maintain Optimal Throw Distance?
Yes, adjustable mounts help you maintain the ideal throw distance. They let you easily change the projector’s height and angle, ensuring you get a clear, centered image without guesswork. With an adjustable mount, you can fine-tune the position quickly, avoiding distortions or blurry images. This flexibility makes setting up your projector effortless and guarantees a perfect picture every time, no matter your room’s layout or seating arrangement.
How Does Ambient Light Affect Projector Placement Accuracy?
Ambient light can secretly sabotage your projector placement accuracy. As more light floods the room, it diminishes contrast and sharpness, making precise positioning harder to judge. You might think your setup is spot-on, but subtle changes in lighting can throw off your focus and alignment. To guarantee perfect placement, minimize ambient light or use a projector with high brightness. This way, your projection stays clear, crisp, and accurately positioned every time.
Are There Apps to Assist With Projector Positioning?
Yes, there are apps that help with projector positioning. You can download specialized apps on your smartphone or tablet that use your device’s camera to measure distances and suggest ideal placement. These apps often include augmented reality features to visualize the projected image in real-time. By using them, you can quickly and accurately align your projector without guesswork, ensuring a perfect picture every time.
What Safety Precautions Are Recommended During Setup?
During setup, you should turn off the projector and unplug it to prevent electrical shocks. Make certain the area is clear of obstacles and secure the projector on a stable surface or mount. Keep cables organized to avoid tripping hazards. Avoid touching hot surfaces, especially right after use. Always read the manufacturer’s instructions and wear gloves if recommended. Taking these precautions keeps you safe and prevents equipment damage.
How Often Should I Recheck the Projector’s Positioning?
You should recheck your projector’s positioning whenever you notice image distortion, keystone effect, or if you move the projector or screen. Regularly inspecting it every few months is also a good habit, especially if it’s in a high-traffic area or if you frequently adjust your setup. Doing so guarantees the best picture quality and prevents issues from drifting out of alignment, maintaining a perfect projection every time.
Conclusion
Now that you know how to find the perfect throw distance, you’re all set to get the best possible image. Don’t leave it to chance—measure twice, place once, and avoid wasting time fiddling later. Remember, a well-placed projector can make all the difference between a good movie night and a great one. Keep these tips in mind, and you’ll have your setup running smooth as silk. It’s worth the effort to get it just right!