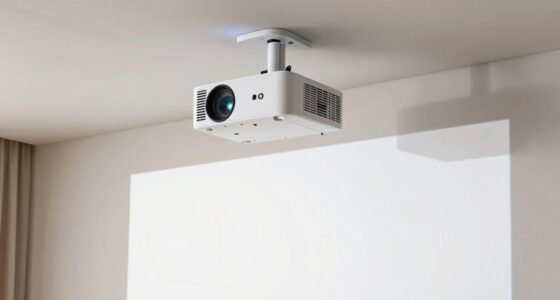
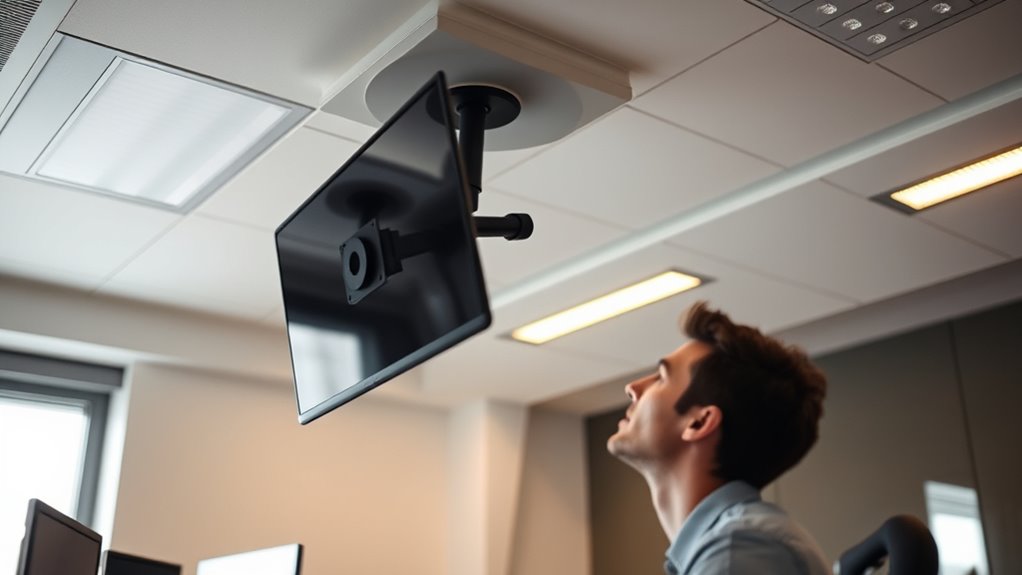
The biggest mistake causing neck strain with ceiling mounting is placing fixtures too high or too low, which forces you to tilt your head or adopt awkward positions. Proper placement aligns with your eye level or slightly above, ensuring comfortable viewing angles without straining your neck. Correct mounting also considers distance and tilt adjustments. To avoid discomfort, follow best practices for installation and setup—keep exploring these tips to learn more and prevent future problems.
Key Takeaways
- Mounting fixtures too high forces users to look upward, causing neck strain and discomfort over time.
- Proper placement aligns fixtures at eye level or slightly above for ergonomic viewing.
- Incorrect height leads to neck tilting, increasing tension and reducing visual comfort.
- Use level tools to ensure fixtures are aligned correctly and prevent tilting that causes strain.
- Adjust mounting height based on room purpose and user height to maintain ergonomic safety.

Herdio 6.5 Inch 800W Outdoor Bluetooth Speakers Wired Waterproof with Multifunctional Amplifier, Wall Mount Speaker System for Patio Home Poolside Deck Backyard(2 Pairs,Black)
【Full-Range Speakers】The high powered full range indoor outdoor speakers wired waterproof has a maximum power output of 800...
As an affiliate, we earn on qualifying purchases.
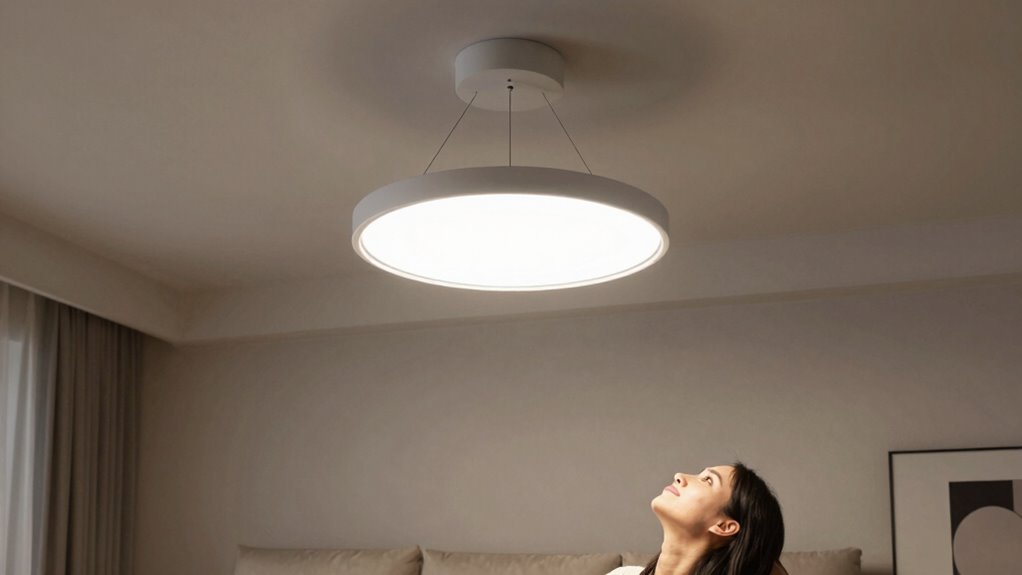
Understanding Optimal Eye-Level Placement
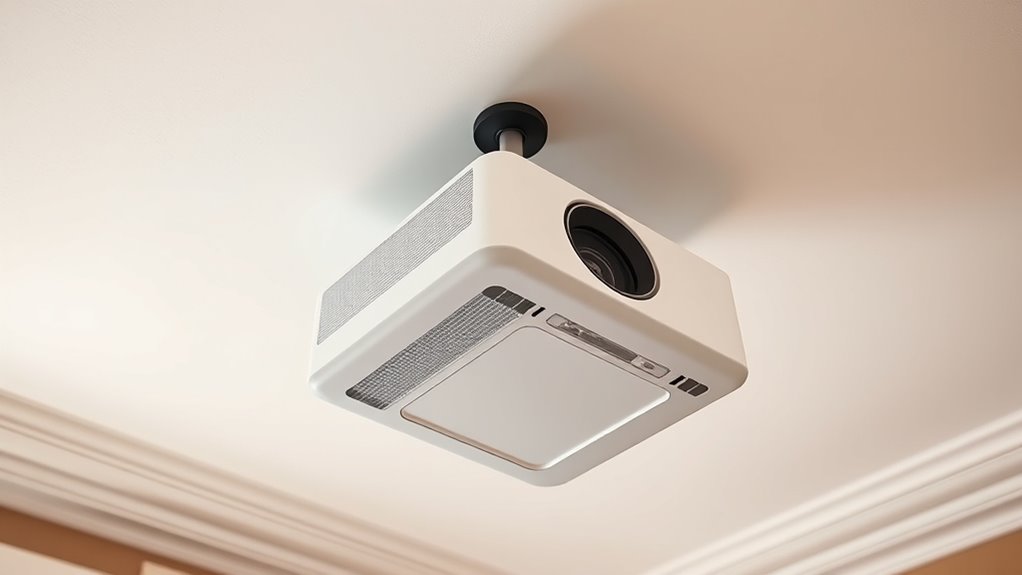
To guarantee your ceiling-mounted fixture looks its best and functions properly, placing it at the right eye level is essential. When you position your fixture too high or too low, it can cause unnecessary neck strain and diminish lighting effectiveness. The ideal height typically aligns with your eye level or slightly above, ensuring even light distribution and easy adjustment. Consider the room’s purpose and your height when deciding on placement. For example, in living rooms or kitchens, fixtures should be centered above key areas without obstructing views or creating glare. Paying attention to lighting placement and these details will ensure your fixture is both functional and aesthetically pleasing, reducing strain and preventing the need for future adjustments. Additionally, understanding the role of contrast ratio can help optimize the overall lighting ambiance in your space. Proper light positioning can also prevent shadows and uneven illumination, contributing to a more comfortable environment. Being mindful of lighting ergonomics can further enhance comfort and reduce visual fatigue. Incorporating appropriate light levels tailored to the specific task or setting can significantly improve overall comfort and efficiency.

STUDIOFINIX 6.5 Inch Outdoor Speakers Wall-Mounted 800W - Waterproof and High-Performance Audio Solution for Indoor/Outdoor,Home,Patio,Garden,Backyard(4 Passive Speakers Bundle/Black)
〖Powerful Performance〗: Boasting a peak power handling of 800 watts, it delivers a full range of dynamic sound...
As an affiliate, we earn on qualifying purchases.
Common Mistakes in Ceiling Mounting
Have you ever installed a ceiling fixture only to find it crooked or uneven? That’s a common mistake in ceiling mounting. One mistake is misaligning the fixture with the ceiling’s structure, which causes it to hang at an awkward angle. Another is using the wrong type of anchors or screws, leading to instability or sagging over time. Failing to measure and mark the exact spot can result in uneven placement, making the fixture look off-center or crooked. Additionally, rushing the installation without double-checking the level can cause your fixture to tilt. These mistakes not only affect the appearance but can also cause discomfort or strain if the fixture isn’t properly aligned. Being precise and careful during installation helps avoid these common pitfalls. Proper wall decor placement can also contribute to a balanced and safe environment. Paying attention to proper installation techniques ensures your fixture remains secure and level over time. To further prevent issues, consider using a level tool to verify alignment throughout the process. Incorporating appropriate support hardware is essential for ensuring long-term stability and safety. Moreover, understanding and applying ceiling structure assessment can greatly reduce the risk of installation errors and enhance safety.

Polk Audio Atrium 4 Weatherproof Outdoor Speakers with Powerful Bass (Pair, Black), All-Weather Durability, Broad Sound Coverage, Speed-Lock Mounting System
EASY INSTALLATION - One-click speed-lock mounting bracket offers anti-slip, one-handed installation. Mount these outdoor speakers wired vertically or...
As an affiliate, we earn on qualifying purchases.
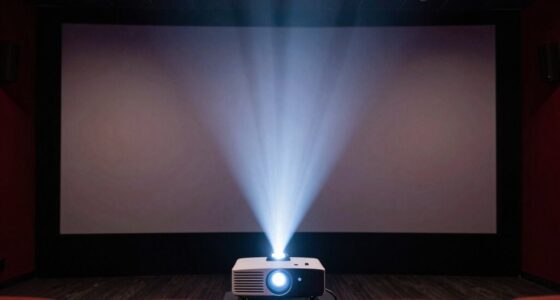
How Height Affects Neck Comfort
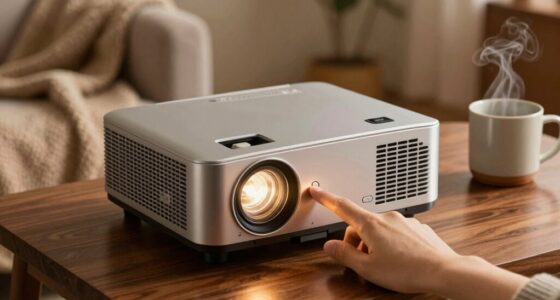
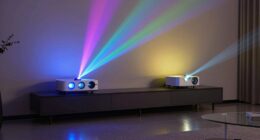
Choosing the right ceiling height is essential for maintaining neck comfort. If your ceiling is too high, you’ll strain your neck looking up for extended periods, causing discomfort over time. Conversely, a ceiling that’s too low forces you to bend or crane your neck downward, which can lead to tension and fatigue. Ideally, the mounting height should allow you to view the mounted object without tilting your head excessively. For example, screens or projectors placed at eye level or slightly above promote a natural, relaxed neck position. Keep in mind that the distance from your seating area influences how high or low the fixture should be. Proper height ensures you avoid unnecessary strain, making your space more comfortable and reducing the risk of neck pain. Additionally, considering ventilation considerations can help create an environment that minimizes overall discomfort. Ensuring proper lighting placement can also contribute to reducing eye and neck strain during use. When mounting objects, it’s also helpful to consider ergonomic principles to optimize comfort and posture. Proper visual ergonomics can further enhance your comfort and prevent strain during extended use.

6.5 Inch Max 800W Outdoor Bluetooth Speakers Waterproof Wired with Multifunctional Amplifier Wall Mount Outdoor Speaker System for Patio Garden Poolside Home(4 Speakers,Black)
Powerful Acoustics: Unmatched Sound Output,Each speaker pumps out an impressive 200 watts, with a pair delivering a combined...
As an affiliate, we earn on qualifying purchases.
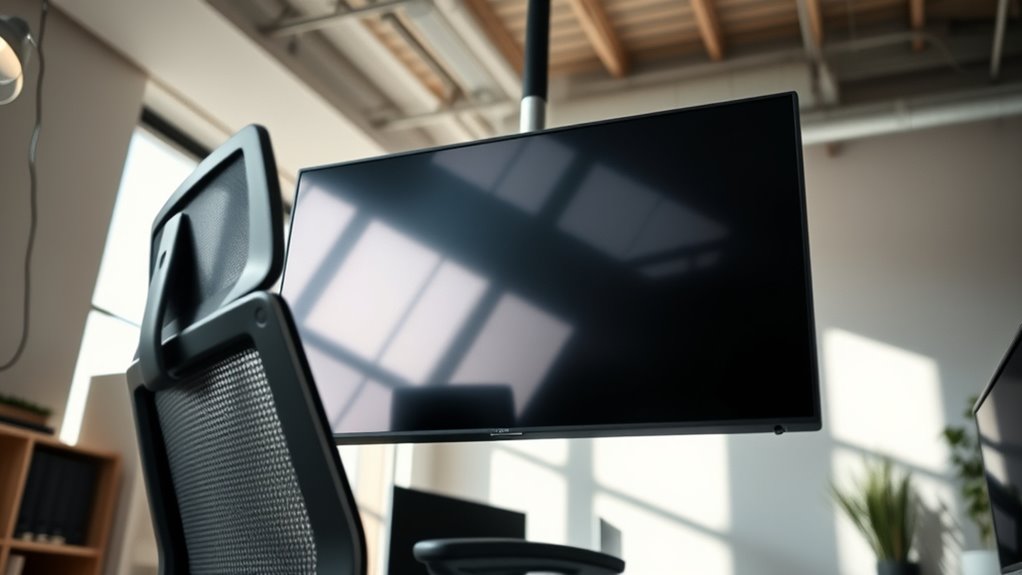
Tips for Proper Viewing and Access
Ensuring proper viewing angles and easy access to mounted devices enhances both comfort and functionality. Position your device so that you don’t have to strain your neck or eyes to see it clearly. The screen should be at eye level or slightly below, allowing you to look straight ahead without tilting your head upward or downward. Keep the device within a comfortable reach to avoid awkward stretching or bending. Consider the viewing distance; a good rule is to sit about an arm’s length away for ideal clarity. Also, make sure the lighting minimizes glare on the screen, reducing eye strain. These tips help you enjoy your mounted device comfortably and efficiently, preventing discomfort during prolonged use. Proper placement truly makes a difference in your overall viewing experience, especially when mindful of ergonomic principles to support long-term comfort. Additionally, adjusting the mount’s tilt and swivel can further improve viewing angles and reduce neck strain over time. Remember that correct positioning can also help prevent potential musculoskeletal issues from prolonged device use. By paying attention to these details, you can create a more ergonomic and healthy viewing environment, promoting comfort during extended periods of use.
Tools and Techniques for Accurate Installation
To guarantee your ceiling mount is secure and level, you need to use the right tools and techniques. Accurate measurement methods, proper leveling, and precise hardware securing are essential steps. Mastering these points helps you avoid common mounting mistakes and achieve a professional finish. Additionally, understanding the importance of exfoliation can help ensure that your mounting surface remains smooth and free of debris, preventing uneven placement. Incorporating simple organizing techniques can also make the installation process more efficient and less stressful.
Proper Measurement Methods
Accurate measurement is essential for a successful ceiling mount, and using the right tools and techniques makes all the difference. Start by selecting a reliable tape measure or laser level to guarantee precision. Measure from the ceiling to the desired height, considering the device’s ideal placement to avoid neck strain. Use a pencil to mark reference points clearly, doubling-checking measurements before making any permanent marks. Always measure multiple times to confirm consistency; small errors can lead to misalignment or uncomfortable viewing angles. Keep your tools level and steady as you take measurements, and avoid rushing the process. Incorporating Free Floating techniques can help you achieve more flexible and balanced mounting positions, reducing strain and improving overall comfort. Accurate measurements help you position the mount correctly, reducing installation errors and ensuring your device is both functional and comfortable to view.
Leveling and Alignment
Using the right tools and techniques for leveling and alignment guarantees your ceiling mount sits perfectly. A spirit level or laser level helps you achieve precise horizontal alignment, ensuring the mount isn’t crooked. Place the level on the mounting bracket or marked spots to verify straightness. Use a chalk line or laser guide to mark straight reference points across the ceiling, aiding alignment. Double-check measurements before drilling to confirm everything lines up. Take your time adjusting the mount during installation, frequently checking with your level. Proper alignment not only looks professional but also prevents strain on your neck caused by uneven mounting. With accurate tools and careful techniques, you’ll ensure your ceiling mount is perfectly level, providing a safe and aesthetically pleasing setup.
Securing Mounting Hardware
Securing the mounting hardware properly is essential for a stable and safe installation. First, gather the right tools: a drill, screwdriver, level, stud finder, and appropriate anchors or screws. Use the stud finder to locate sturdy ceiling joists, ensuring your mount is anchored securely. Mark the drilling spots precisely, double-checking for level placement. When installing, drill pilot holes into the studs or ceiling anchors, then insert anchors if necessary. Tighten screws firmly but avoid over-tightening, which can damage hardware or ceiling material. Verify the stability by gently testing the mount’s firmness before hanging your fixture. Properly securing hardware prevents shifts or falls that can cause damage or injury, ensuring your ceiling mount remains secure and your setup safe over time. Additionally, understanding the importance of auditory processing in communication can help inform your installation process and ensure your setup accommodates any specific needs. Recognizing the energetic alignment between your tools and environment can also enhance the accuracy and safety of your installation process. Paying attention to support breakfast options in your area can provide necessary nourishment during a long installation session, keeping you energized and focused.
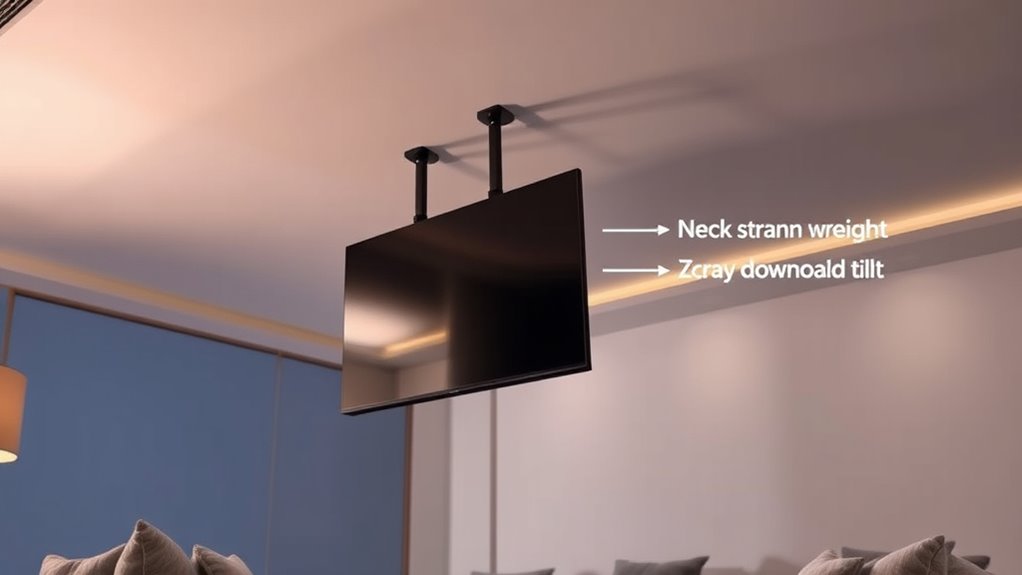
Adjusting Your Setup for Maximum Comfort
To guarantee maximum comfort, start by setting the screen at the ideal viewing height so you don’t strain your neck. Adjust the tilt so the screen is easy to see from your usual sitting position without glare or distortion. Small tweaks here can make a big difference in your overall viewing experience.
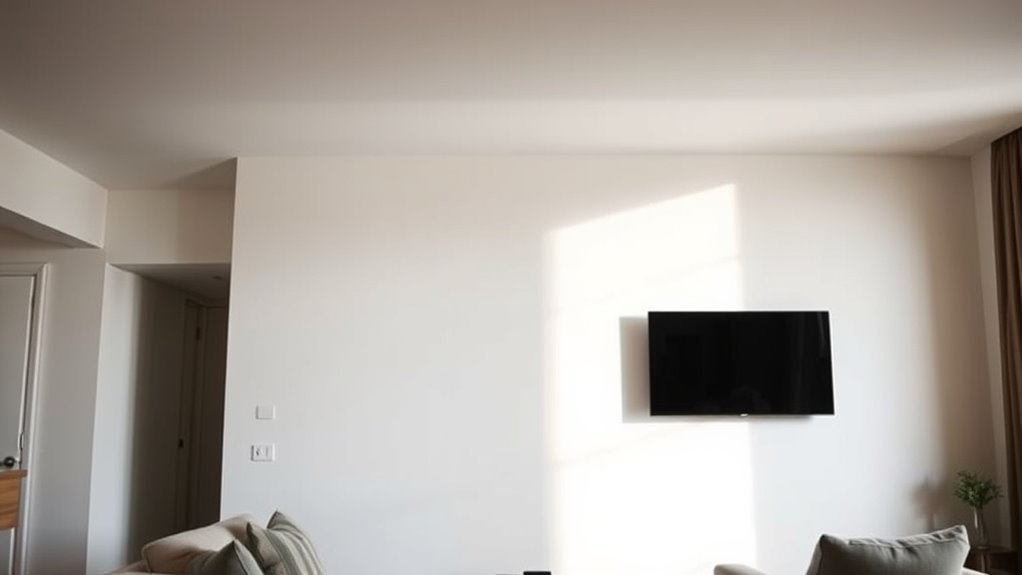
Optimal Viewing Height
Finding the right ceiling mount height is essential for comfortable viewing. You want your screen positioned so that your eyes are level with the center of the display when you’re seated naturally. If it’s too high, you’ll strain your neck looking up; if too low, you’ll hunch or tilt your head downward. Measure your eye level when seated, then adjust the mount to align the screen center accordingly. Keep in mind the height of your seating and the typical viewing distance. This setup reduces neck fatigue and helps you maintain good posture during extended viewing sessions. Remember, the goal is to create a setup that feels natural and effortless, minimizing strain and maximizing comfort during your TV or monitor use. Developing a relationship with your inner guidance can also help you tune into your body’s needs and make adjustments that promote overall well-being. Additionally, considering ergonomic principles can ensure your setup supports long-term comfort and health.
Proper Screen Tilt
Once you’ve positioned your screen at the proper height, adjusting the tilt can further enhance your viewing comfort. You want the screen to be angled so that your line of sight hits the center of the display directly, reducing neck and eye strain. Too much tilt downward causes glare and forces you to crane your neck up, while tilting upward can make it hard to see details clearly. Find a slight downward tilt, around 10 to 20 degrees, that aligns with your natural gaze. This way, you avoid unnecessary strain and maintain a relaxed posture during long use. Regularly check your setup from different angles to guarantee the tilt remains ideal as you work or watch. Proper screen tilt is key to a comfortable, strain-free viewing experience.
Frequently Asked Questions
How Do I Choose the Best Ceiling Height for My Space?
You should choose a ceiling height that keeps your mounted equipment at eye level or slightly above when you’re seated or standing, ensuring comfort and safety. Measure your typical eye height and add a few inches for clearance. Consider the room’s purpose and how people will interact with the mounted device. Avoid placing it too high or low, as that can cause neck strain and hinder usability.
What Materials Are Best for Mounting Different Ceiling Devices?
Oh, you’d think mounting devices is as simple as sticking them up, right? Nope! For sturdy, reliable holds, use materials like steel brackets for heavier gear, and sturdy anchors for drywall. If you’re mounting projectors or cameras, opt for high-quality mounts made of aluminum or heavy-duty plastic. Remember, choosing the right materials isn’t just about avoiding disasters; it’s about ensuring your setup stays functional and safe long-term.
How Often Should I Check and Adjust My Ceiling Mount?
You should check and adjust your ceiling mount at least once every three to six months. Regular inspections help you spot loose bolts, wobbling, or signs of wear early. If you notice any instability or if you’ve experienced an earthquake or strong vibration, tighten or readjust immediately. Keeping your mount secure ensures safety and prevents unnecessary strain on your neck and eyes, maintaining ideal viewing angles and device stability.
Can Ceiling Height Impact Audio or Lighting Performance?
Yes, ceiling height can impact your audio and lighting performance. If the ceiling is too high, your speakers or lights may not distribute sound or light evenly, reducing effectiveness. Conversely, low ceilings can cause glare or sound reflections that distort quality. To optimize performance, consider the height and adjust the placement of your equipment accordingly, ensuring even coverage and clarity for the best experience.
What Safety Precautions Are Necessary During Installation?
You should wear safety goggles and gloves to protect your eyes and hands during installation. Use a sturdy ladder or scaffolding to reach the ceiling safely, ensuring it’s stable before climbing. Turn off power if working with electrical components, and double-check all mounting brackets and screws for secure attachment. Have a buddy assist you for stability and support, and follow the manufacturer’s instructions carefully to prevent accidents.
Conclusion
By mastering mindful mounting methods, you’ll minimize neck aches and maximize comfort. Keep your setup simple, stay seated straight, and guarantee your screen’s at the perfect height. With careful consideration and correct techniques, you’ll enjoy an ergonomic environment that enhances your viewing experience. Remember, proper placement prevents pain and promotes peace of mind. So, stay savvy, set smart, and enjoy your space without strain—success starts with a smart setup!