
One common mistake that ruins auto calibration is placing the microphone incorrectly, such as near reflective surfaces, corners, or away from ear level. This misplacement skews measurements, leading to imbalanced sound and a less natural listening experience. To get accurate results, position the mic at ear level in the middle of your listening area, away from walls and furniture. Keep these tips in mind to improve calibration—there’s more to discover if you keep exploring.
Key Takeaways
- Placing the microphone too close to reflective surfaces or corners skews room measurements.
- Positioning the mic below ear level or away from the listening position distorts calibration accuracy.
- Ignoring room acoustics and furniture effects leads to incorrect calibration results.
- Using inconsistent or haphazard microphone placement compromises the true sound measurement.
- Failing to follow proper placement guidelines results in imbalanced sound and ineffective room correction.
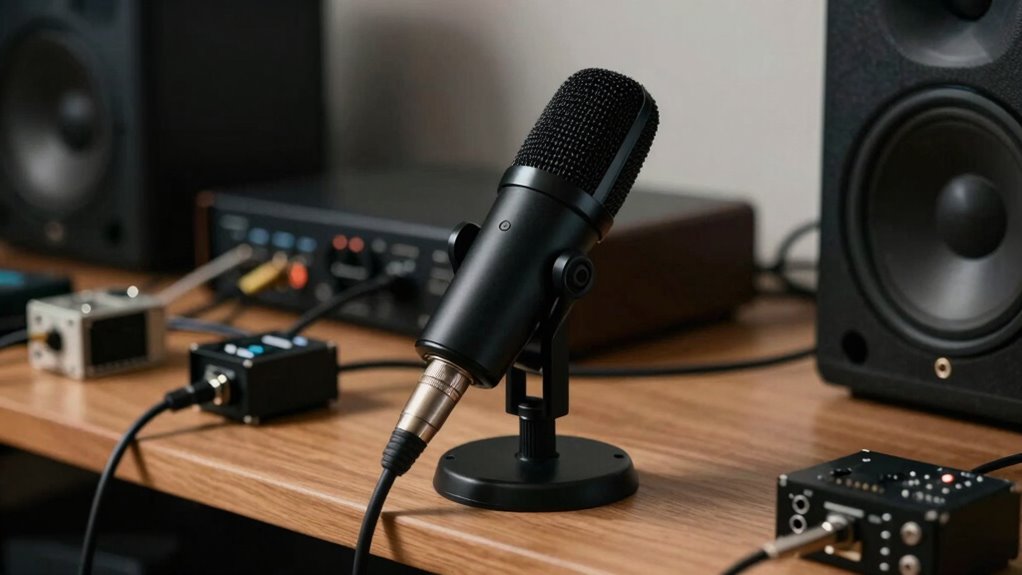
Proper placement of the room correction microphone is crucial for achieving accurate audio calibration. When you set up your system, the positioning of the microphone directly influences how well the calibration software can analyze your room’s acoustics. If you place it poorly, the results will be skewed, leading to an imbalance in your sound that can be difficult to correct later. To get the most accurate results, you need to consider both speaker positioning and acoustic treatment, as they’re key factors in how sound interacts with your space.
Start by placing your speakers in ideal positions before you even think about the microphone. Proper speaker positioning ensures that sound waves are evenly distributed and not overly affected by room boundaries or furniture. Once your speakers are well-placed—usually a few feet away from walls and aligned at ear level—focus on where you’ll position the microphone. Typically, the mic should be at your listening position, roughly at ear level, and in the middle of the listening area. This placement ensures that the calibration measures the sound as you perceive it, rather than an exaggerated reflection or null point caused by poor placement. Additionally, room acoustics play a crucial role here, as they influence how sound behaves within your space.
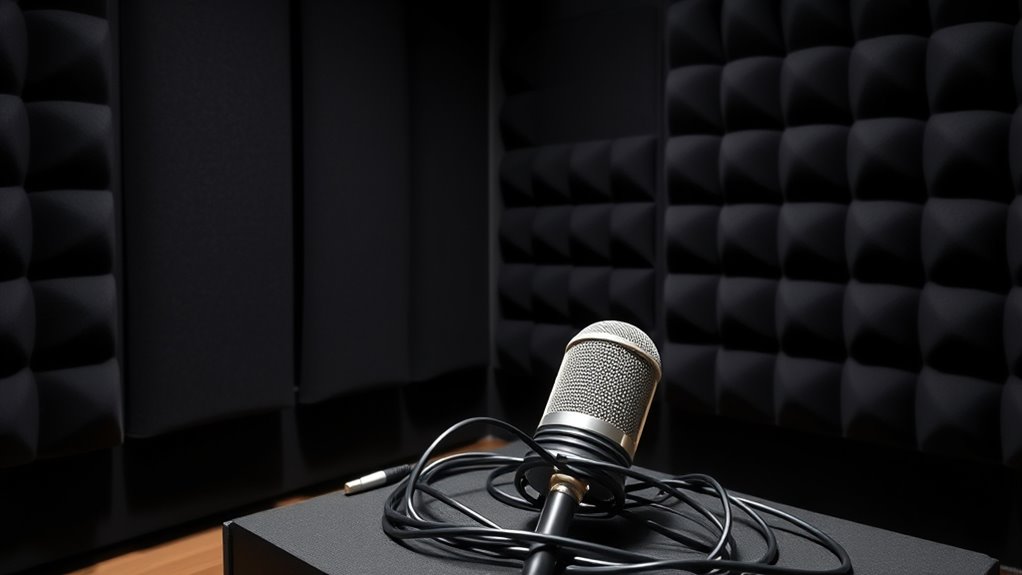
Acoustic treatment plays a crucial role here. If your room has reflective surfaces, bare walls, or excessive echo, the microphone will pick up these anomalies, resulting in a calibration that compensates for reflections that aren’t representative of the direct sound you want to hear. To mitigate this, consider adding acoustic panels, bass traps, or diffusers strategically around your listening area. These treatments help absorb or scatter sound waves, reducing unwanted reflections and making the microphone’s measurement more accurate. When your room’s acoustics are controlled, the calibration software can better identify the true frequency response of your speakers, leading to a more natural and balanced sound.
Avoid the mistake of placing your mic in a corner or near a reflective surface, as these positions can introduce inaccuracies. Instead, find a spot roughly at ear level and at the center of your listening area, away from walls or objects that could interfere with the measurement. Remember, the goal is to capture the sound as it reaches your ears, not the sound bouncing around the room. Proper speaker positioning combined with effective acoustic treatment ensures that your room correction microphone can do its job accurately, resulting in a calibration that genuinely enhances your listening experience. When you get these aspects right, you’ll notice a clearer, more balanced soundstage that truly reflects the capabilities of your audio system.

Superlux ECM999 Measurement Microphone, Omnidirectional Condenser Mic – Precision for Room Calibration, Audio Testing & Sound Analysis. Compatible with RTA Systems, Studio Recording (20Hz-20kHz, XLR)
Measurement Microphone for Room Calibration and Acoustic Testing — Idea for home theater system setup, studio acoustic measurements,…
As an affiliate, we earn on qualifying purchases.
As an affiliate, we earn on qualifying purchases.
Frequently Asked Questions
How Often Should I Recalibrate My Room Correction System?
You should recalibrate your room correction system whenever you notice significant room changes or audio issues. Calibration frequency depends on how often your room layout or furnishings change, but a good rule of thumb is at least once every six months. Regular recalibration ensures your system adapts to new acoustics, maintaining ideal sound quality. Don’t forget to check calibration after renovations or moving your gear to keep everything sounding perfect.
Can Multiple Microphones Improve Calibration Accuracy?
Using multiple microphones can improve calibration accuracy by creating a microphone array that captures a more complete sound profile of your space. Multi mic calibration accounts for room acoustics more effectively, reducing errors caused by single mic limitations. By strategically placing these microphones, you get a detailed understanding of reflections and sound behavior, leading to more precise room correction adjustments. Just guarantee proper placement for ideal results.
Does Room Temperature Affect Microphone Placement?
Did you know that even a 5-degree temperature change can impact microphone sensitivity? Room temperature does affect where you place your mic, as it influences ambient noise levels and the microphone’s response. If the room’s too hot or cold, it can cause fluctuations in calibration accuracy. To get the best results, keep the room temperature stable and avoid placing the mic near sources of heat or cold drafts.
What’s the Best Way to Hide Microphone Cables?
To hide microphone cables effectively, focus on cable management techniques like using cable clips, sleeves, or conduits to secure and conceal them along walls or furniture. You can also run cables behind equipment stands or under carpets for a clean look. This not only improves aesthetics but also prevents tripping hazards. Proper cable management enhances your setup’s appearance, making it look neat and professional while ensuring safe, easy access when needed.
Are There Specific Brands Recommended for Calibration Microphones?
Don’t put all your eggs in one basket; when choosing a calibration microphone, stick to trusted brands like miniDSP, Dayton Audio, or Behringer. These brands are known for quality and consistency. Proper calibration microphone placement is vital, so follow manufacturer guidelines to avoid skewed results. Investing in a reputable brand ensures your auto calibration is accurate, giving you better sound without guessing games.

New Sony Calibration Mic Measurement Microphone ECM-AC2 Part Number 154277421 1-542-670-21 154271011 1-542-710-11 154267021 1-542-774-21, Auxiliary
Genuine SONY ECM-AC2 Calibration Microphone for SONY Audio Video Receiver Home Theater systems. Pic 2 shows common Error…
As an affiliate, we earn on qualifying purchases.
As an affiliate, we earn on qualifying purchases.
Conclusion
To get the best results from your auto calibration, pay close attention to mic placement. Even a small mistake can skew your room correction, ruining the sound quality. Did you know that improper mic placement can reduce calibration accuracy by up to 50%? By carefully positioning your mic, you guarantee a more accurate measurement, leading to a richer, more balanced audio experience. Don’t overlook this simple step—your ears will thank you.

Focusound 52 Pack Acoustic Foam Panels 1" x 12" x 12" Sound Proof Foam Panles Soundproofing Noise Cancelling Wedge Panels for Home Office Recoding Studio with 300PCS Double-Side Adhesive
Soundproofing – Acoustic foam panels triangular grooves structure for better noise absorption, helps to reduce and absorb unwanted…
As an affiliate, we earn on qualifying purchases.
As an affiliate, we earn on qualifying purchases.

InnoGear Microphone Stand, Tripod Boom Arm Floor Mic Stand Height Adjustable Heavy Duty with Carrying Bag 2 Mic Clips 3/8" to 5/8" Adapter for Singing Podcast for Blue Yeti Shure SM58 SM48 Samson Q2U
Adjustable Height & Solid: The height of the microphone stand with boom arm is adjustable from 28.1 inches…
As an affiliate, we earn on qualifying purchases.
As an affiliate, we earn on qualifying purchases.