To prevent HDMI chaos when setting up your new receiver, start by updating its firmware early. Connect your main source devices directly to the receiver with high-quality HDMI cables, then connect the receiver to your TV. Power everything on and perform the calibration steps, including audio and picture adjustments. Making sure the proper order and updates helps avoid handshake issues and signal problems. Follow this sequence carefully, and more helpful tips await to ensure a smooth setup.
Key Takeaways
- Connect primary source devices directly to the receiver before connecting to the TV to ensure proper signal routing.
- Use high-quality HDMI cables and connect main sources first, then connect the receiver to the TV for reliable communication.
- Power on all devices after wiring, then perform calibration and configuration via the receiver’s setup menu.
- Update the receiver firmware early to fix bugs and improve HDMI compatibility before finalizing connections.
- Follow the user manual’s calibration and setup instructions precisely to prevent HDMI handshake conflicts and ensure optimal performance.
Are you ready to set up your new receiver efficiently? Starting the process with a clear sequence can save you from frustrating HDMI chaos later. The first step is to familiarize yourself with the calibration procedures. Proper calibration ensures your audio and video signals are optimized, preventing issues like picture distortion or sound delays. Before diving into connections, take a moment to review the user manual’s calibration instructions. Performing initial calibration procedures sets a solid foundation for all subsequent setup steps, making your overall experience smoother and more reliable.
Next, check for any available firmware updates for your receiver. Firmware updates are essential because they often fix bugs, improve stability, and add new features. Manufacturers frequently release updates to enhance compatibility with the latest HDMI standards and connected devices. Installing these updates early on is a simple yet indispensable step. Usually, you can do this via the receiver’s settings menu, connected to the internet. Updating firmware before connecting all your devices ensures that your receiver operates with the latest code, reducing the risk of compatibility issues that can cause HDMI handshake failures or picture dropouts.
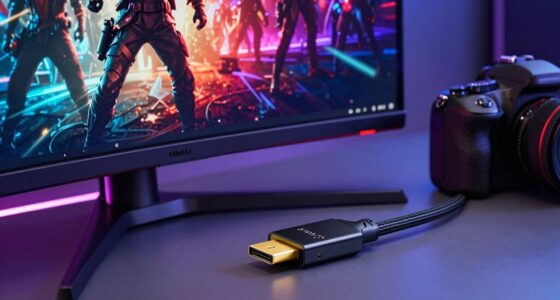
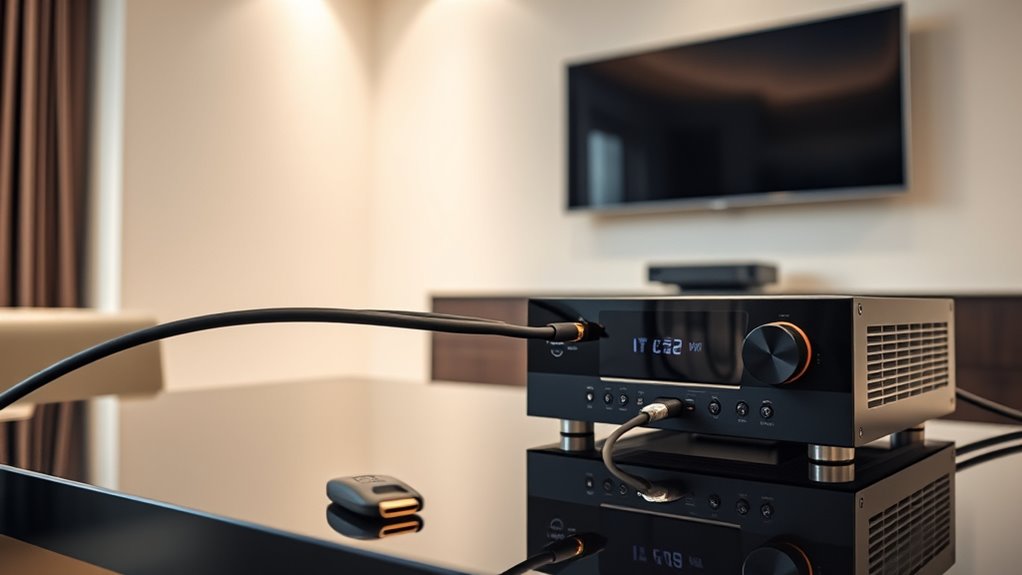
Once calibration and firmware updates are taken care of, proceed to connect your primary devices—your TV, source components, and sound system—using high-quality HDMI cables. It’s best to connect your main source devices directly to the receiver first, then connect the receiver to your TV. This order helps the receiver better manage signal routing and communication, reducing the chances of HDMI handshake conflicts. After physically connecting everything, power on the receiver and your devices. Navigate through the setup menu to confirm proper recognition of sources and to perform any remaining calibration steps, such as speaker configuration or picture adjustments.
Frequently Asked Questions
Can I Skip Any Setup Steps Without Issues?
You shouldn’t skip setup steps, especially calibration adjustments and remote configuration, as they guarantee ideal performance and seamless control. Skipping calibration can lead to poor picture and sound quality, while skipping remote configuration might make controlling your receiver difficult. Following the recommended setup order helps prevent HDMI chaos and other issues. Take the time to complete each step carefully to enjoy your system’s best possible performance without glitches or frustration.
How Do I Troubleshoot HDMI Handshake Problems?
Ever wondered why your HDMI connection isn’t working smoothly? To troubleshoot HDMI handshake problems, start by ensuring device compatibility and updating firmware. Check all HDMI cables for damage, and reconnect them securely. Power cycle your devices and try switching to different HDMI ports. Are your devices still not communicating? Reset your AV gear and double-check settings. Proper HDMI troubleshooting can save you time and restore seamless connectivity.
Is Firmware Updating Necessary Before Setup?
Yes, a firmware update is necessary before setup to guarantee your receiver has the latest features and fixes. Updating firmware enhances setup compatibility with your devices, reducing HDMI handshake issues. Before beginning, check your receiver manufacturer’s website for the newest firmware version and follow their instructions carefully. Doing this helps prevent potential problems, ensuring smoother integration of your devices and ideal performance from the start.
What if My Devices Aren’T Compatible?
If your devices aren’t compatible, don’t worry—check their compatibility first and look for firmware updates from the manufacturer. Firmware updates can often fix compatibility issues or add support for new devices. If updates don’t help, consider replacing incompatible equipment with models that work together seamlessly. Always verify your firmware is current, as it can improve device performance and prevent future compatibility problems.
How Long Should Each Setup Step Take?
Setting up your receiver can feel like launching a spaceship, but each step actually takes just a few minutes. Calibration procedures might take around 10-15 minutes if you follow instructions carefully, ensuring perfect picture and sound. Wireless connectivity setup is quick—usually under 5 minutes—allowing you to enjoy seamless streaming and device pairing. Stay patient, and you’ll be enjoying your optimized home theater in no time!
Conclusion
By following this setup order, you’ll notice how everything clicks into place effortlessly. It’s almost like the moment you connect that last cable, your entire home theater comes alive, ready to impress. You might find yourself surprised at how smooth the process becomes, almost as if the system was waiting for your precise touch. When all is said and done, you’ll enjoy flawless HD chaos-free entertainment, just like it was meant to be.