To set your speaker levels with a smartphone SPL app, start by calibrating your device with a known sound reference or app instructions. Place your phone at the listening position, ensuring it’s steady and unobstructed. Play a test sound and monitor the levels in real-time, adjusting your speaker volume until the SPL matches your target level. For more detailed steps and tips on maintaining accuracy, keep exploring how to optimize your setup.
Key Takeaways
- Calibrate the SPL app using a known sound source before measuring speaker levels.
- Place your smartphone at the speaker’s listening position, ensuring microphone is unobstructed.
- Play test tones or music and monitor SPL readings, adjusting speaker volume until desired levels are reached.
- Use the app’s peak and average features to ensure consistent, appropriate sound levels.
- Repeat measurements and verify readings to set or balance speaker levels reliably.
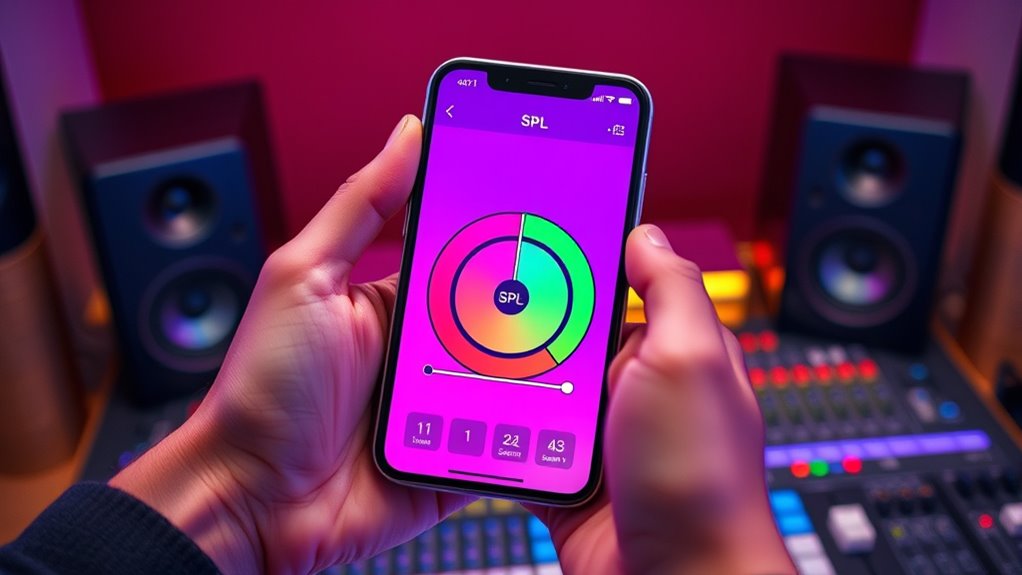
Ever wondered how to accurately measure sound levels with your smartphone? Using a smartphone SPL (Sound Pressure Level) app can be straightforward if you understand the importance of proper audio calibration and the app features that enhance measurement accuracy. When you start, ensure your device’s microphone is functioning correctly, and you’re in a quiet environment to get the most reliable readings. Many SPL apps include built-in calibration tools or instructions for manual calibration, which are essential for accurate results. Proper audio calibration involves adjusting the app settings to match a known reference, like a calibrator or a standard sound source, so the readings reflect real SPL levels. Additionally, understanding the concept of Free Floating vibrations and noise can help interpret your measurements more accurately.
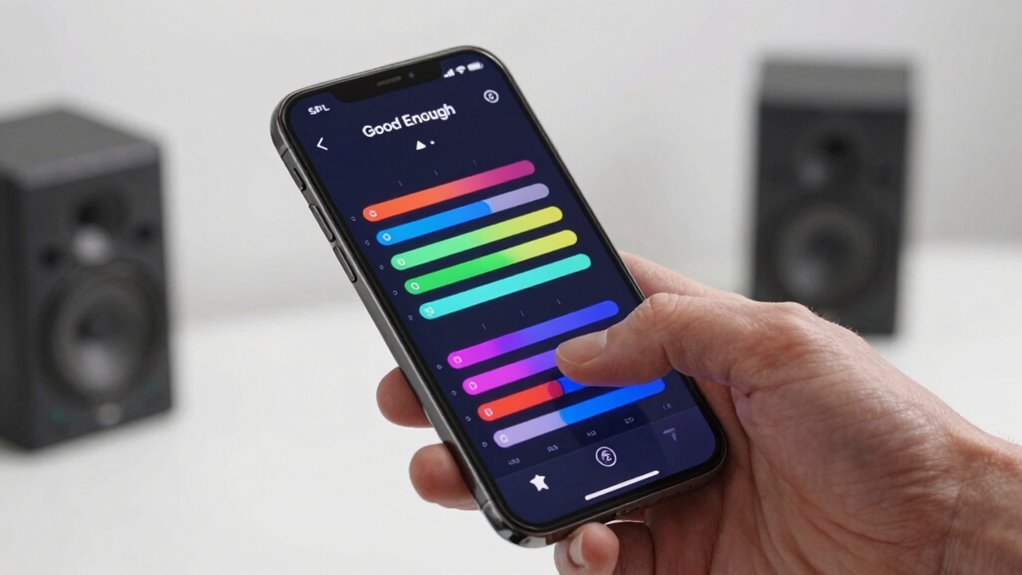
App features vary, but most good SPL apps offer real-time level monitoring, peak hold, averaging, and frequency weighting options like A-weighting or C-weighting. These features help you customize measurements based on your specific needs, whether you’re testing speakers, audio equipment, or room acoustics. Once you open the app, explore its options to see if it includes calibration tools—some apps allow you to input calibration data or use external calibrators. If your app doesn’t have a dedicated calibration feature, you can still improve accuracy by following the app’s instructions for initial setup, such as placing your phone at a specific distance from the sound source and ensuring a stable environment.
To begin measuring, place your phone at the desired location where you want to assess sound levels. If calibration is available, perform it first by following the app’s prompts—this often involves playing a test tone or using an external calibrator to set a baseline. After calibration, start the measurement process. Keep the app steady, and avoid covering the microphone or moving the phone while taking readings. Use the app features to monitor peak levels or average readings, so you get a thorough understanding of the sound environment. Remember, the goal with the good enough method is to get consistent, repeatable measurements rather than absolute precision, so don’t obsess over every decimal point.
Finally, review your measurements and compare them with standard sound level guidelines if needed. If you notice discrepancies, revisit the calibration process or check app settings to ensure they match your measurement conditions. Using a smartphone SPL app with attention to proper audio calibration and leveraging its features allows you to efficiently set speaker levels or evaluate sound environments with reasonable accuracy. It’s a practical, accessible way to manage audio levels without specialized equipment, making your sound setup both effective and straightforward.
Frequently Asked Questions
Can I Calibrate My Smartphone’s Microphone for Accurate SPL Readings?
You can’t typically calibrate your smartphone’s microphone for perfect SPL accuracy because they’re designed for general use, not precise measurements. However, you can improve microphone calibration by using a known reference sound level with a professional calibration tool or external microphone. While this won’t make your SPL readings perfectly accurate, it helps ensure more consistent results, giving you a better approximation for speaker level adjustments.
What Are Common Mistakes to Avoid When Using a SPL App?
Avoid common mistakes like improper microphone placement; keep it steady at ear level, not too close or far from your speakers. Make certain your microphone is calibrated correctly before testing, using calibration tips to ensure accurate readings. Don’t move the microphone during measurements, as it skews results. Also, avoid background noise, and test in a consistent environment for reliable speaker level adjustments with your SPL app.
How Does Room Acoustics Affect SPL Measurements?
Room acoustics, especially reflections, can skew SPL measurements, making them less accurate. You might think your readings are precise, but reflections bounce sound waves, causing peaks or dips. To improve accuracy, pay attention to microphone placement—keep it away from walls and reflective surfaces. This minimizes the impact of room reflections, helping you get a true reading of your speaker levels. Proper placement guarantees your measurements reflect actual sound, not room quirks.
Is There a Recommended SPL Level for Different Audio Setups?
You should aim for an ideal SPL of around 75-85 dB for most audio setups, ensuring clear sound without distortion. For home theater systems, benchmark levels often target 85 dB during movie scenes, while music listening benefits from slightly lower levels. Adjust your speaker levels accordingly, using SPL measurements to stay within recommended benchmarks, and avoid exceeding levels that cause discomfort or sound quality issues.
How Often Should I Re-Calibrate My SPL App for Consistent Results?
You should recalibrate your SPL app every few months to maintain measurement consistency. Regular calibration ensures your readings stay accurate despite environmental changes or app updates. If you notice fluctuations in speaker levels or inconsistent results, it’s a good idea to recalibrate sooner. Keeping a routine calibration schedule helps you trust your measurements and achieve ideal audio performance consistently.
Conclusion
Now that you’ve learned how to set your speaker levels with a smartphone SPL app, it’s almost like the universe gently guiding your sound system to perfection. As you tune, imagine the subtle harmony aligning, much like sunlight filtering through a window, illuminating every note. With a little patience, your music will feel just right—rich, clear, and balanced—making every listening moment a small, serendipitous discovery. Trust the process, and enjoy that perfect sound.