
To fix harsh ‘s’ sounds in dialogue without losing clarity, focus on precise processing. Use spectral analysis tools to identify problematic frequencies between 5kHz and 10kHz, then apply a de-esser or narrow-band EQ to target those areas carefully. Avoid overdoing it, as too much reduction can dull the voice’s natural warmth. When done right, your dialogue stays clear and natural. Keep exploring these techniques for more tips on tackling sibilance effectively.
Key Takeaways
- Use a de-esser with a carefully set threshold to reduce harsh sibilance without dulling the voice.
- Apply narrow-band EQ or dynamic equalization targeting 5kHz–10kHz frequencies to suppress sibilance precisely.
- Employ spectral analysis tools to identify exact sibilance peaks and focus edits on problematic frequency ranges.
- Automate or manually attenuate specific syllables or words exhibiting excessive sibilance for natural results.
- Always compare before and after edits, ensuring the voice remains clear, warm, and natural throughout the process.

Have you ever noticed how certain words in dialogue seem to hiss or sizzle with a sharp, hissing sound? That’s sibilance making its presence known—those exaggerated ‘s’ and ‘sh’ sounds that can distract listeners and diminish the clarity of your audio. When dealing with harsh sibilance, your goal is to analyze sibilance carefully and apply effective audio editing techniques to tame it without sacrificing the natural tone of the voice.
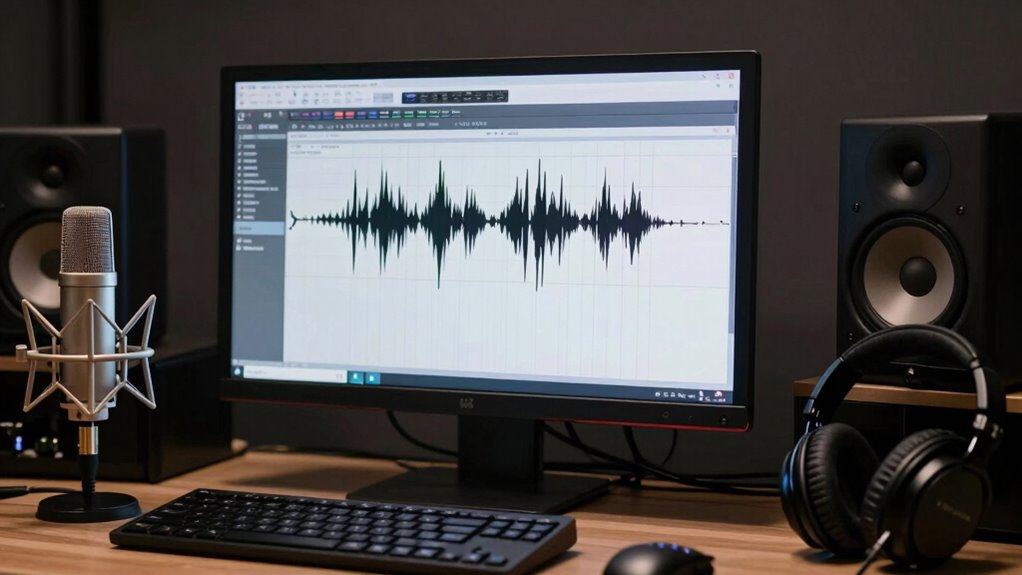
Start by listening closely to your recordings. Analyzing sibilance involves identifying exactly where those sharp sounds spike in intensity. Use audio editing software with spectral analysis tools or equalizers, which can visualize frequency ranges. Sibilant sounds typically occur between 5kHz and 10kHz. Once pinpointed, you can decide whether a subtle adjustment will do the trick or if more targeted processing is necessary.
Listen carefully, identify sibilance peaks, and use spectral analysis tools to target problematic frequencies between 5kHz and 10kHz effectively.
Applying audio editing techniques requires precision. A common approach is to use a de-esser—an intelligent compressor designed specifically to reduce sibilance. Instead of blindly lowering all high frequencies, a de-esser targets only those problematic ‘s’ sounds, preserving the natural brightness of the voice. Adjust the threshold carefully; you want to reduce the harshness without making the dialogue sound dull or muffled.
Additionally, dynamic equalization can be a powerful tool. By applying a narrow-band EQ, you can cut just the problematic frequency range during moments of excessive sibilance. This technique is especially useful if the sibilance varies throughout the dialogue. Be cautious: overdoing it can strip away clarity or introduce unnatural tonal shifts. Always listen critically after each adjustment, comparing before and after to ensure you maintain voice intelligibility and warmth.
Another effective approach involves manual editing combined with automation. If only certain words or syllables cause issues, you can cut or attenuate those segments directly. Automation allows you to reduce sibilance selectively, preserving the natural sound where it’s not problematic. Furthermore, understanding the role of spectral analysis in identifying problematic frequencies can help you target your edits more accurately.

HOW TO BUILD VOCAL RANGE FOR SINGERS: Your Complete Guide to Expanding Vocal Range, Boosting Confidence, and Singing Higher, Louder, and Longer Without Strain
As an affiliate, we earn on qualifying purchases.
As an affiliate, we earn on qualifying purchases.
Frequently Asked Questions
How Do I Identify Sibilance Issues in My Recordings?
You can identify sibilance issues in your recordings by using frequency analysis tools to spot peaks around 5-8 kHz, where harsh ‘s’ sounds often reside. Listen carefully for unnatural brightness or piercing sounds that disrupt vocal warmth. Pay attention to moments where the sibilance becomes prominent, especially in spoken dialogue. This approach helps you pinpoint problem areas without compromising clarity, making your editing more precise and effective.
Can Certain Microphones Help Reduce Sibilance During Recording?
Certain microphones can help reduce sibilance during recording, especially those with built-in pop filters or a tailored polar pattern like cardioid or hypercardioid. When selecting a microphone, consider your recording environment—using a mic suited for control and clarity minimizes sibilance issues. High-quality condenser mics with smooth frequency responses are often better at capturing dialogue without harsh ‘s’ sounds, making your recordings clearer and more natural.
Are There Specific Editing Tools Best for Fixing Sibilance?
You should use de-essing plugins or multiband compressors, as they’re the most effective tools for fixing sibilance. De-essing plugins target the high-frequency ‘s’ sounds specifically, reducing harshness without dulling your audio. Multiband compressors let you control the sibilant frequencies dynamically, smoothing out peaks while preserving clarity. Experiment with both to find the right balance, ensuring your dialogue sounds natural and clear without harsh sibilance.
Does Post-Processing Affect the Natural Sound of Dialogue?
Post-processing can affect the natural sound of your dialogue if you’re not careful, but with proper audio editing, you can maintain clarity. Choose the right microphone to reduce sibilance upfront, and use gentle EQ and de-essing tools during editing. This way, you preserve the natural tone while fixing harsh ‘s’ sounds. Remember, subtle adjustments make a big difference in retaining authentic dialogue quality.
How Can I Prevent Sibilance During the Initial Recording Phase?
To prevent sibilance during recording, you should use a pop filter placed about an inch from your microphone, which helps reduce harsh ‘s’ sounds. Also, adjust your microphone placement slightly off-axis or below your mouth to minimize direct airflow. These techniques help capture clearer dialogue while reducing sibilance, ensuring your recordings stay natural and crisp without the need for heavy post-processing.

Hack Audio (Audio Engineering Society Presents)
As an affiliate, we earn on qualifying purchases.
As an affiliate, we earn on qualifying purchases.
Conclusion
By adjusting your recording environment and using subtle editing techniques, you can tame harsh ‘s’ sounds without losing clarity. Imagine recording a heartfelt conversation where a single sibilance distracts from the emotion—fixing it lets the speaker’s true intent shine through. For example, a voice-over artist once softened sibilance in a touching commercial, making the message more powerful and authentic. With these tips, your dialogue will sound polished, natural, and emotionally resonant.
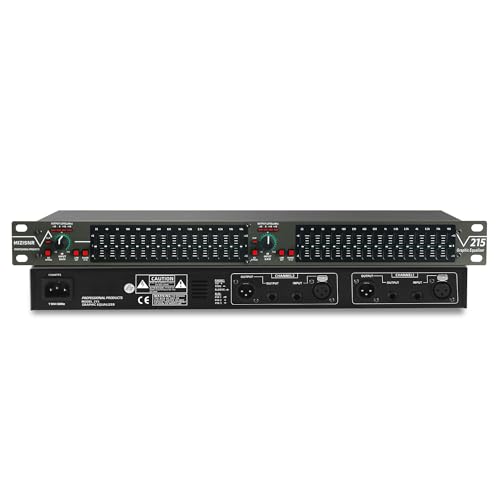
MIZISNR Graphic Equalizer 15-Band Stereo EQ for Home Audio, Dual Channel Professional DJ Equalizer, Noise Reduction 1U Rack Mount (EQ-215)
Professional Dual Channel Stereo Graphic Equalizer: Experience top-tier audio quality with this professional-grade dual-channel stereo graphic equalizer, designed…
As an affiliate, we earn on qualifying purchases.
As an affiliate, we earn on qualifying purchases.

WAVEPAD AUDIO EDITING SOFTWARE USER GUIDE FOR BEGINNERS: Mastering Audio Editing from First Steps to Pro Results
As an affiliate, we earn on qualifying purchases.
As an affiliate, we earn on qualifying purchases.