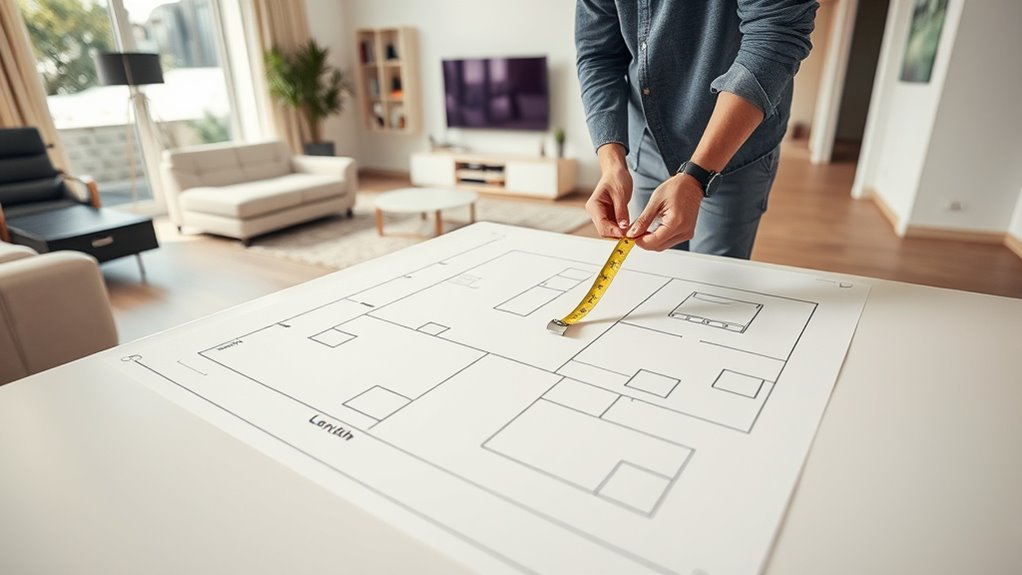
To measure your room for AV gear, start by taking precise length, width, and height measurements using a tape or laser measure. Note any obstacles, irregular shapes, or slopes, and sketch a detailed floor plan including windows and doors. Identify ideal spots for your equipment, ensuring they don’t block vents, windows, or pathways, and leave enough space for airflow and cable management. With these steps, you’ll set up a functional, clutter-free space—if you keep going, you’ll uncover even more tips to perfect your layout.
Key Takeaways
- Use precise tools like tape measures or laser measures to record room dimensions at multiple points, noting irregularities.
- Sketch a scaled floor plan including windows, doors, outlets, and obstacles for accurate layout visualization.
- Measure furniture, fixtures, and built-in features to identify potential interference and plan clear pathways.
- Determine optimal locations for AV equipment considering ventilation, easy access, and proximity to power outlets.
- Plan for adequate clearance around gear to prevent overheating and ensure smooth airflow and maintenance access.

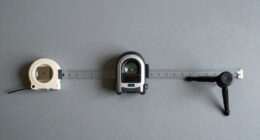
Laser Measure 50M/165ft,RockSeed Digital Laser Distance Meter with 2 Bubble Levels,Portable M/in/Ft Unit Switching Backlit LCD and Measuring Distance/Area/Volume/Pythagorean
★ HIGH ACCURACY & UNIT SWITCHABLE ★ With unique 2 Bubble Levels, providing more precise measurement compared to…
As an affiliate, we earn on qualifying purchases.
As an affiliate, we earn on qualifying purchases.
Assess Your Room Dimensions and Layout
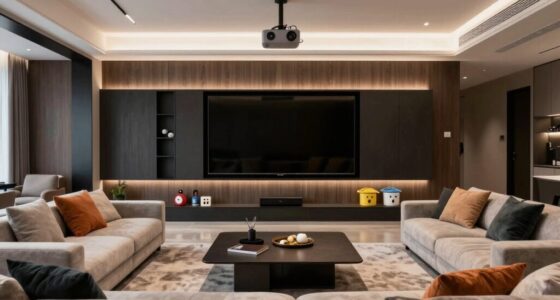
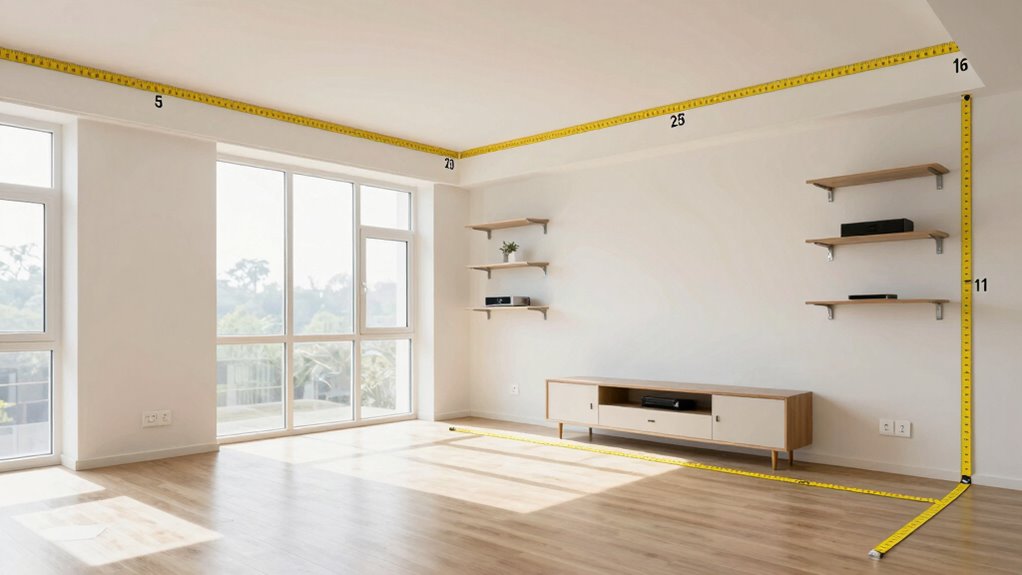
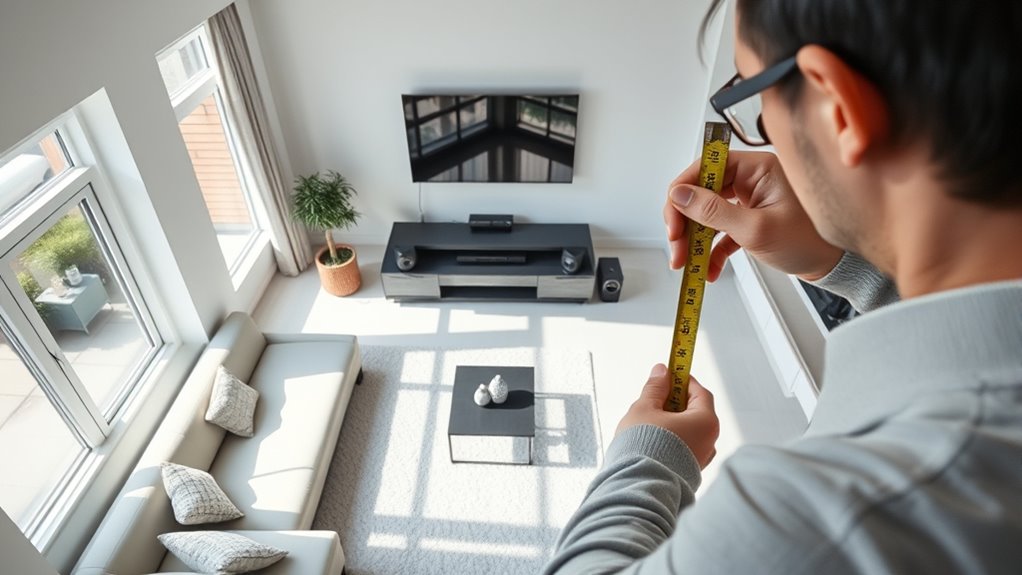
Before choosing your AV gear, you need to accurately measure your room’s dimensions and understand its layout. Grab a tape measure and record the length, width, and height of your space. Take note of any irregular shapes or alcoves that might impact equipment placement. Sketch a simple floor plan, marking where windows, doors, and built-in features are located. Consider how the room’s shape might influence sound distribution and sightlines. Remember, knowing the exact size helps you select appropriately sized equipment, avoiding clutter or inadequate coverage. Accurate measurements also support optimal equipment placement, ensuring that your AV setup functions efficiently and comfortably. Taking precise measurements can help identify potential obstacles or obstructions that could interfere with sound or picture quality. Additionally, understanding room acoustics can further improve your equipment choices and placement, leading to better sound clarity and image quality. Take your time to get precise measurements; mistakes here can cause issues later. With a clear understanding of your room’s dimensions and layout, you’ll be better prepared to plan a functional, efficient AV setup.

JINGCHENGMEI Metal Floating Wall Mounted Shelf Bracket for AV, TV Accessories, WiFi Router, TV Box, Cable Boxes, DVD Player, Games Consoles or Other Small Projectors (12 inches Width)
Dimensions: Wide 12" x Deep 8", Tray Usage Space: W 11.8" x D 7.83", Large storage for holding…
As an affiliate, we earn on qualifying purchases.
As an affiliate, we earn on qualifying purchases.
Identify Key Locations for Your AV Equipment

Once you have your room measurements, the next step is to identify the best locations for your AV equipment. Focus on spots that provide easy access, proper ventilation, and clear sightlines. Avoid placing gear where it blocks windows, vents, or doorways. Consider proximity to power outlets and the viewing area for ideal cable management and minimal clutter. Use the table below to visualize potential locations:
| Location Type | Suitable Placement Tips |
|---|---|
| TV/Projector Area | Mount on a solid wall, avoid glare and reflections |
| Audio Equipment | Keep near the seating area for sound clarity |
| Cable/AV Rack | Place close to outlets, ventilated, accessible |
This ensures your setup is functional, safe, and visually pleasing.
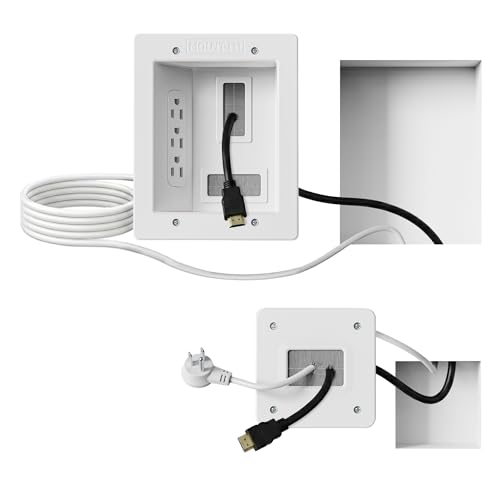
Mount-It! in-Wall TV Cable Concealer Kit with Recessed Power – Triple Outlet, 9ft Cord, and Hand Saw – Easy, Safe Cable Management for Organized TV and Home Theater Setups
Organized home theater setup – Eliminate messy wires and give your entertainment area a clean, modern look. This…
As an affiliate, we earn on qualifying purchases.
As an affiliate, we earn on qualifying purchases.
Measure the Width, Depth, and Height of Your Space
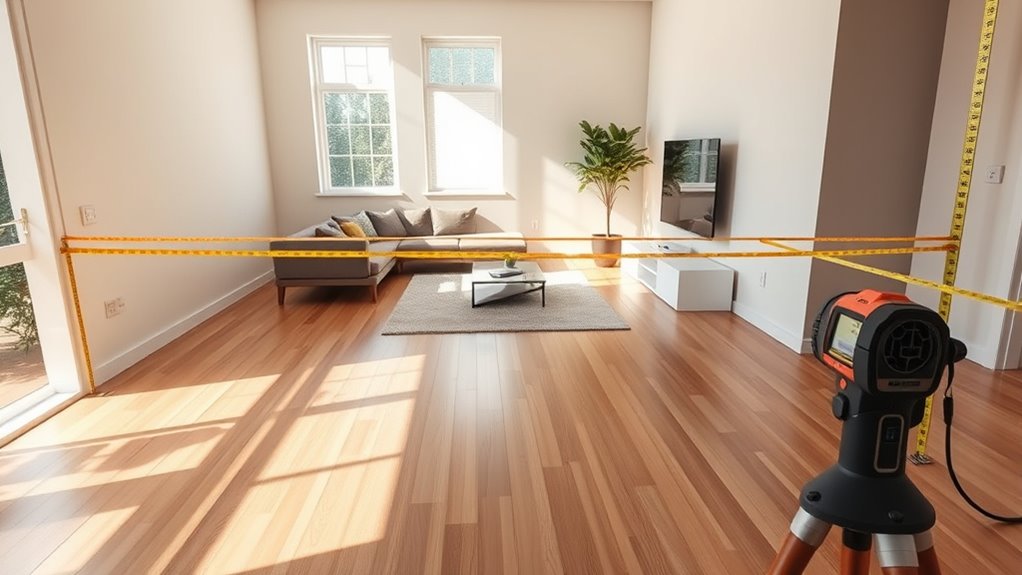
To guarantee your AV equipment fits perfectly, you need to measure the width, depth, and height of your space accurately. Use precise techniques like measuring multiple points and accounting for obstacles such as furniture or built-ins. This careful approach helps you plan for ideal placement and avoid surprises later.
Precise Measurement Techniques
Accurately measuring your room’s dimensions is essential for an ideal AV setup. Use a sturdy tape measure or laser measure for precision. Start by measuring the width of the room from wall to wall, ensuring the tape stays straight and taut. Repeat for the depth, from the front to the back wall. For height, measure from the floor to the ceiling at multiple points to account for any uneven surfaces. Record all measurements carefully, noting any irregularities or slopes. Double-check each measurement to avoid errors that could affect gear placement. Keep your measurements accurate, as they’ll influence the size and placement of your equipment, ensuring everything fits comfortably without blocking airflow or creating clutter.
Accounting for Obstacles
When measuring your room for AV gear, it’s important to account for obstacles that could interfere with placement or airflow. Identify furniture, shelves, windows, and fixtures that might block speakers, screens, or vents. Measure their width, depth, and height to understand how they occupy space. Consider any built-in features like radiators or vents that could cause overheating or airflow issues. Don’t forget to include doorways and passageways, ensuring enough clearance for equipment access and cable management. Mark these obstacles on your measurement plan so you can plan equipment placement accordingly. Recognizing these barriers early helps you optimize speaker positioning, avoid overheating, and create a clean, functional setup. Proper planning of your retirement portfolio can help prevent unexpected issues with your AV setup. This prep guarantees your AV gear operates efficiently and looks great in your space. Being aware of body jewelry measurements and materials can also help you choose appropriate mounts or accessories if needed. Additionally, understanding the horsepower of electric dirt bikes can inform you about the power requirements of certain AV equipment, ensuring your setup can handle any necessary power loads. Knowing about Free Floating concepts can also assist in designing a flexible and adaptable space that accommodates future changes or additions to your AV system, including the use of smart‑home integrations for seamless control.

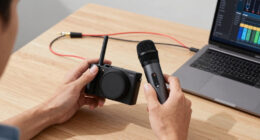
Deskbloom 3.5mm Audio Calibration Measurement Microphone for AV Receiver Home Theater Systems, Precise Speaker Level Adjustment
PROFESSIONAL AUDIO CALIBRATION: Precision 3.5mm measurement microphone engineered for home theater AV receiver calibration, delivering accurate sound level…
As an affiliate, we earn on qualifying purchases.
As an affiliate, we earn on qualifying purchases.
Determine Optimal Placement for Speakers and Screens
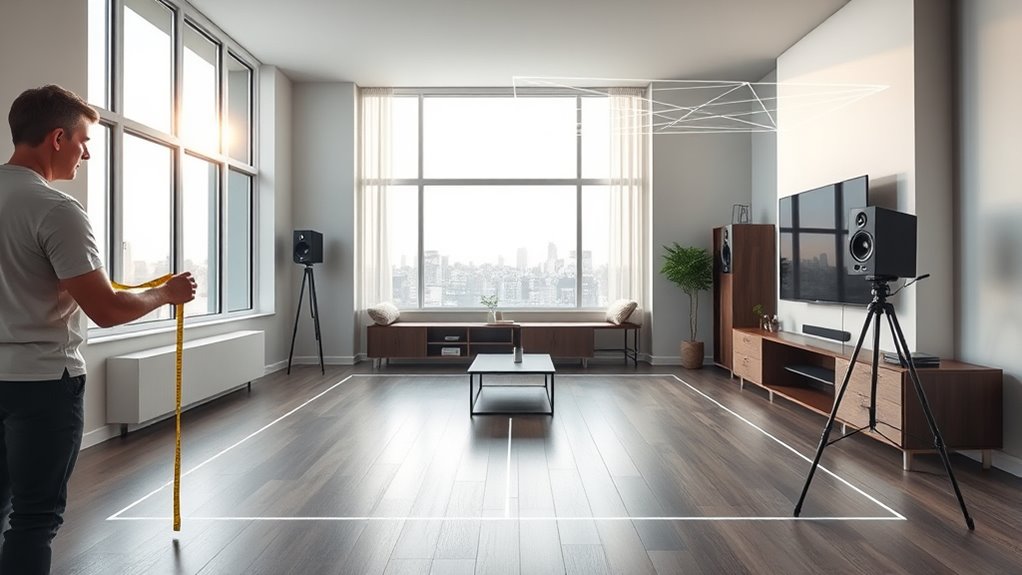
Finding the right spots for your speakers and screens can considerably enhance your viewing and listening experience. Start by choosing a central location for your TV or projector to guarantee even viewing angles. For speakers, position them at ear level when seated, forming an equilateral triangle with your seating area for ideal sound. Avoid placing speakers too close to walls or corners, which can cause unwanted bass booms. For screens, keep them at eye level and ensure they’re not obstructed by furniture or decorations. Consider the room’s layout and seating arrangement to maximize comfort and sound clarity. Use a tape measure to mark potential spots and visualize the setup before finalizing positions. Proper placement minimizes reflections, echoes, and visual obstructions, creating an immersive environment. Additionally, understanding the room’s acoustics and utilizing room calibration techniques can further optimize sound quality and reduce unwanted noise or reverberations.
Account for Ventilation and Airflow Needs
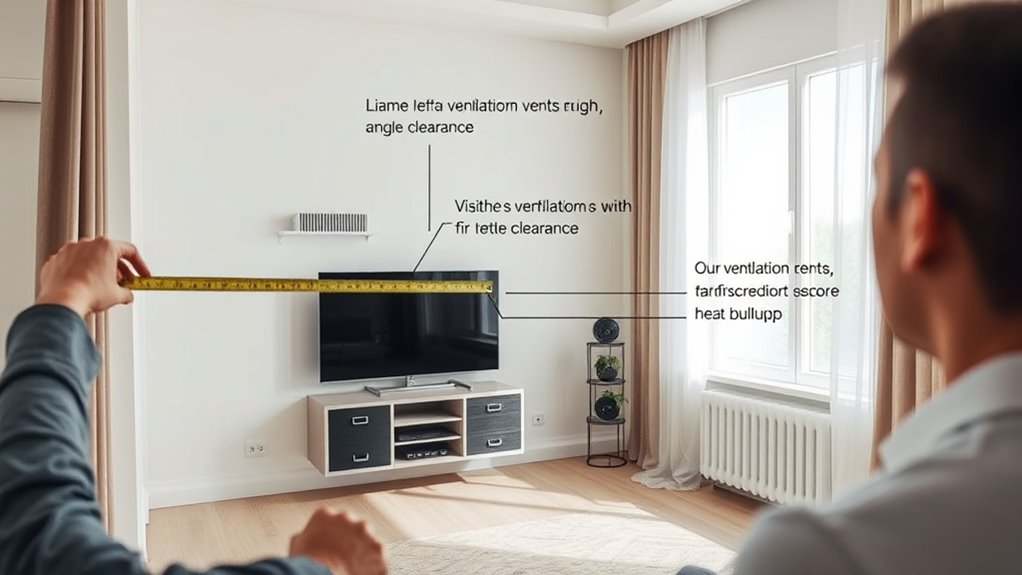
To guarantee your AV gear operates efficiently and safely, you need to account for ventilation and airflow needs in your setup. Proper airflow prevents overheating and prolongs the life of your equipment. Ensure there’s enough space around devices for air to circulate freely. Avoid stacking gear too tightly or placing it near heat sources. Use vents or fans if necessary to improve airflow. Keep cables organized to prevent blockages. Consider these key points:
- Maintain at least a few inches of clearance around each device.
- Install ventilation fans or vents if your room lacks natural airflow.
- Regularly check and clean dust filters and vents to prevent obstructions.
- Incorporate airflow management techniques to optimize cooling efficiency and safeguard your equipment.
- Additionally, understanding the importance of environmental considerations helps in maintaining a safe and sustainable setup. Proper placement also involves thinking about ventilation and airflow needs, which are crucial for preventing overheating and ensuring long-term functionality. Properly managing air circulation ensures your setup remains efficient and reduces the risk of heat damage. Regularly monitoring ambient temperature can also help maintain an optimal environment for your AV gear.
Consider Power Sources and Cable Management

Have you considered how your AV gear will be powered and how cables will be organized? Ensuring easy access to power outlets is essential. Measure the distance from your equipment placement to existing outlets, and plan for power strips or extension cords if needed. Use surge protectors to safeguard your gear. For cable management, choose channels, clips, or sleeves that keep wires tidy and prevent tripping hazards. Avoid running cables across walkways or doorways; instead, route them along walls or under carpets. Label your cables for easy identification during setup or troubleshooting. Good planning here prevents clutter, overheating, and accidental disconnections. Proper electrical planning can further help prevent electrical issues and improve overall system safety. Proper power source placement and cable management make your setup safer, cleaner, and more efficient.
Check for Potential Obstructions and Clearance Space
Start by identifying any obstacles like furniture, decor, or fixtures that could block your AV setup. Make sure there’s enough space around your equipment for proper ventilation and easy access. Confirming these details ensures your gear fits safely and functions efficiently.
Identify Obstacle Locations
Before placing your AV gear, it’s essential to identify potential obstacles that could interfere with ideal placement. Look around your room for objects that might block sound or signal paths, cause overheating, or look out of place. These obstacles can include:
- Furniture that obstructs speaker or TV lines of sight
- Wall-mounted items like shelves or artwork that could interfere with equipment placement
- Cables or cords that create tripping hazards or clutter
- Ventilation spaces to ensure adequate airflow and prevent overheating of your equipment
- Additionally, consider airflow requirements to promote proper ventilation and reduce the risk of equipment overheating during operation. Ensuring proper equipment placement can help optimize performance and longevity. Properly managing electrical outlets can also prevent overloading circuits and potential fire hazards. Being aware of heat dissipation needs can further extend the lifespan of your AV components.
Verify Adequate Space
Ensuring there’s enough space for your AV gear is crucial to prevent clutter and allow proper operation. Check that each piece has sufficient clearance for airflow, access, and maintenance. Avoid cramming equipment into tight spots that could cause overheating or make adjustments difficult. Use the table below to verify clearance needs:
| Equipment Type | Minimum Clearance | Ideal Clearance |
|---|---|---|
| AV Receiver | 2 inches | 4 inches |
| Subwoofer | 1 inch | 3 inches |
| Speakers | 0.5 inches | 1 inch |
| Power Strips/Plugs | 1 inch | 2 inches |
| Ventilation Space | 3 inches | 6 inches |
Ensure you measure and leave enough room to maintain airflow and easy access for upgrades or repairs. Proper ventilation space is essential for preventing overheating and prolonging the lifespan of your equipment.
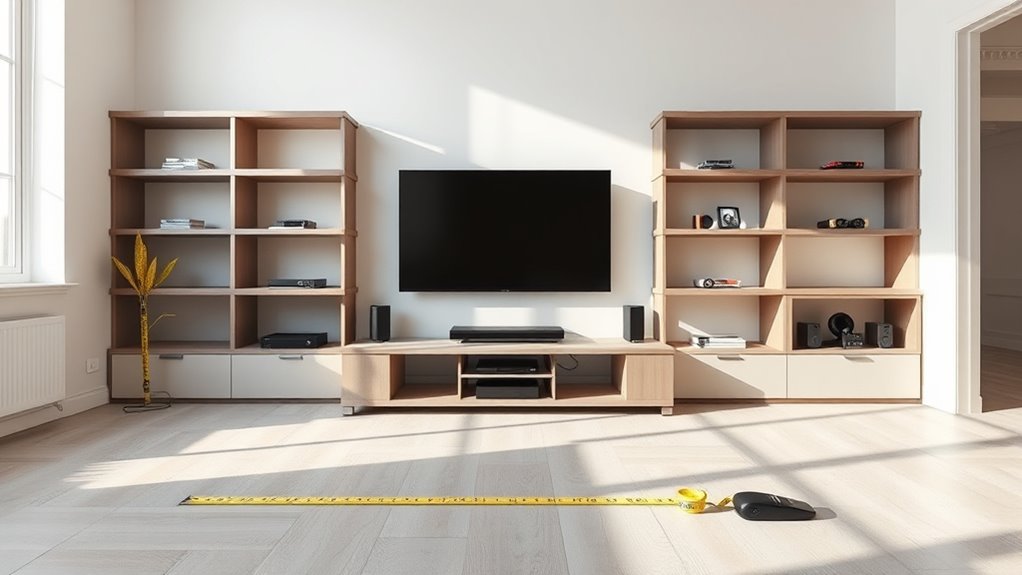
Create a Scaled Diagram of Your Room Setup
Have you ever struggled to visualize how your AV gear will fit in your room? Creating a scaled diagram helps you see the layout clearly and avoid surprises. Start by drawing your room to scale on graph paper or using digital tools. Include key features like windows, doors, outlets, and built-in furniture. Mark the locations of your AV components, speakers, and furniture, considering clear pathways and ventilation. This visual reference allows you to:
- Identify potential obstructions or cramped spots
- Test different speaker and screen placements
- Ensure proper cable routing and ventilation
A scaled diagram makes planning precise and saves you time during setup. It’s a simple step that guarantees your gear fits well, looks good, and functions smoothly.
Frequently Asked Questions
How Can I Ensure My AV Gear Doesn’t Block Doorways or Pathways?
You can guarantee your AV gear doesn’t block doorways or pathways by carefully planning its placement. Measure your space and leave at least 2-3 feet of clearance around doors and walkways. Avoid placing large equipment directly in high-traffic areas. Use furniture or stands to keep gear tucked away without obstructing movement. Regularly check for any new obstructions, especially if you rearrange or add other furniture.
What Tools Are Best for Accurately Measuring Room Dimensions?
You should use a tape measure or laser distance meter for accurate measurements. A tape measure works well for smaller rooms and quick checks, while a laser distance meter provides precise readings over longer distances with minimal effort. Make sure to measure walls, doorways, and key furniture areas, recording every dimension carefully. This way, you’ll know exactly how much space you have for your AV gear, avoiding obstructions or overheating issues.
How Do I Account for Future Upgrades or Additional Equipment?
You should plan ahead by leaving extra space for future upgrades or additional equipment. Measure your current setup and add at least 10-15% more space in key areas like shelves, cabinets, and clearance zones. Think about potential new gear and guarantee there’s enough room without overcrowding. This way, you’ll avoid having to reorganize or buy new furniture later, making upgrades smoother and more convenient.
What Are Common Ventilation Issues Caused by AV Setups?
They say, “Prevention is better than cure,” and this applies to AV setups too. Common ventilation issues include overheating due to blocked vents or insufficient airflow, which can cause equipment to shut down unexpectedly. Poor placement of gear near heat sources or in enclosed spaces traps heat, risking damage. Make sure to keep vents clear and leave space around equipment to guarantee proper airflow and prevent overheating.
How Can I Hide Cables Effectively Without Affecting Airflow?
You can hide cables effectively by running them behind baseboards or inside wall channels, ensuring they stay out of sight without blocking airflow. Use cable covers or conduits that match your wall color for a seamless look. Avoid bunching cables together or placing them under rugs, as this can trap heat. Keep cables neat and organized using Velcro straps, and regularly check that airflow vents remain unobstructed.
Conclusion
Now that you’ve mapped out your room, you’re ready to set up your AV gear without a hitch. By paying attention to space, ventilation, and clearance, you’ll avoid putting a foot wrong and guarantee everything fits just right. Think of your room as a well-choreographed dance — every element needs to move in harmony. With these tips, you’ll have a setup that looks great, performs perfectly, and feels just right.