
To fix orange skin tones in a cinematic picture, start by analyzing your footage with scopes like the vectorscope and waveform monitor. Use color grading tools to carefully adjust temperature and tint sliders, neutralizing the orange hues. You can also isolate skin tones with secondary correction tools to desaturate or shift hues selectively. Precise adjustments will help restore natural skin colors and achieve a balanced, professional look—if you keep exploring these techniques, you’ll master creating cinematic images without unwanted tints.
Key Takeaways
- Use color grading tools to analyze and identify orange skin tones with scopes like vectorscope.
- Adjust temperature and tint sliders to neutralize orange hues and restore natural skin colors.
- Employ secondary correction techniques to isolate and desaturate or shift orange hues selectively.
- Monitor adjustments with scopes to ensure proper exposure and balanced, natural skin tones.
- Aim for subtle, precise corrections to achieve a balanced, cinematic look without distracting color tints.
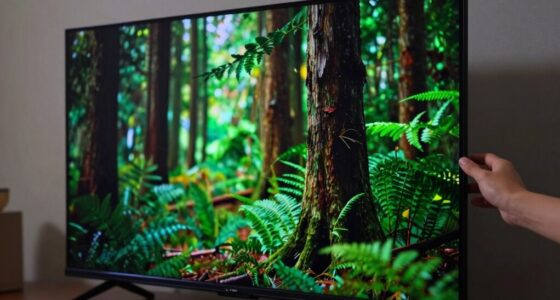
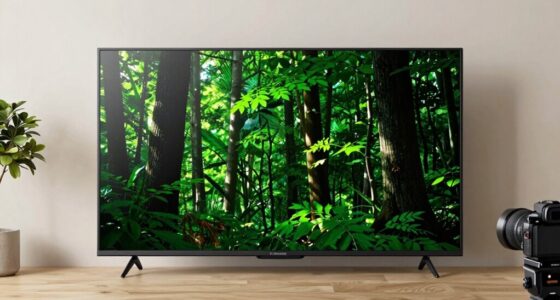
If your cinematic footage has an unwanted color tint, it can distract viewers and diminish your video’s professional quality. One common issue is the orange skin tone, which often results from improper lighting or camera settings. To address this, you need to understand the role of color grading in shaping your film’s aesthetics. Color grading is the process of adjusting colors in your footage to achieve a specific look or mood, and it’s essential for correcting unwanted tints that can make skin appear overly orange or unnatural.
Unwanted orange skin tones can distract viewers and reduce your video’s professional quality.
When tackling a color tint, start by analyzing the footage carefully. Use a color grading tool to examine the color balance and identify where the problematic orange hues are most prominent. The goal is to neutralize or shift these tones toward a more natural skin color, often by adjusting the temperature and tint sliders. Cooler tones can counteract excessive warmth, helping to restore more realistic skin tones and improve the overall film aesthetics. Remember, subtle adjustments often produce the best results, so avoid overcorrecting and creating a flat or unnatural appearance.
A practical method involves utilizing scopes like the vectorscope and waveform monitor. The vectorscope displays the hue and saturation levels, allowing you to see if skin tones fall outside the natural range. If the skin color appears skewed toward orange on the scope, you can gently shift the hue or adjust the color wheels to bring it closer to neutral. Similarly, the waveform monitor helps ensure proper exposure and color balance across the image, preventing other issues from compounding the orange tint problem.
Another effective approach is using secondary color correction tools. These allow you to isolate specific hues—like the orange skin tones—and tweak only those areas. By selectively desaturating or shifting orange hues, you preserve the overall look while fixing the skin tone problem. This technique is particularly useful when other parts of your footage have different color challenges.
Ultimately, achieving a cinematic picture without an orange skin tint hinges on a combination of precise color grading and understanding your footage’s aesthetic goals. Your aim should be to produce a balanced, natural palette that enhances your film’s visual storytelling. With practice, you’ll develop an eye for subtle color adjustments that elevate your project from look-alike footage to a polished, professional cinematic piece. Proper color correction not only removes distracting tints but also enhances the overall film aesthetics, making your work more compelling and visually appealing to your audience. Additionally, understanding color correction techniques is essential for mastering the art of achieving natural skin tones in cinematic footage.

Calibrite ColorChecker Classic Color Reference Target for Photo/Video Color Accuracy, 24 Patch Chart for White Balance and Color Grading, 8 x 11.5 inch Profile Creation and Editing Workflow Tool (CCC)
SPECIFICATIONS: 24 patch color reference target designed for photo and video workflows, supports white balance, exposure evaluation, and…
As an affiliate, we earn on qualifying purchases.
As an affiliate, we earn on qualifying purchases.
Frequently Asked Questions
Can I Fix Skin Tone Issues in Live Video Editing?
Yes, you can fix skin tone issues in live video editing by adjusting color grading settings. Use real-time color correction tools to enhance skin tone accuracy, ensuring natural and consistent results. Focus on tweaking hue, saturation, and luminance specifically for skin tones, and use scopes like vectorscopes for precision. This approach helps eliminate orange or washed-out skin tones, giving your live video a professional, polished look.
Does the Tint Fix Affect Overall Image Quality?
The tint fix usually enhances your image without harming overall quality, much like sharpening a picture without losing detail. It improves color grading and skin tone accuracy, ensuring natural-looking results. While some worry about losing clarity, a well-applied tint fix preserves image integrity. You’ll notice a more balanced, professional look, as it corrects color casts without sacrificing resolution or detail, making your footage shine vividly and true to life.
Are There Software Tools Specifically for Tint Correction?
Yes, there are software tools specifically for tint correction. Programs like DaVinci Resolve, Adobe Premiere Pro, and Final Cut Pro offer advanced color grading features that let you easily adjust and correct color tints. These tools are compatible with various formats and hardware, making it simple to integrate tint correction into your workflow. You can fine-tune skin tones and overall color balance to achieve natural, cinematic results.
How Long Does It Take to Correct a Cinematic Color Tint?
Correcting a cinematic color tint can take anywhere from a few minutes to several hours, depending on your project’s complexity. You’ll spend time on color grading, adjusting hues, and ensuring software compatibility with your editing tools. While simple fixes may only need quick tweaks, more advanced corrections require careful fine-tuning. Ultimately, your pace depends on your experience, the tools you use, and how precise you want your final image.
Will This Fix Work on All Camera Brands and Models?
This fix generally works on most camera brands and models, but you should verify camera compatibility and model limitations first. Some cameras may have unique settings or color profiles that could affect the effectiveness of the fix. It’s best to test it on your specific camera to ensure compatibility. If you encounter issues, adjustments might be needed, or you may need a different approach tailored to your camera’s specifications.

Calibrite ColorChecker Video Color Target w/White Balance Reference for Video Production, Vectorscope and Waveform Optimized Layout with Skin Tones and Grays, 8 x 11.5 inch Chart (CCVWB)
SPECIFICATIONS: Video color target measuring 8 x 11.5 inch with vectorscope and waveform optimized layout including saturated and…
As an affiliate, we earn on qualifying purchases.
As an affiliate, we earn on qualifying purchases.
Conclusion
So, next time your cinematic masterpiece looks like it’s auditioning for a sunburn contest, remember—there’s a fix for that orange skin nightmare. Just tweak those color tints, and suddenly you’re a visual genius instead of a lobster in disguise. Who knew that a simple adjustment could save your scenes from looking like a summer BBQ? Now go forth, fix those tints, and make your footage look as cool as it’s supposed to—without the SPF 50.

FEELWORLD F5 Prox 5.5 Inch 1600nit Field Camera Monitor Touch 4K HDMI 3D LUT Waveform for DSLR Mirrorless Camera Help Filmmakers Videographer Outdoor Accurate Focus and Expose with F750 Battery Bag
【Professional External Camera Monitor】 Designed to replace your camera’s small built-in screen, the FEELWORLD F5 PROX 5.5 inch…
As an affiliate, we earn on qualifying purchases.
As an affiliate, we earn on qualifying purchases.

Color Correction for Video, Second Edition: Using Desktop Tools to Perfect Your Image (DV Expert Series)
New
As an affiliate, we earn on qualifying purchases.
As an affiliate, we earn on qualifying purchases.