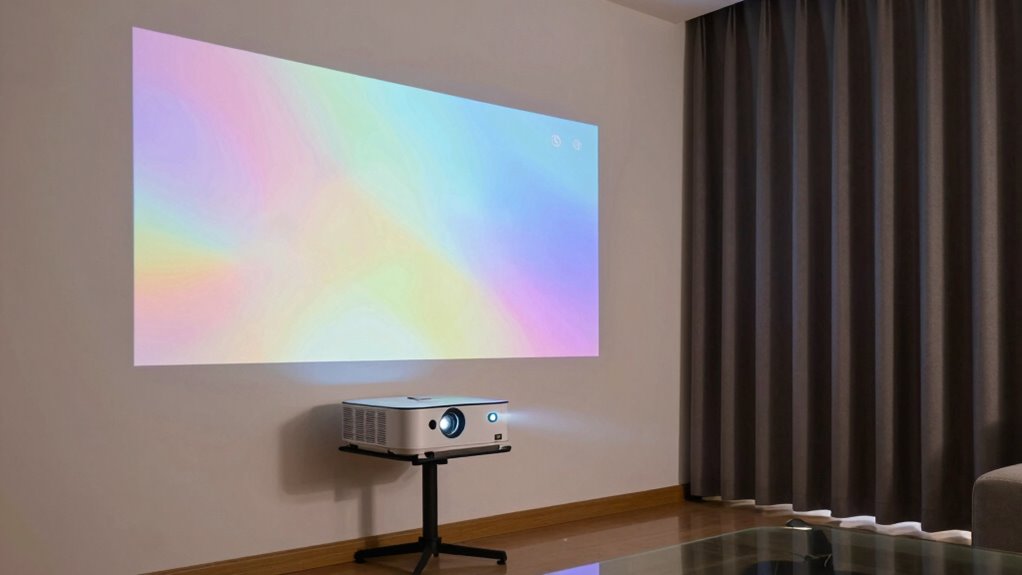
To make your projector look brighter and clearer in your home, focus on controlling ambient light and room surfaces. Close curtains or blinds to block out sunlight, turn off unnecessary lights, and use dark-colored or matte screens to absorb stray light. Minimize reflective surfaces like shiny furniture or windows and keep walls dark or non-reflective. These simple adjustments can drastically improve image quality, and if you keep exploring, you’ll discover more tips to enhance your viewing setup even further.
Key Takeaways
- Close curtains or blinds to block out ambient light and enhance contrast and image vibrancy.
- Use darker, matte-colored walls and screens to absorb stray light and boost perceived brightness.
- Turn off unnecessary lights in the room to prevent washout and improve image clarity.
- Properly position and align the projector to maximize brightness and reduce light dispersion.
- Minimize reflective surfaces like shiny furniture or windows to prevent glare and maintain image contrast.
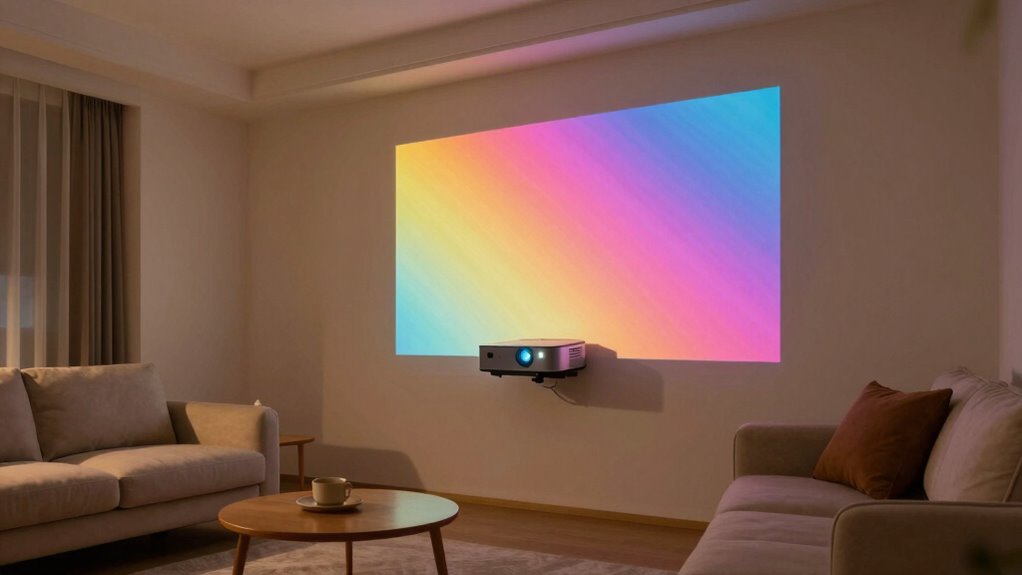
If you’re looking to improve your projector’s brightness without upgrading your device, there’s a simple trick you can try. It all comes down to managing ambient lighting and optimizing your screen contrast. When your room is brightly lit or has lots of windows, even the brightest projectors can struggle to deliver clear, vibrant images. Bright ambient lighting washes out the picture, making it appear dull and less detailed. To counter this, start by reducing the amount of light entering the room. Close curtains or blinds during movie time, and turn off any unnecessary lights that shine directly on the screen. The darker your room, the more your projector’s brightness will stand out, allowing you to see sharp details and vivid colors without any hardware upgrades.
Dimming ambient light enhances your projector’s clarity and color vibrancy without upgrading your device.
Next, focus on your screen contrast. Contrast is the difference between the darkest blacks and brightest whites your projector can produce. When your room is dim, increasing screen contrast can dramatically improve image quality. If your projector has contrast settings, tweak them to achieve a deeper black level. This makes the brighter parts of the image pop without washing out the darker areas. Additionally, consider using a matte black or dark-colored screen or wall surface. Lighter surfaces reflect more ambient light, reducing contrast and washing out the picture. A darker background absorbs stray light, helping your projector deliver more punchy images even if it isn’t the most powerful model. Proper ambient light management can significantly impact your viewing quality and overall experience. Being aware of and controlling room surfaces is an important aspect of image quality in home projection setups.
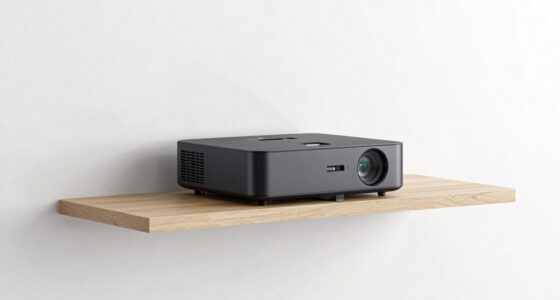
Another way to enhance perceived brightness is to avoid reflective or shiny surfaces in the room. Glossy furniture or windows can bounce light onto the screen, diminishing contrast and clarity. Keep your viewing environment as controlled as possible by minimizing reflective objects and ensuring that the room’s surfaces absorb excess light rather than reflect it. This helps maintain the integrity of your image, making the projector appear brighter and more vibrant. Room environment plays a crucial role in optimizing your projector’s performance. Proper ambient light management can significantly impact your viewing quality and overall experience. Adjusting the room setup to reduce stray reflections and light scatter can make a noticeable difference. Finally, consider the placement of your projector. Positioning it at the optimal distance from the screen and ensuring it’s aligned properly prevents light from dispersing or scattering. Proper placement maximizes the projector’s existing brightness and contrast capabilities. When combined with controlling ambient lighting and choosing a good screen surface, these steps can significantly improve your viewing experience. You won’t need a new projector—just a little attention to your environment will make your current device look better in your home.

Yescom 177" 16:9 DIY Projection Screen Material Matte White PVC Projector
- Large Projection Area: 177-inch diagonal with wide viewing angle
- High-Quality Material: Durable PVC coated textile for longevity
- Uniform Light Diffusion: Matte white surface for clear images
As an affiliate, we earn on qualifying purchases.
As an affiliate, we earn on qualifying purchases.
Frequently Asked Questions
How Does Ambient Light Affect Projector Brightness?
Ambient light, or ambient interference, and light pollution can considerably reduce your projector’s perceived brightness. When there’s too much ambient light, it washes out the image, making it harder to see details clearly. To improve your viewing experience, you should minimize ambient interference by dimming lights or using blackout curtains. This allows your projector to deliver a brighter, more vivid picture, even in less-than-ideal lighting conditions.
Can Adjusting Contrast Improve Picture Quality?
Yes, adjusting contrast can improve picture quality by enhancing contrast enhancement and color accuracy. When you increase contrast, darker areas become richer, and bright sections stand out more vividly, making the image more dynamic. Proper contrast settings help balance the picture, preventing it from looking washed out or overly dark. This adjustment guarantees your projector delivers sharper, more realistic images, especially in rooms with ambient light, improving overall viewing experience.
What Is the Ideal Projector Placement for Brightness?
A stitch in time saves nine, so place your projector thoughtfully. For ideal brightness, ceiling mounting is preferred, keeping the projector at a proper distance from the screen. Avoid screen glare by mounting it high enough to minimize reflections and ambient light interference. Position it straight on to the screen, ensuring it’s aligned for even illumination. This setup boosts brightness, reduces glare, and creates a crisp, vivid picture every time.
Do Screen Types Influence Perceived Brightness?
Yes, screen types influence perceived brightness. You’ll notice different screen materials, like matte or glass, affect how bright your image appears. Matte screens tend to diffuse light, reducing perceived brightness but minimizing glare, while glass or high-gain screens boost brightness and enhance color accuracy. Your choice impacts how vivid and clear your projected image looks, especially in well-lit rooms. So, selecting the right screen material can make your projector’s brightness stand out.
How Often Should I Calibrate My Projector?
You should calibrate your projector every 6 to 12 months to maintain ideal image quality. During calibration, focus on color calibration to guarantee accurate hues and lens alignment for a clear, sharp picture. Regular adjustments help prevent color fading and image distortion over time. If you notice a decline in picture quality or color accuracy, it’s a good idea to recalibrate sooner. Proper calibration keeps your projector looking its best.

Smart Curtain Lights RGB 5050 Built in Chip with APP Remote Control
- App & Remote Control: Control with ZENGGE app or remote
- Customizable Lighting: 16 million colors and modes
- Music Sync Feature: Lights sync with music and mic
As an affiliate, we earn on qualifying purchases.
As an affiliate, we earn on qualifying purchases.
Conclusion
Now, picture your living room glowing with vibrant images, as if the projector’s light has been magically turned up. That simple brightness trick transforms your space into a personal theater, where every detail pops with clarity and color. With just a tweak, you’ll enjoy movies and shows in stunning quality, making your home feel like a cinema. So go ahead, brighten your projector—your perfect movie night is just a switch away.

ChrisDowa Blackout Roller Shades Pull Down, Cordless Window Blinds for Home
- Material: 100% blackout fabric with white backing
- Safety Design: Cordless, child and pet safe
- Durability: Passed 5,000 lift/pull tests
As an affiliate, we earn on qualifying purchases.
As an affiliate, we earn on qualifying purchases.

DUOFIRE Blackout Window Film 11.8×78.7Inch and One Way Window Film(Silver-Silver, 11.8×78.7in)
- Privacy Protection: Provides privacy without blocking light
- UV and Sunlight Control: Blocks UV rays and softens sunlight
- Reusable Static Cling: No adhesive, residue-free, reusable
As an affiliate, we earn on qualifying purchases.
As an affiliate, we earn on qualifying purchases.