
To fix clipping distortion before damaging your speakers, keep your audio levels below 0 dB, ideally around -6 dB, using your mixer, interface, or software meters. Lower input gain on microphones and instruments, and use volume controls to prevent overloads. Employ compressors or limiters to manage sudden peaks and ensure balanced levels across all sources. Maintaining proper level control helps preserve sound quality and extends your equipment’s lifespan—if you want to learn more, keep exploring these essential tips.
Key Takeaways
- Lower the input gain or volume levels on your mixer, interface, or instrument to prevent exceeding 0 dB.
- Use a compressor or limiter to control peaks and avoid distortion during loud signals.
- Monitor meters closely and reduce levels before clipping occurs, especially during live performances.
- Ensure speakers and amplifiers are not driven beyond their capacity by adjusting volume controls accordingly.
- Calibrate audio sources and mix levels properly to maintain a balanced signal, preventing clipping and damage.

Clipping distortion occurs when an audio signal exceeds the maximum level your equipment can handle, resulting in a harsh, distorted sound. This happens when the audio levels you’re pushing through your system are too high, causing the peaks of the waveform to be “clipped” off. The distortion effects are immediately noticeable—you’ll hear a harsh, often unpleasant noise that can ruin recordings or live performances. To prevent further damage, it’s essential to understand how to manage your audio levels and eliminate clipping before it worsens or causes permanent harm to your speakers.
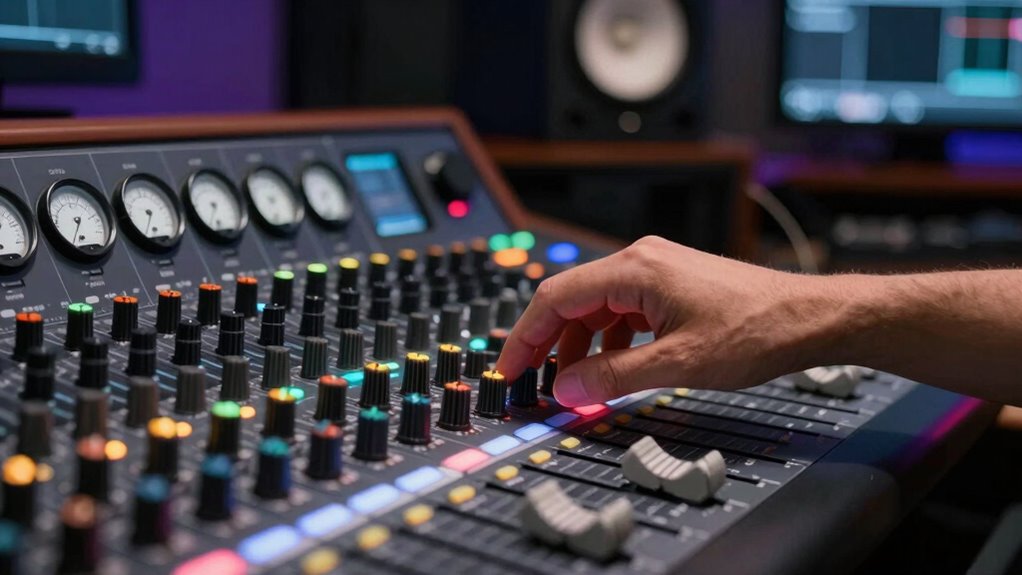
The first step to fixing clipping distortion is to monitor your audio levels carefully. Use meters on your mixer, audio interface, or software to keep track of peak levels. Aim to keep your signal peaks below 0 dB, ideally around -6 dB for headroom. When your levels hit or exceed 0 dB, that’s when clipping occurs. Adjust your gain structures accordingly—lower the input gain on microphones, instruments, or your mixing console until the meters stay within a safe range. This prevents the signals from reaching the point where distortion effects become audible and damaging.
Next, pay attention to your output levels. If you’re powering speakers or amplifiers, ensure they’re not driven into clipping. Overdriving your equipment can cause distortion effects that are often irreversible and can lead to speaker damage. Use the volume controls to dial back the output, and if your system has a clip indicator light, keep an eye on it. When it lights up, it’s a signal you’re pushing your gear too hard. Reducing your output levels not only improves sound quality but also prolongs the lifespan of your equipment.
In addition, consider using dynamic range controllers such as compressors or limiters. These tools help manage audio levels dynamically, preventing sudden peaks from exceeding safe thresholds. A limiter, for instance, can be set to cut off any signal that surpasses a set level, effectively preventing clipping from happening in real-time. This is particularly useful during live performances or when recording, where unpredictable volume spikes are common. Properly setting these tools ensures your audio levels stay within a range that preserves clarity and prevents distortion effects.
Lastly, balance your audio sources to avoid overloading any single channel. Sometimes, a single loud instrument or vocal can cause clipping if not properly managed. Adjust individual track levels, and consider using EQ to reduce overly prominent frequencies that might be pushing your system too hard. By keeping your audio levels within a safe, well-balanced range, you’ll maintain sound clarity and prevent distortion effects from ruining your mix. Additionally, understanding the role of color accuracy in your audio setup can help you better calibrate and optimize your system for the best sound quality. By taking these steps, you guarantee your audio remains clean, clear, and free of clipping distortion before it damages your speakers or worsens your sound quality.

Herdio 6.5 Inch 800W Outdoor Bluetooth Speakers Wired Waterproof with Multifunctional Amplifier, Wall Mount Speaker System for Patio Home Poolside Deck Backyard(2 Pairs,Black)
【Full-Range Speakers】The high powered full range indoor outdoor speakers wired waterproof has a maximum power output of 800...
As an affiliate, we earn on qualifying purchases.
Frequently Asked Questions
Can Clipping Damage My Speakers Permanently?
Yes, clipping can damage your speakers permanently if not addressed. When you push your amp into clipping, it causes distortion that stresses the speaker cone, potentially leading to tearing or motor damage. To protect your equipment, focus on speaker protection and distortion management. Keep your volume levels within safe limits, and use limiters or compressors to prevent clipping, ensuring your speakers stay healthy and sound quality remains intact.
What’s the Difference Between Clipping and Overdriving?
Think of clipping and overdriving like a car hitting its redline. Clipping occurs when your amp pushes past its clipping thresholds, causing harsh, square-wave distortion characteristics. Overdriving is simply pushing the amp beyond its limits, which can cause clipping. While overdriving leads to clipping, they aren’t the same—overdriving is the act, clipping is the distortion that results. Keep within your amp’s clipping thresholds to avoid harsh distortion and potential damage.
How Can I Tell if My Amp Is Clipping?
You can tell if your amp is clipping by listening for a harsh, distorted sound that doesn’t match your input. Check your gain staging—if your gain is too high, it reduces signal integrity, causing clipping. Also, watch for the amp’s clipping indicator if it has one. Lower your gain gradually until the distortion disappears, ensuring your signal remains clean and your speakers stay safe.
Are Some Audio Genres More Prone to Clipping?
Yes, some audio genres are more prone to clipping, especially those with heavy audio compression and limited dynamic range like electronic dance music or trap. When tracks are highly compressed, loud sounds push the amplifier closer to its limit, increasing clipping risk. You can avoid this by monitoring your levels carefully, ensuring your amp isn’t overdriven, and maintaining proper dynamic range to prevent distortion and protect your speakers.
Is It Better to Fix Clipping in the Mixer or the Amp?
You should fix clipping in the mixer rather than the amp, since 60% of signal chain issues originate there. Proper gain staging at the mixer ensures a clean signal before it hits the amp, reducing distortion risks. When you address clipping early in the signal chain, you protect your speakers from damage and maintain audio clarity. Adjust levels and avoid pushing your equipment to its limits for ideal sound and longevity.

STUDIOFINIX 6.5 Inch Outdoor Speakers Wall-Mounted 800W - Waterproof and High-Performance Audio Solution for Indoor/Outdoor,Home,Patio,Garden,Backyard(4 Passive Speakers Bundle/Black)
〖Powerful Performance〗: Boasting a peak power handling of 800 watts, it delivers a full range of dynamic sound...
As an affiliate, we earn on qualifying purchases.
Conclusion
By understanding how to fix clipping distortion, you’re like a skilled pilot steering clear of a storm before it hits. Keep your volume levels in check, avoid pushing your amp to its limit, and use the right equipment to prevent that harsh, damaging sound. Remember, a little caution now saves your speakers from a loud, costly crash later. Stay vigilant, and your sound system will sing smoothly, like a well-tuned orchestra, for years to come.

Polk Audio Atrium 4 Weatherproof Outdoor Speakers with Powerful Bass (Pair, Black), All-Weather Durability, Broad Sound Coverage, Speed-Lock Mounting System
EASY INSTALLATION - One-click speed-lock mounting bracket offers anti-slip, one-handed installation. Mount these outdoor speakers wired vertically or...
As an affiliate, we earn on qualifying purchases.

6.5 Inch Max 800W Outdoor Bluetooth Speakers Waterproof Wired with Multifunctional Amplifier Wall Mount Outdoor Speaker System for Patio Garden Poolside Home(4 Speakers,Black)
Powerful Acoustics: Unmatched Sound Output,Each speaker pumps out an impressive 200 watts, with a pair delivering a combined...
As an affiliate, we earn on qualifying purchases.